These are directions saved from a previous version of the DK Percussion website. If you enjoy or have questions, please leave a comment!
Chamois covered mallets are an easy mallet to recover or make yourself. The advantages of chamois covering include protecting the bare wood mallet, removing the “tick” from wood-on-plastic, and adding one more shade articulation above wood. You will need to purchase a natural chamois leather drying cloth from the automotive section of any big-box or automotive parts store.
Materials and tools needed:
Natural Chamois leather drying material String to tie the felt (Rec: Spiderwire, 30lbs-test, 8lbs-dia) Moleskin Superglue
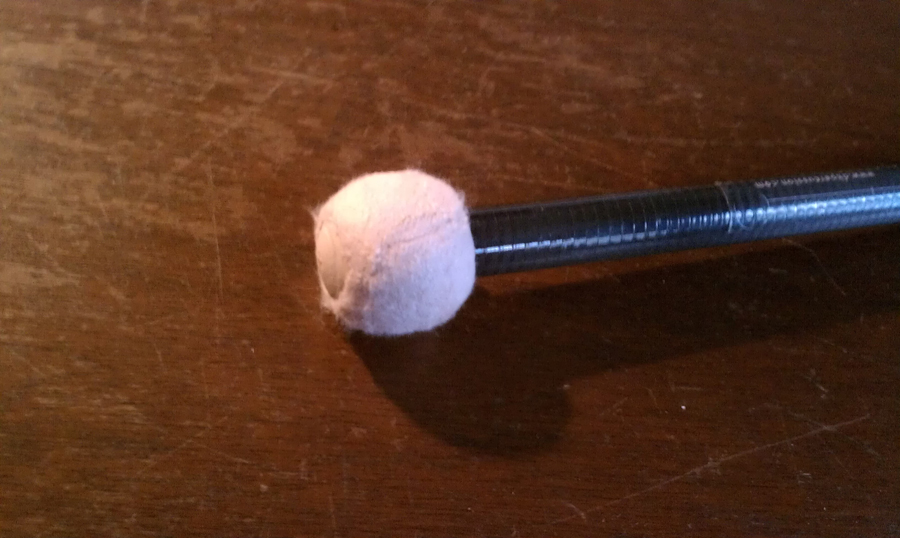
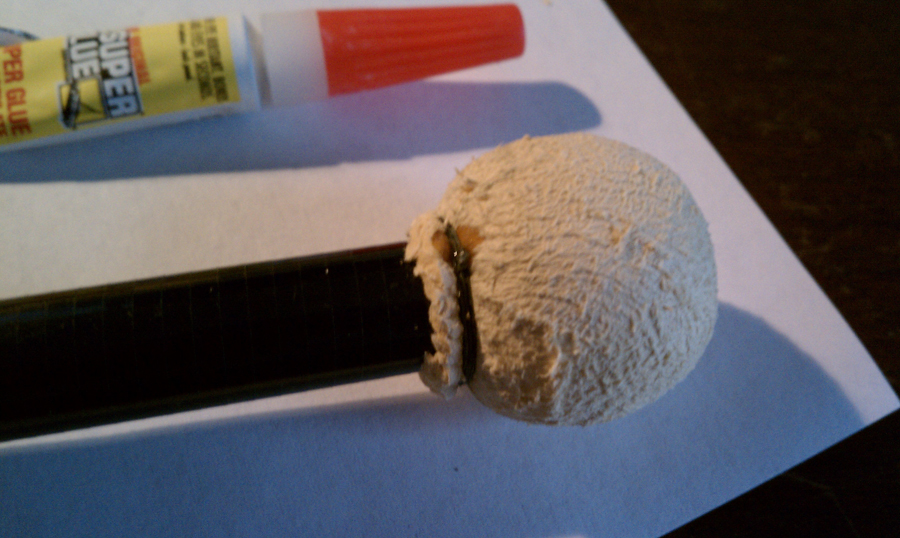
1. To get started, it is recommend that the bare wood core of a mallet be covered with thin moleskin to not only protect the chamois, but to keep it from spinning around the mallet. It does soften the articulation up a small amount, but not enough to make two different pairs of this style mallet.
2. Chamois leather has two different sides – both are acceptable to use on your mallets, just be sure to use the same side for a pair. Experiment with what works best for you.
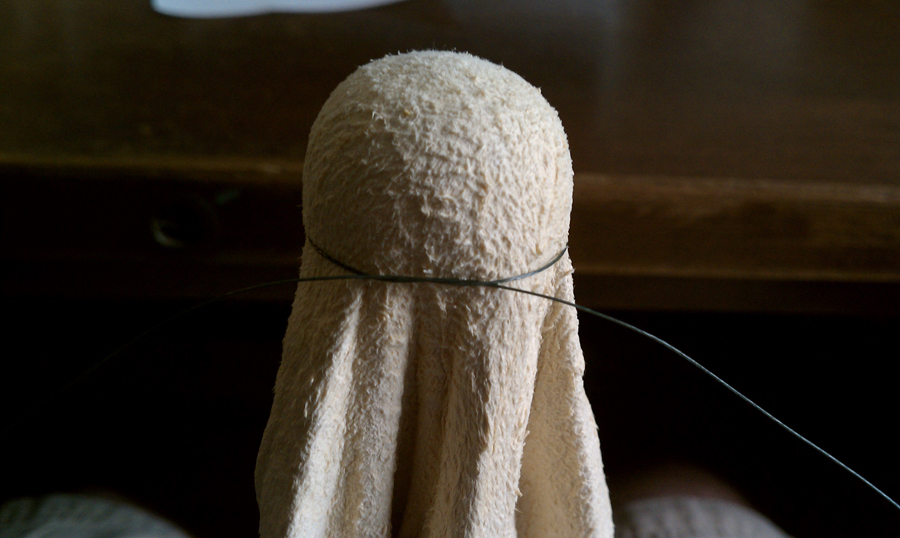
3. Tie a single knot loop in an 18” piece of thread and leave a loop large enough to fit over the head of the mallet. The loop should be centered on the thread.
4. Find a nice piece of the chamois and begin to stretch it over the head of the mallet by pulling downward on the cloth. A bulb shape should start to form in the chamois.
5. Drape the chamois and grip it around the shaft of the mallet. Pull down and try to keep the cloth from bunching up around the base of the core. Leave the chamois draped and proceed to the next step.
6. Put the loop of thread about ¾ of the way down the head of the mallet. Begin to pull the knot tight. (Using Spiderwire affords the ability to double knot and still pull tight without the knot pulling loose.)
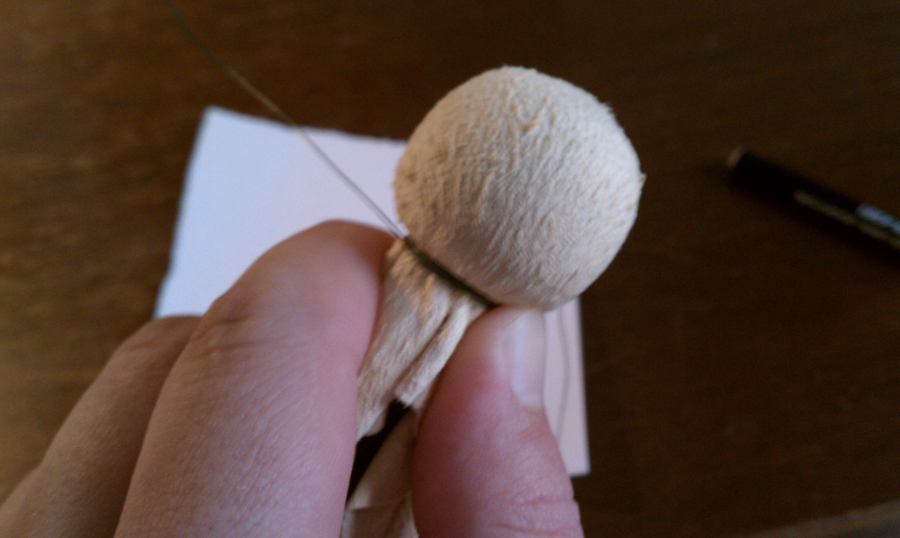
7. Double knot the thread when it is tight against the shaft. You can now pull the excess chamois up and out to remove any bunching. Make sure the knot is fully tight.
8. Wrap the excess threads tightly around in the direction they are already going.
9. When there is about 3” left on both ends, double knot and pull tight. Double knot again.
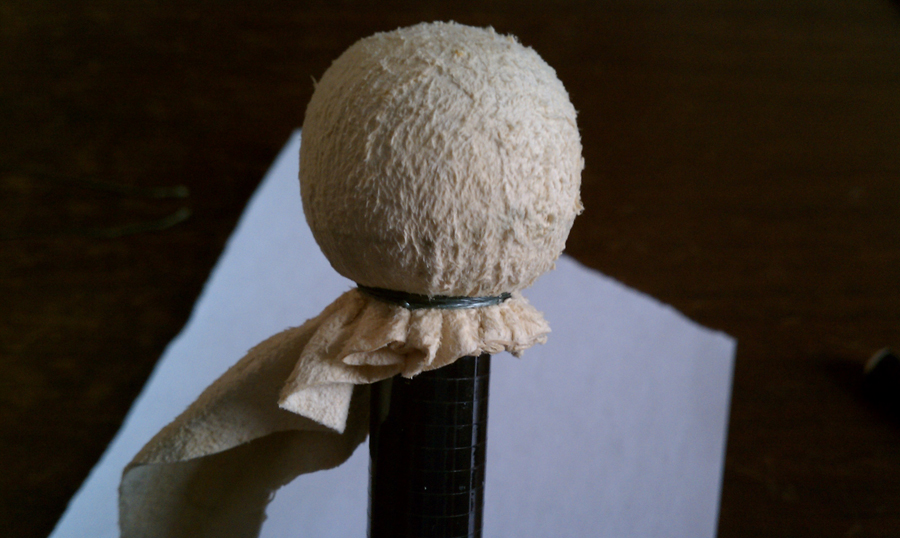
10. Cut the excess thread away. Cut away most of the excess chamois and trim close to the shaft of the mallet. Be sure not to cut away too much as this excess is what holds the chamois on under the thread.
11. Put a dot of superglue on the quad knot and directly across from it on the thread wraps. This will help keep the knots in place and bond the thread to the chamois.
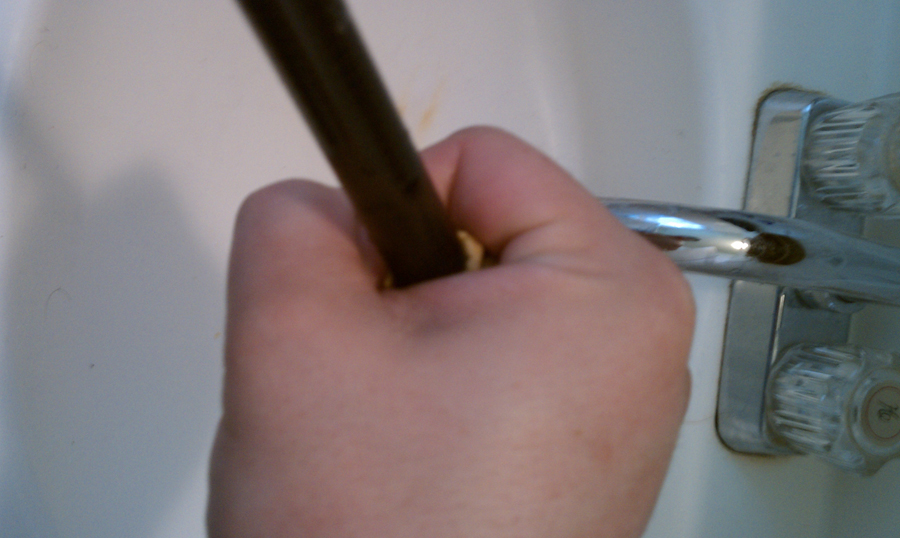
12. Wet the chamois to tighten it around the head. Any slack in the chamois will be taken up with this step.
13. Squeeze the excess water out then half-dry the chamois with a paper towel. Let the chamois dry for a few hours.
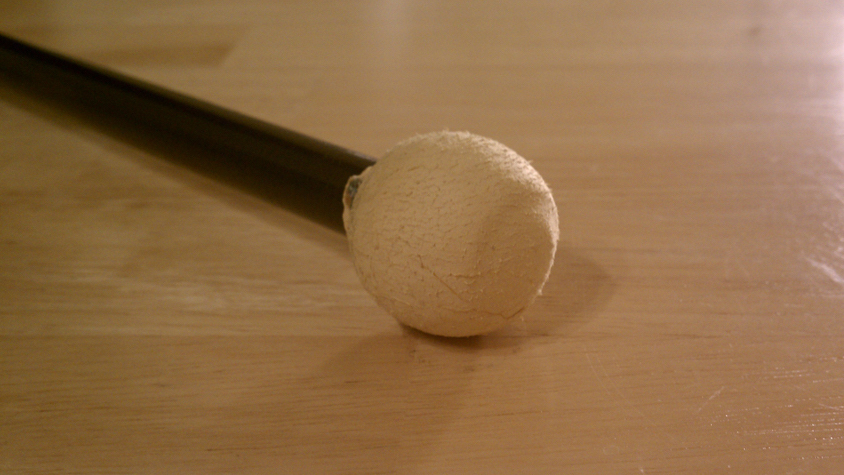
You should now have a very articulate mallet!
Please feel free to use and or print these directions, but please make sure to leave a link back to here!


Leave a Reply