So the DRO is finally close to being done. It works, and it works well, but there are still some issues to figure out. These include locating and isolating some ground loops that are picking up noise from the VFD and creating false readings. I’ve bypassed this by using a USB phone battery which works well. Another issue is redoing the tachometer circuit – what I used isn’t getting enough power to be useful, so I bought a different Hall sensor, which is a electrical device used to measure magnetic pulses. (Put magnets on a spinning thing and it can be used to count RPM.)
“Milling” the slots on DRO scale mounting brackets to be bigger. (I used an old compound rest I had planned to build a milling attachment with.)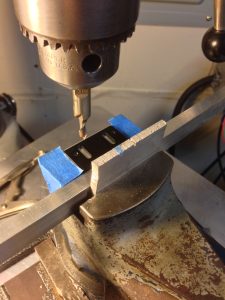
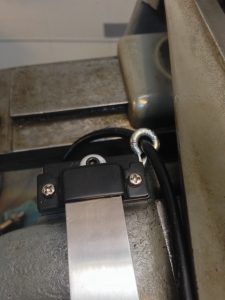
DRO scale attached to cross slide. I had to wrap the reader head (SS block) with electrical tape to prevent a ground loop between the machine and DRO.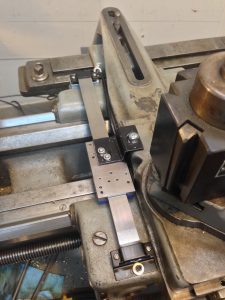
An odd sized eyelet to help guide the reader wire where it needs to be (away from the spinning chuck!)
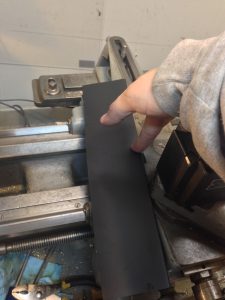
I found some rubber material in the flooring section of the hardware store that works well as scale covers.
The DRO enclosure, some version thereof anyway… This changed a lot and is still going to undergo at least one more mix-up of wiring.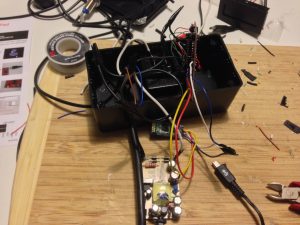
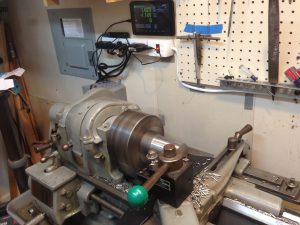
Complete setup. DRO tablet is on the upper center of the image, with an EMI/RFI filtering surge protector below.
This weekend I finally got the lathe in place and started making some things I’ve been waiting to get done! This included fixing my long-broken mini Maglite and making a ground (perfectly parallel) raiser block for the milling attachment I picked up on eBay. Long story short, most people attach these onto the compound rest, but I put it lower with a custom made toolpost that reduces chatter.
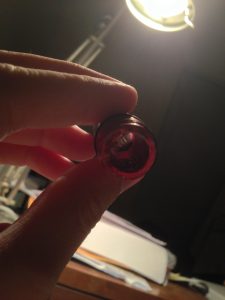
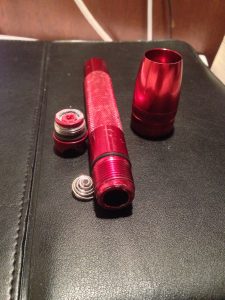
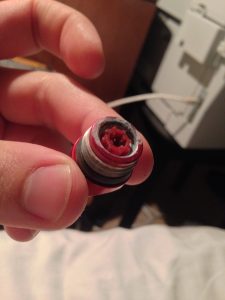
I got a red mini Maglite for Christmas when I was 9 or 10 and a few years back some batteries exploded in it. I finally got around to fixing it and upgraded it to LED. I used my boring bar to clean the inside out, rethreaded the end cap, and cleaned up the top while replacing the switch.
The milling attachment without the riser block, which is would be sandwiched in between the “U” and the flat surface it’s sitting on. The threaded post was something I made – a dovetail that matches the compound rest and a 3/4″ threaded section. Works great.
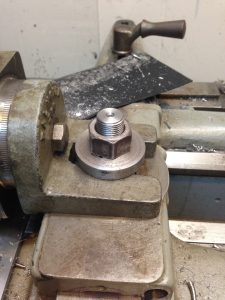
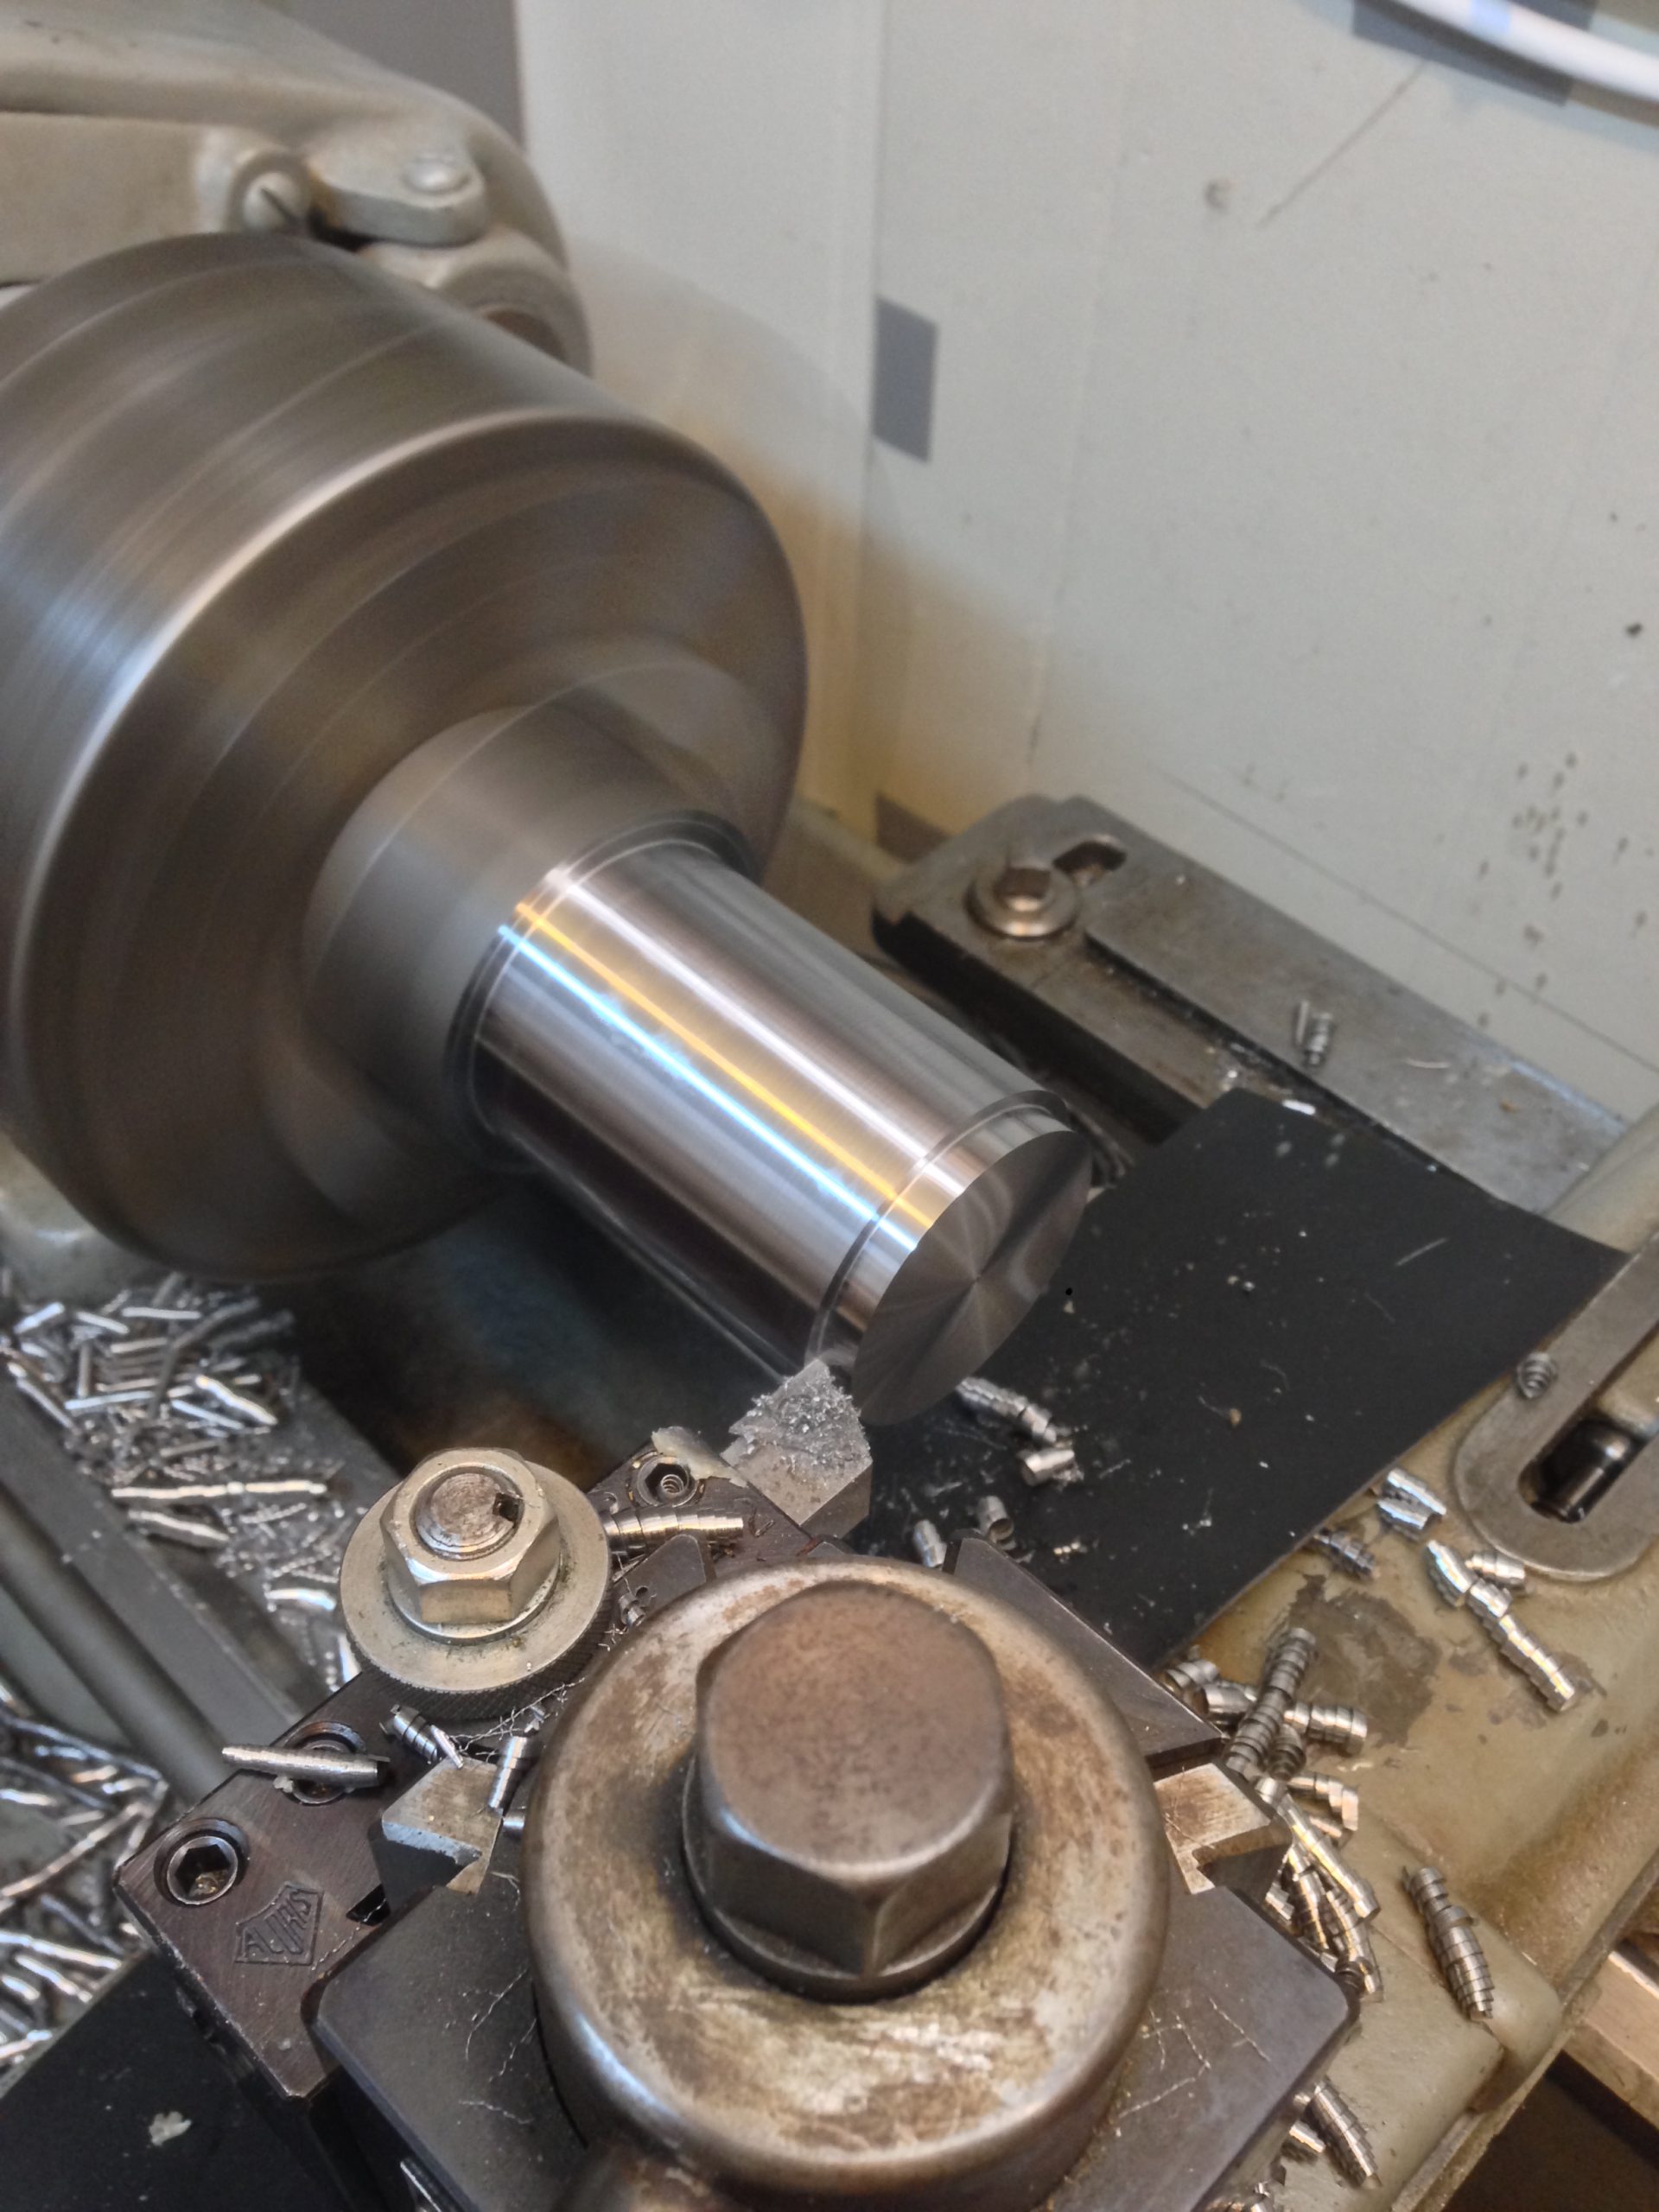
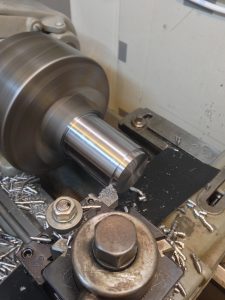
Machining a piece of 12L14 I had for the new toolpost.
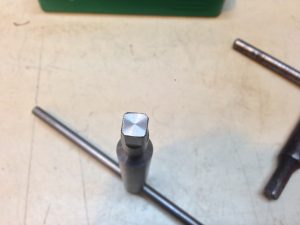
The first project I made on the milling attachment after making the block and toolpost was a new t-handle for the chucks. I need two if I’m going to use my 4-jaw chuck. I like mine better than the original!
Original South Bend key on the bottom
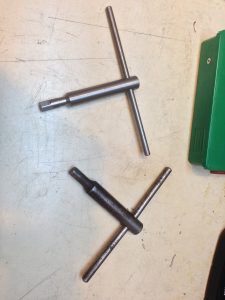
The key I made:
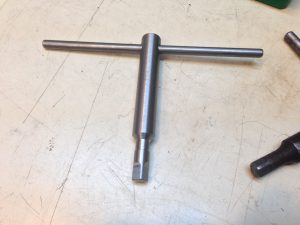
Having a milling attachment allows me to make things square. I plan to do this with timpani T-handles to make old t-handled tuning post work with the new tuning keys we commonly use today.
I don’t have pictures, but I made some parts for a vibraphone motor system I sell this afternoon and helped a friend make a end cap for a pipe (drum throne top) yesterday. I also made a collet stop for the 5c collets that go with this lathe – they allow for more accurate work holding and holding endmills for the lathe. The stop will allow me to quickly setup things like little brass knurled nuts that I sell with my tuning gauge letters. It feels good to finally use the lathe!

Leave a Reply