These are directions saved from a previous version of the DK Percussion website. If you enjoy or have questions, please leave a comment!
Parachute (or “ball”) wraps are a common wrap style that has no seam in the felt, but uses more felt as a trade-off. There are many variations on how this can be done, so experiment and come up with the way that works best for you! This is the way DK Percussion does it…
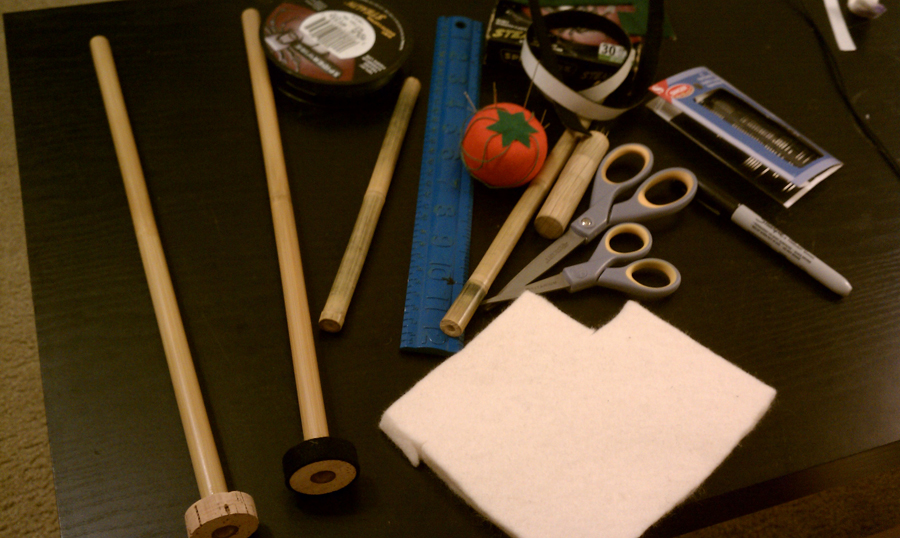
Materials and tools needed:
Felt (this style works well with German felt.) String to tie the felt (Rec: Spiderwire, 30lbs-test, 8lbs-dia) Adhesive felt (optional) Permanent marker Sewing needle Ruler Scissors Drumsticks, dowels, or something to aid in pulling thread tight
1. To get started, it is recommend that the bare wood core of a mallet be covered with thin moleskin to not only protect the chamois, but to keep it from spinning around the mallet. It does soften the articulation up a small amount, but not enough to make two different pairs of this style mallet.
2. (Optional) Cut out the traced circles, then also make a second pair of crowns slightly smaller than the core’s diameter.
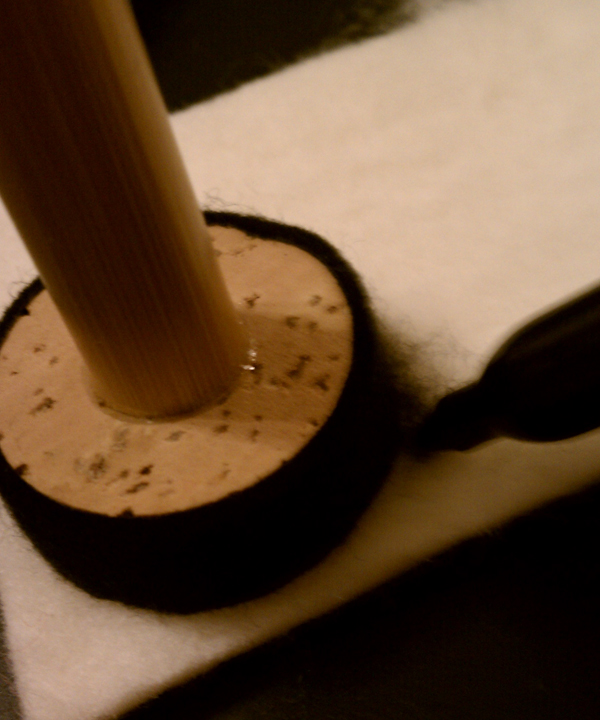
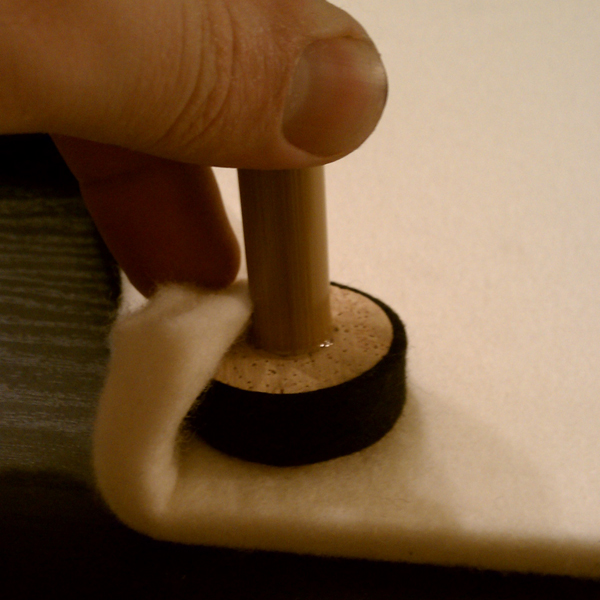
3. Be sure your adhesive felt is already on your core for this step if you are using any. Set the mallet core down on the felt and push an edge to the shaft to figure out about how much you’ll need. Find this same distance from the other corner of the felt so the mallet is centered at a corner.
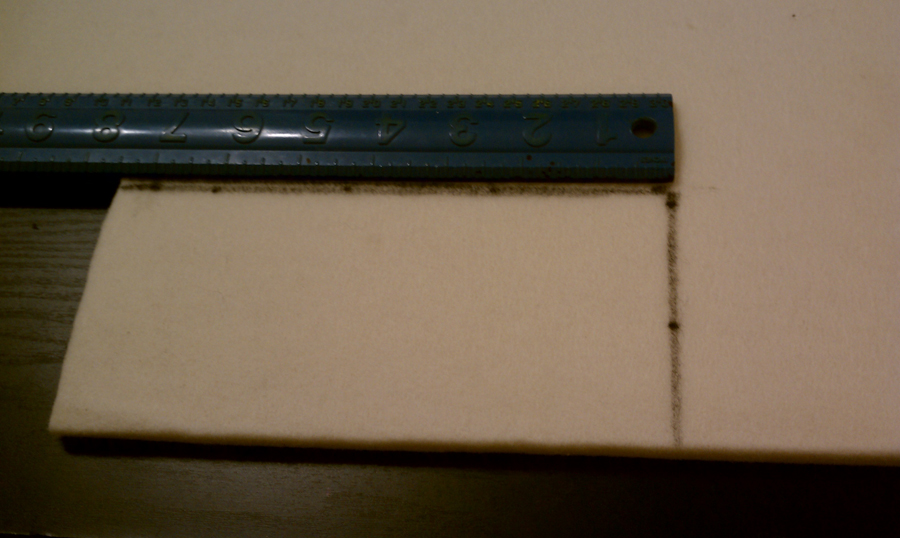
4. Use a ruler to figure out the approximate amount of felt you’ll need and double it. For this particular mallet, a 3-5/8” width was needed, so 3-5/8”x7-1/2” was cut out.
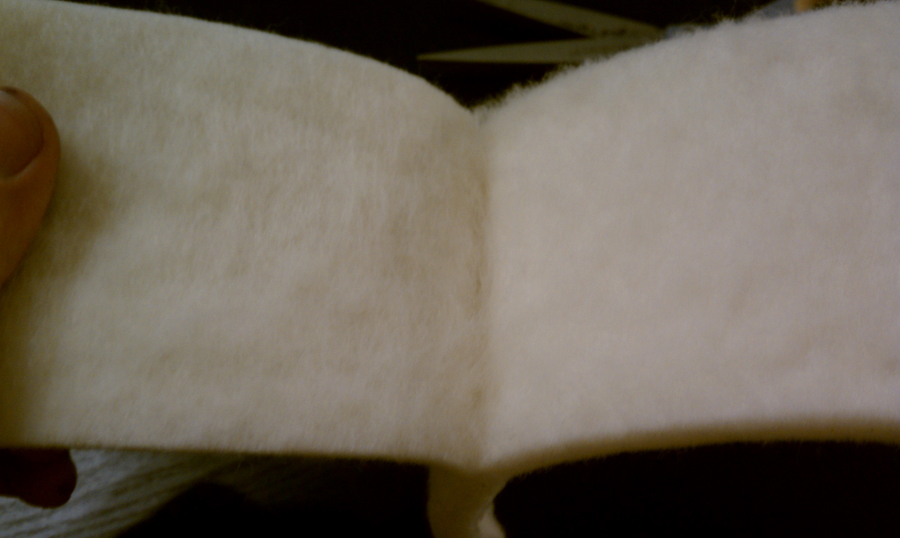
5. At a corner, split the felt to desired width. Most felts have noticeable lines in the layers which can help aid in locating where to split.
6. Be careful not to rip across layers when separating the entire felt rectangle. When the split is complete, you may have to remove small bits by grasping with your thumb and first finger. You can also “fine tune” how thick your felt is at this point. When done, rub the soft side down on a flat surface to even out the fuzz.
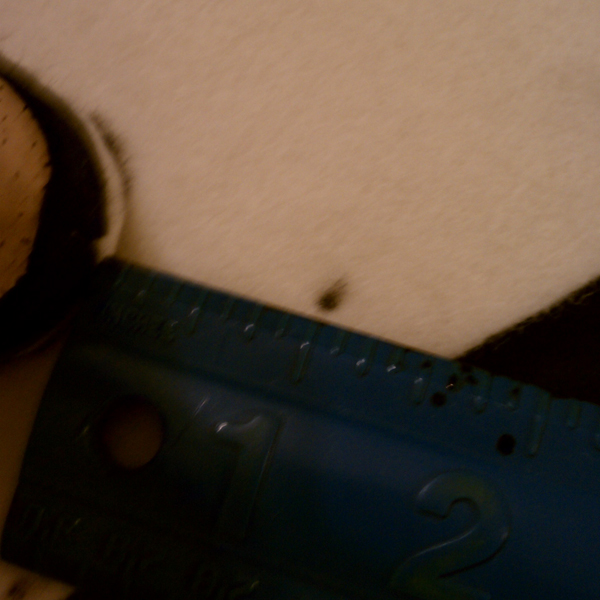
7. Decide which side you want to be the playing surface. Most commonly this is the soft side. Put the playing side down on a flat surface pull the edges up to the shaft and mark with a marker.
8. For this particular mallet, it just happened to be 1” from the core to the edge of the felt circle.
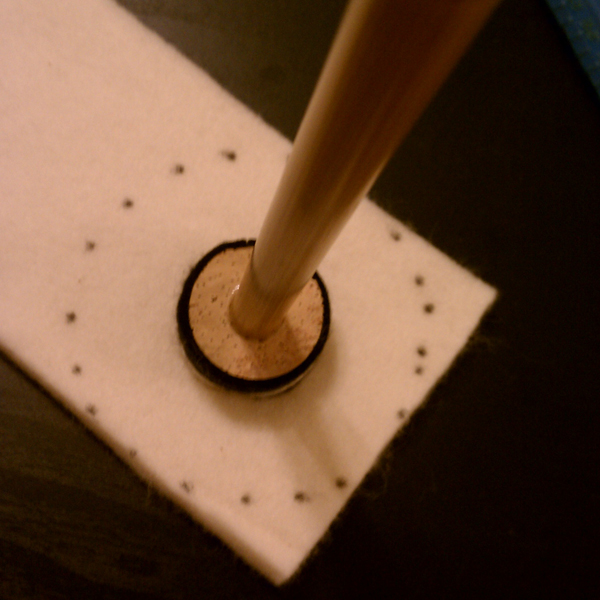
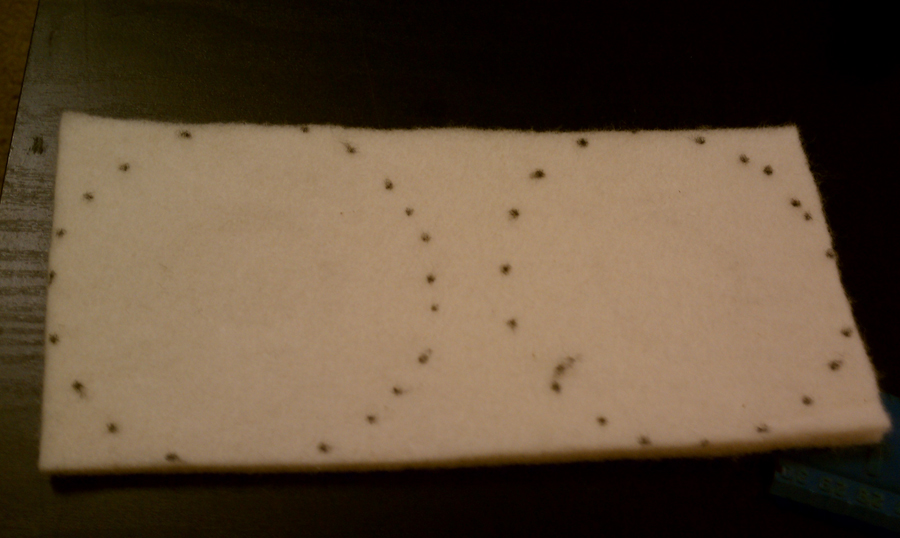
9. Measure yours and take that measurement and mark all the way around the core, creating a circle of dots on the non-playing side of the felt.
10. Make sure you leave enough room for a second circle made in the same fashion. Cut the circles out with sharp scissors.
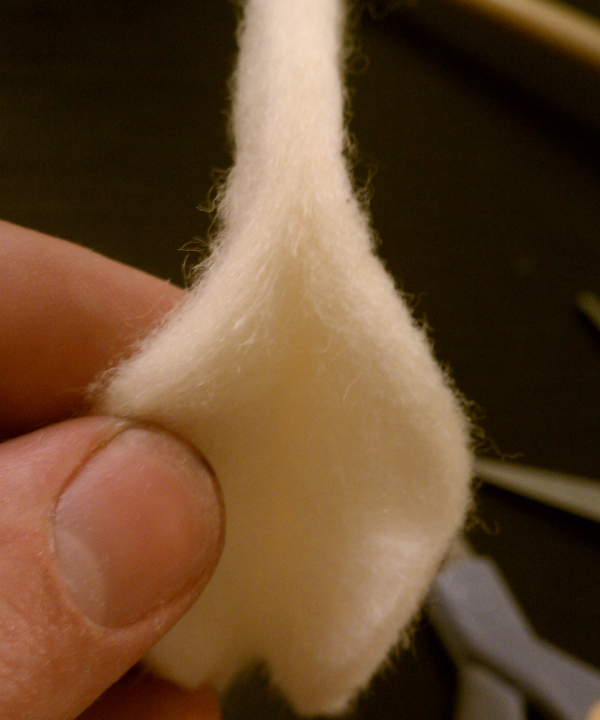
11. On both felt circles, split the edges about ¾” inward, making the inside side (most likely the hard side) thicker than the outside. Be sure the outside can support thread (i.e., don’t make it too thin!) This is called “butterfly splitting” the felt.
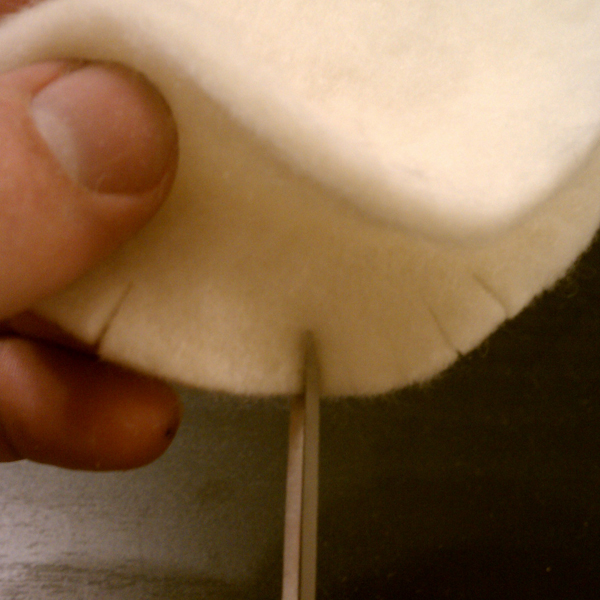
12. On the inside side of the butterfly split felt, trim about 1/16” of felt off the circumference. Cut notches about ¼” into the felt, ¼” or slightly wider for each notch in the same circle.
13. Cut a piece of thread about 18” long, thread your sewing needle so that the needle is about 3” down the thread and fold it (but do not tie it). Put the needle through each notch about 1/8” from the edge and centered. (The farther in you go, the harder it is to pull tight later.) Make sure to have enough excess thread on either side to tie knots later.
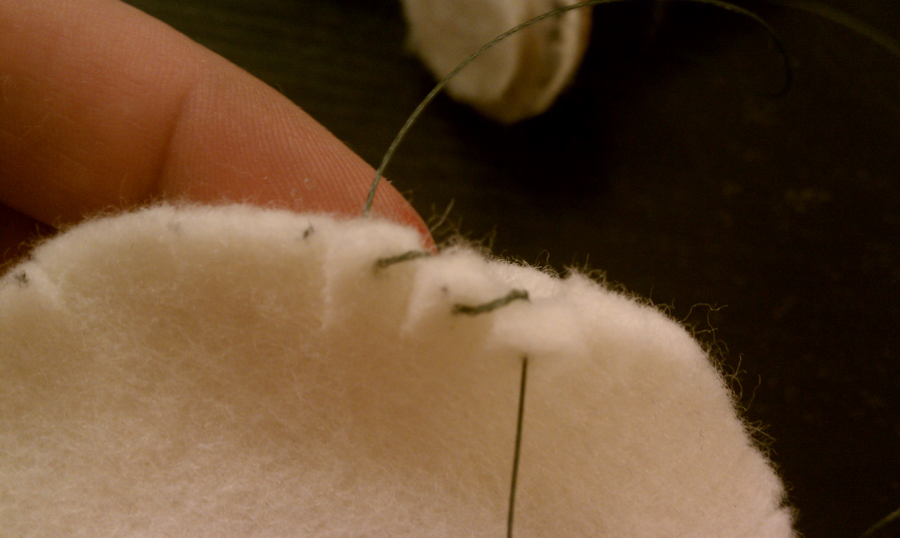
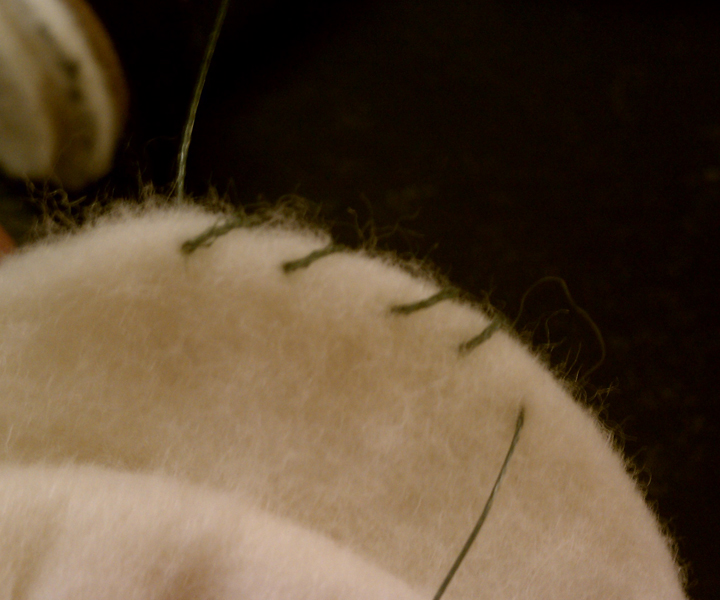
14. Cut another piece of thread about 18” long and thread your needle in the same fashion as before. Loop stitch the outside circle of felt (in a similar fashion as the notched circle.) Insert the needle at a forward angle to create nice, even stitches about 1/8” from the edge, spaced about ¼” apart.
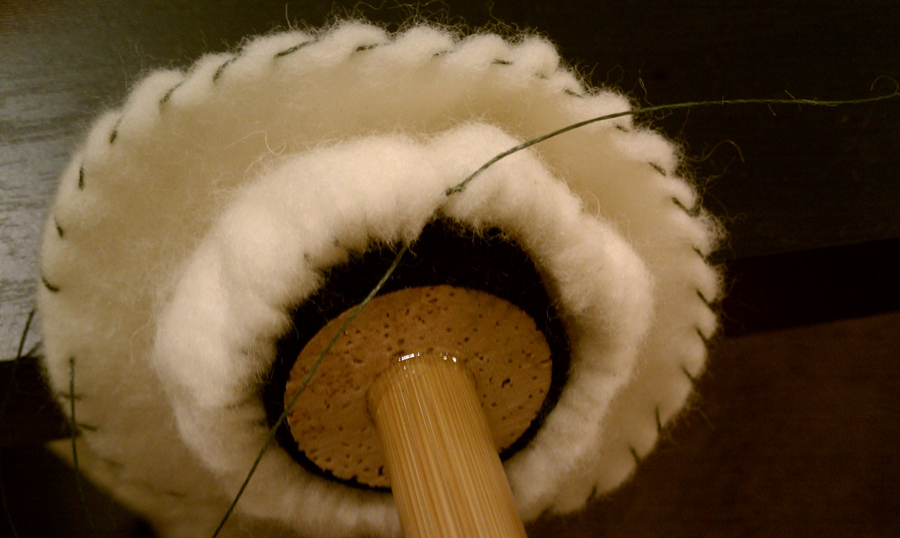
15. Single knot the thread on the notched circle, keeping the thread going in the direction it came from. Make sure the mallet core has the crown felt on top, if you are using it, and place the threaded circle on the mallet. (It helps to pull the thread a little tight prior to putting the felt on the core.)
16. If you are using a PTFE coated thread (such as braided fishing line), you can double knot the thread. If not, find a help to hold the single knot after you pull the thread tight around the shaft of the mallet. Use dowel rods to wrap the thread around to pull tight to avoid injuring your fingers.
17. After the felt is tight, double knot the thread again to create a quad knot. Cut the excess thread off close to the knot. This layer of felt will tend to bunch up and the notches help to alleviate this issue. Trim this felt (being careful not to cut the other circle) to get it even. It doesn’t need to be pretty! (That comes soon.)
18. Make a single knot in the outer layer and begin to slowly pull it tight over the inner layer of felt. (Tip: pull the thread out away from the core a little, pull tight and down.) If you’re using PTFE coated thread, you can double knot and pull tight. If not, find a helper to hold the knot when you get the felt tightly around the shaft then double knot. (Again, using a pair of dowel rods to wrap the thread around helps a lot.)
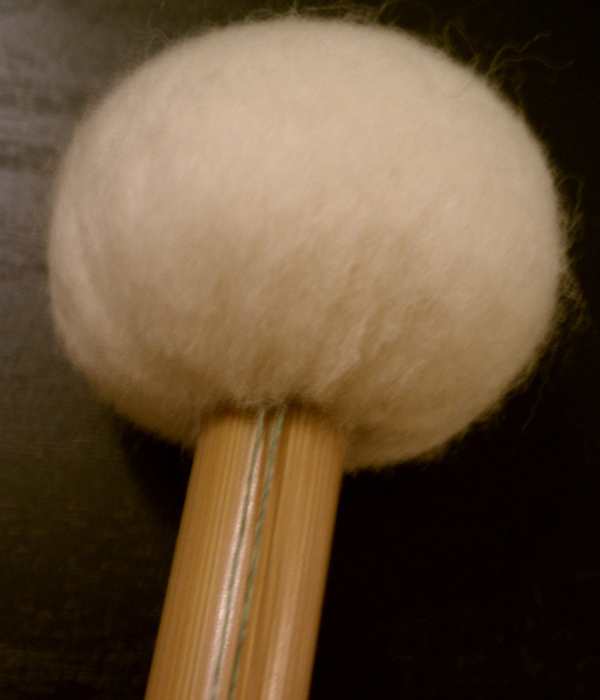
19. Pull the outer layer tight against the shaft of the mallet. Once it is tight to your liking, double knot the thread again to create a quad-knot. (If you are using a PTFE coated thread, you can do the next step and then quad knot your thread after pulling the felt tighter.) DO NOT cut the thread yet.
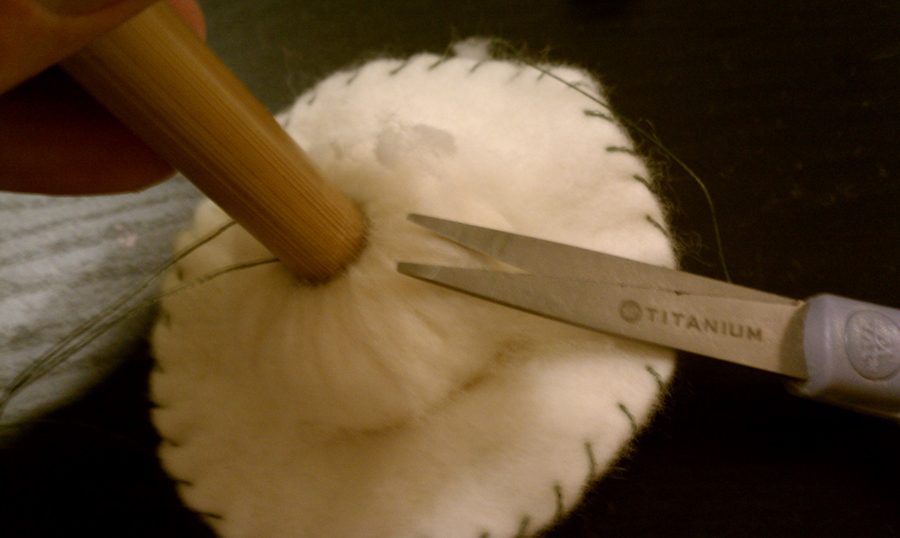
20. Trim the felt lightly with sharp scissors. You can shape the mallet a little with this step as well as remove larger bunches. Trim flat near the shaft of the mallet for a nice clean appearance.
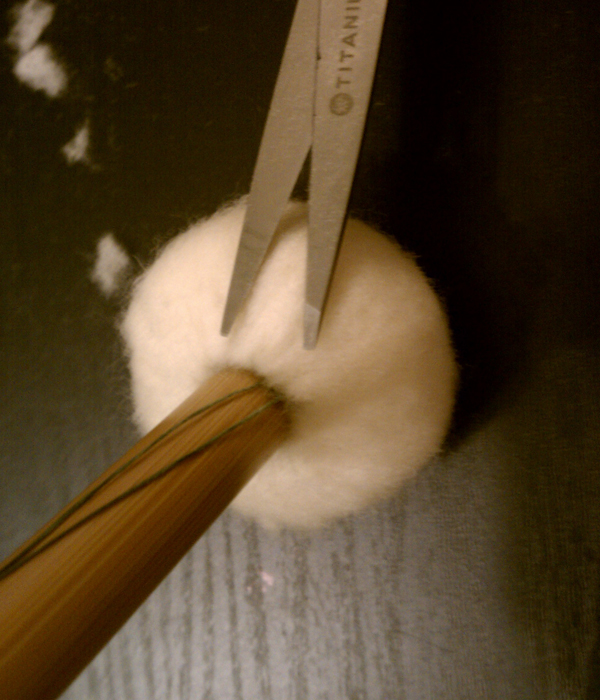
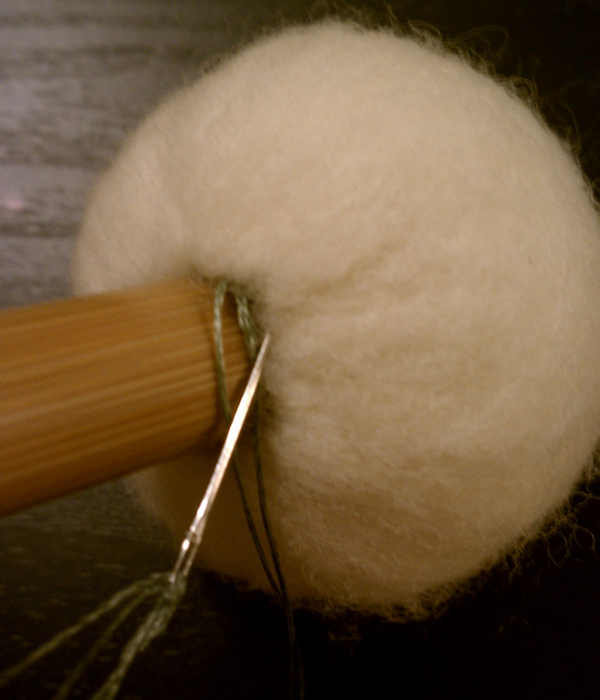
21. Once you are happy with the way your mallet looks, grab the two excess pieces of thread, and cut them together about 6” away from the core. Thread both of these pieces into your needle.
22. Take the needle up against the shaft and push it as far away from the shaft upwards as you can. Pull all of the thread through, pulling tightly and removing the needle.
23. Push down on the felt around the thread with your scissors and trim the excess thread while pulling it tight. (Tip: If any thread sticks out, you can press it back in with the backside of the needle.) Repeat from step 15 for the other mallet.
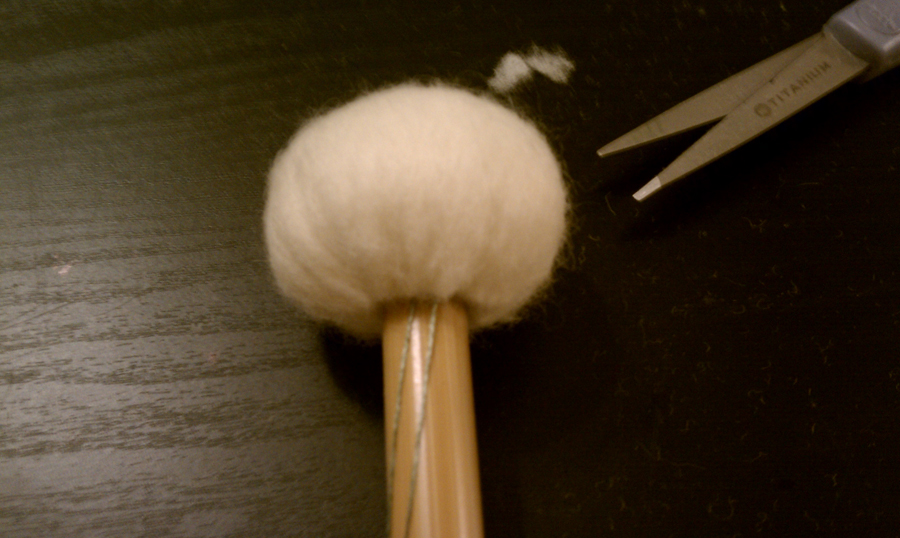
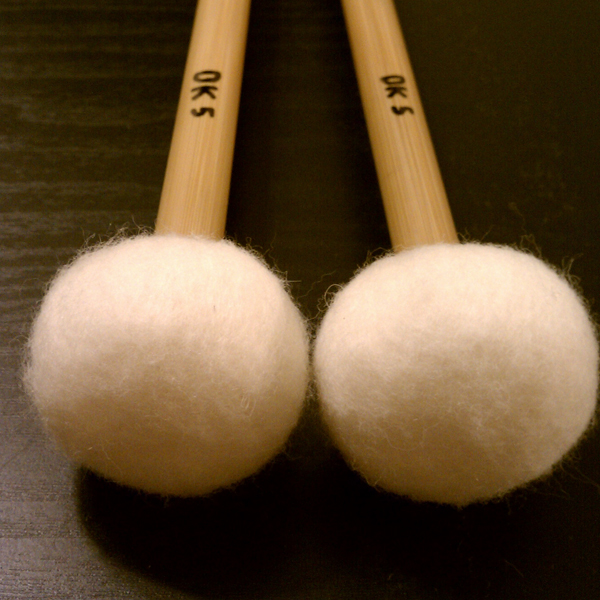
24. Voice the felt on the mallets to get the same articulation and tone from each one. Your mallets are done!
Please feel free to use and or print these directions, but please make sure to leave a link back to here!


Leave a Reply