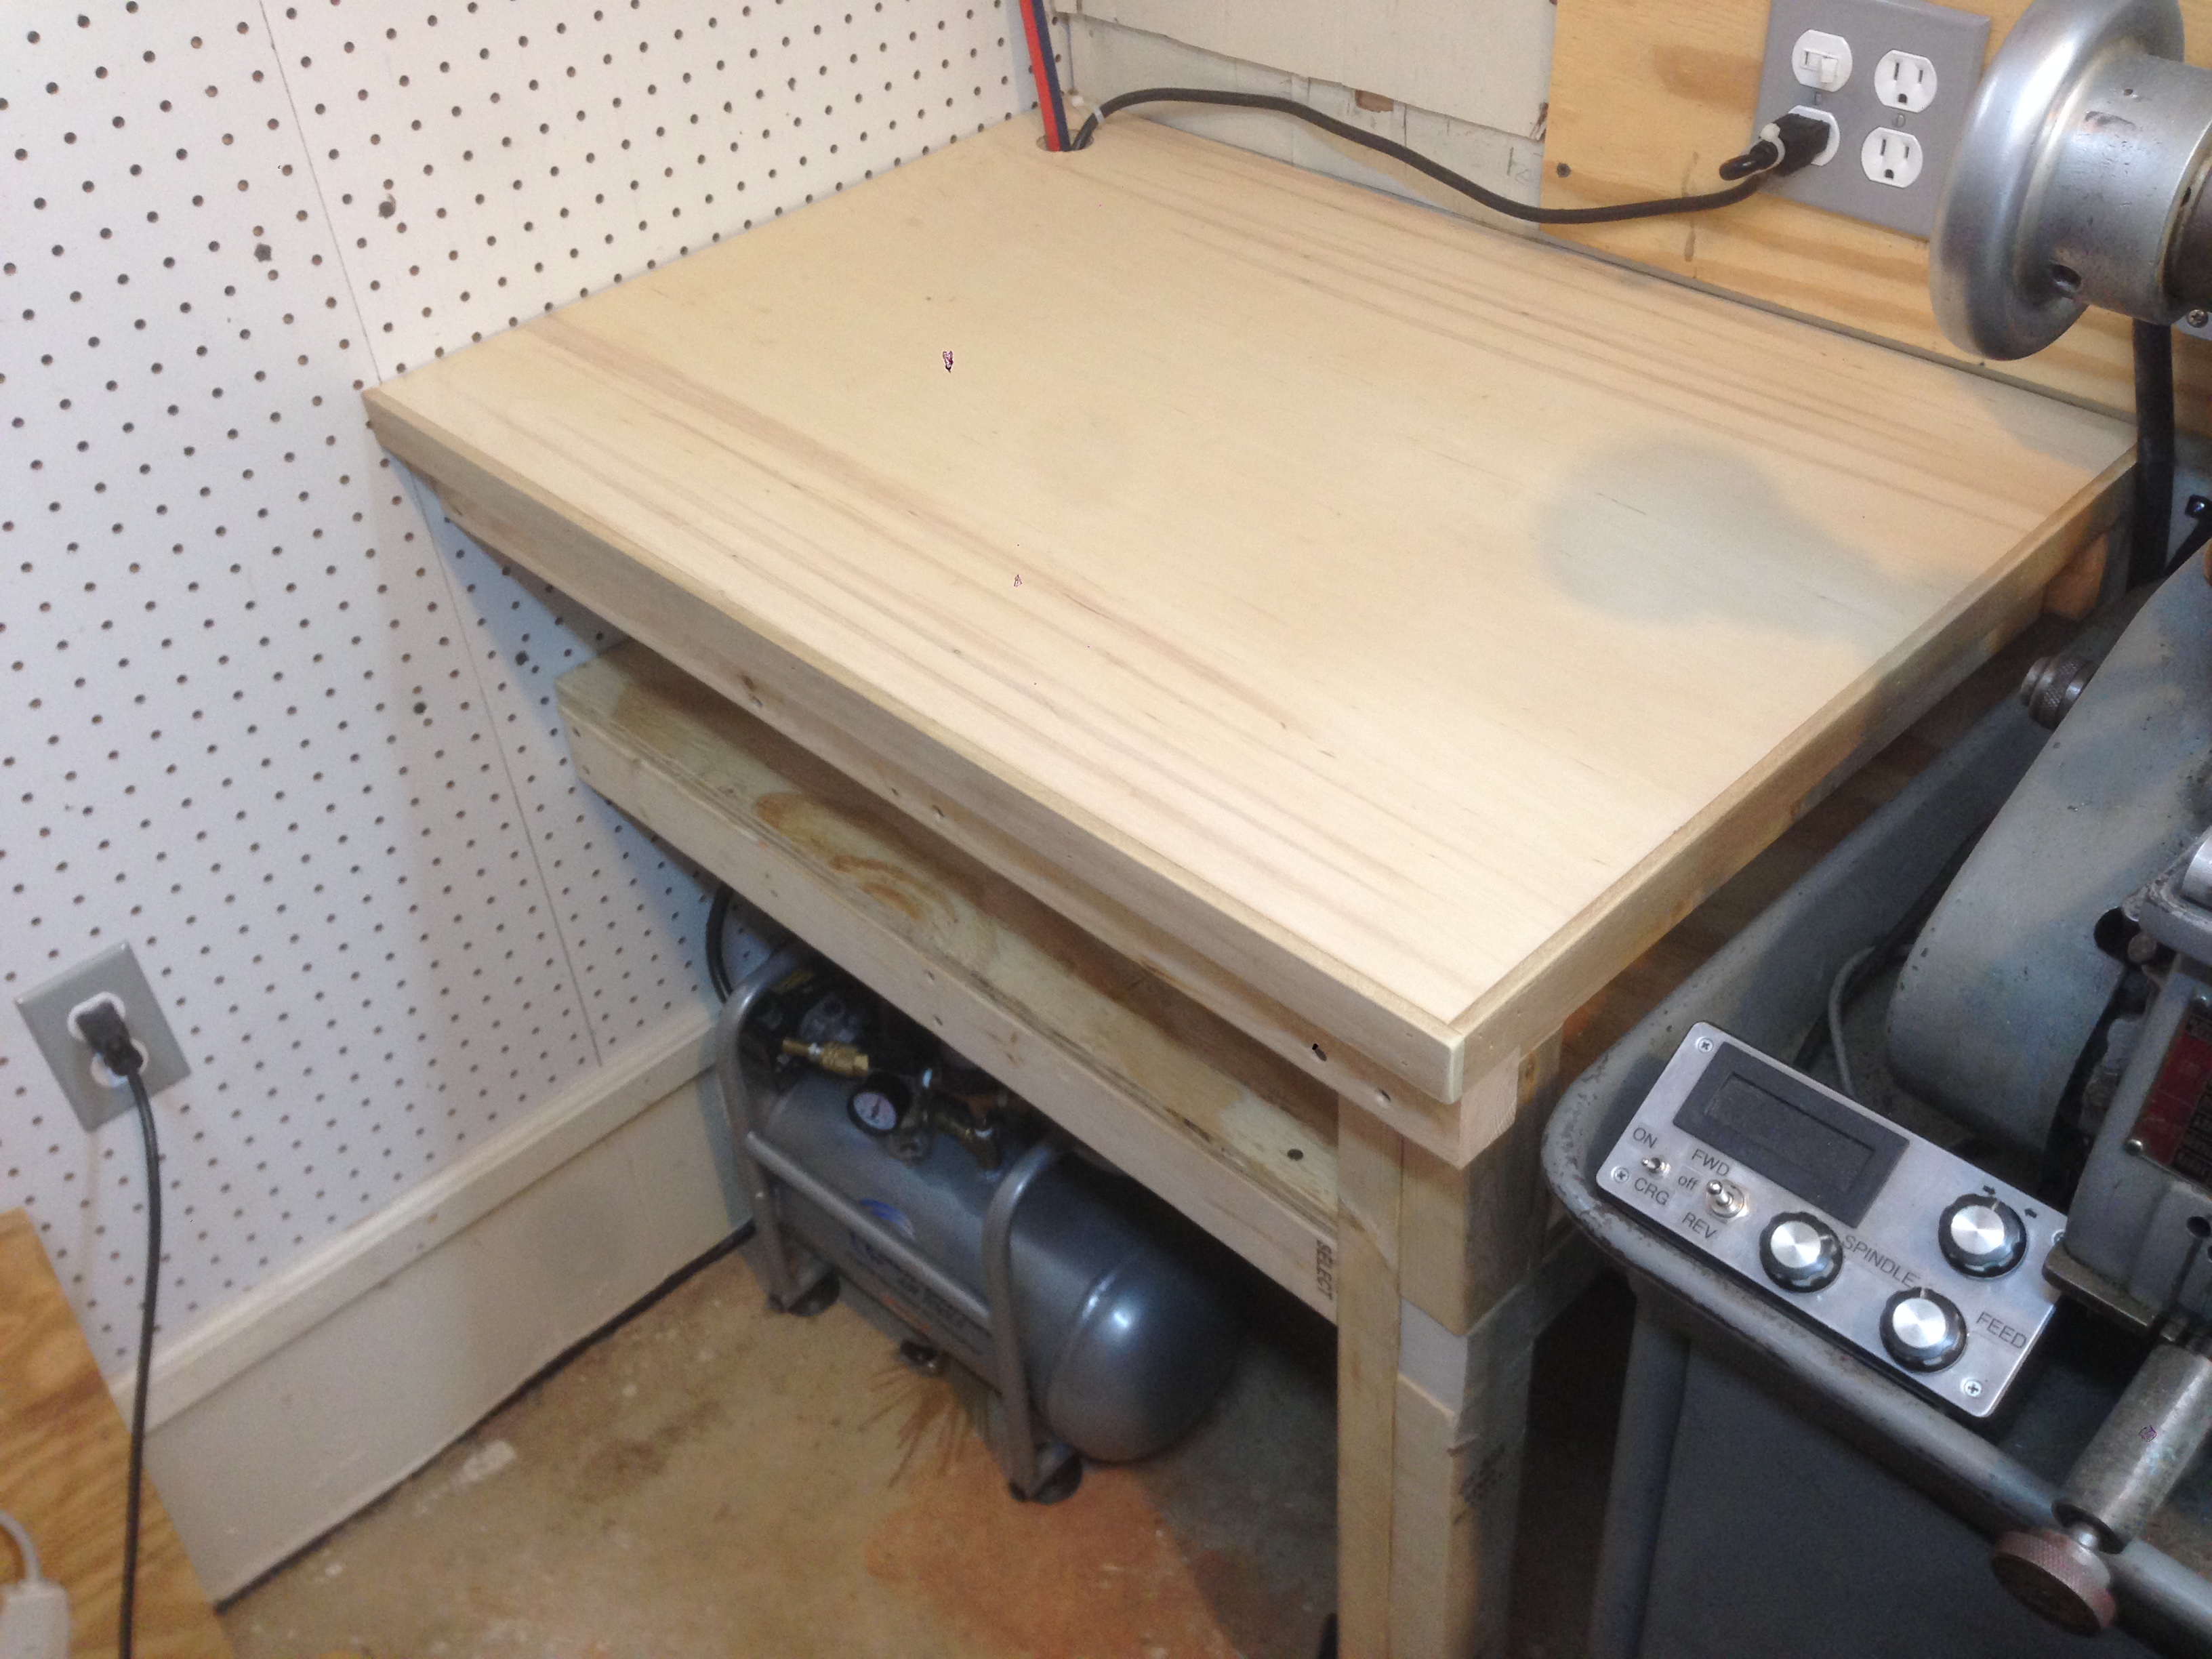
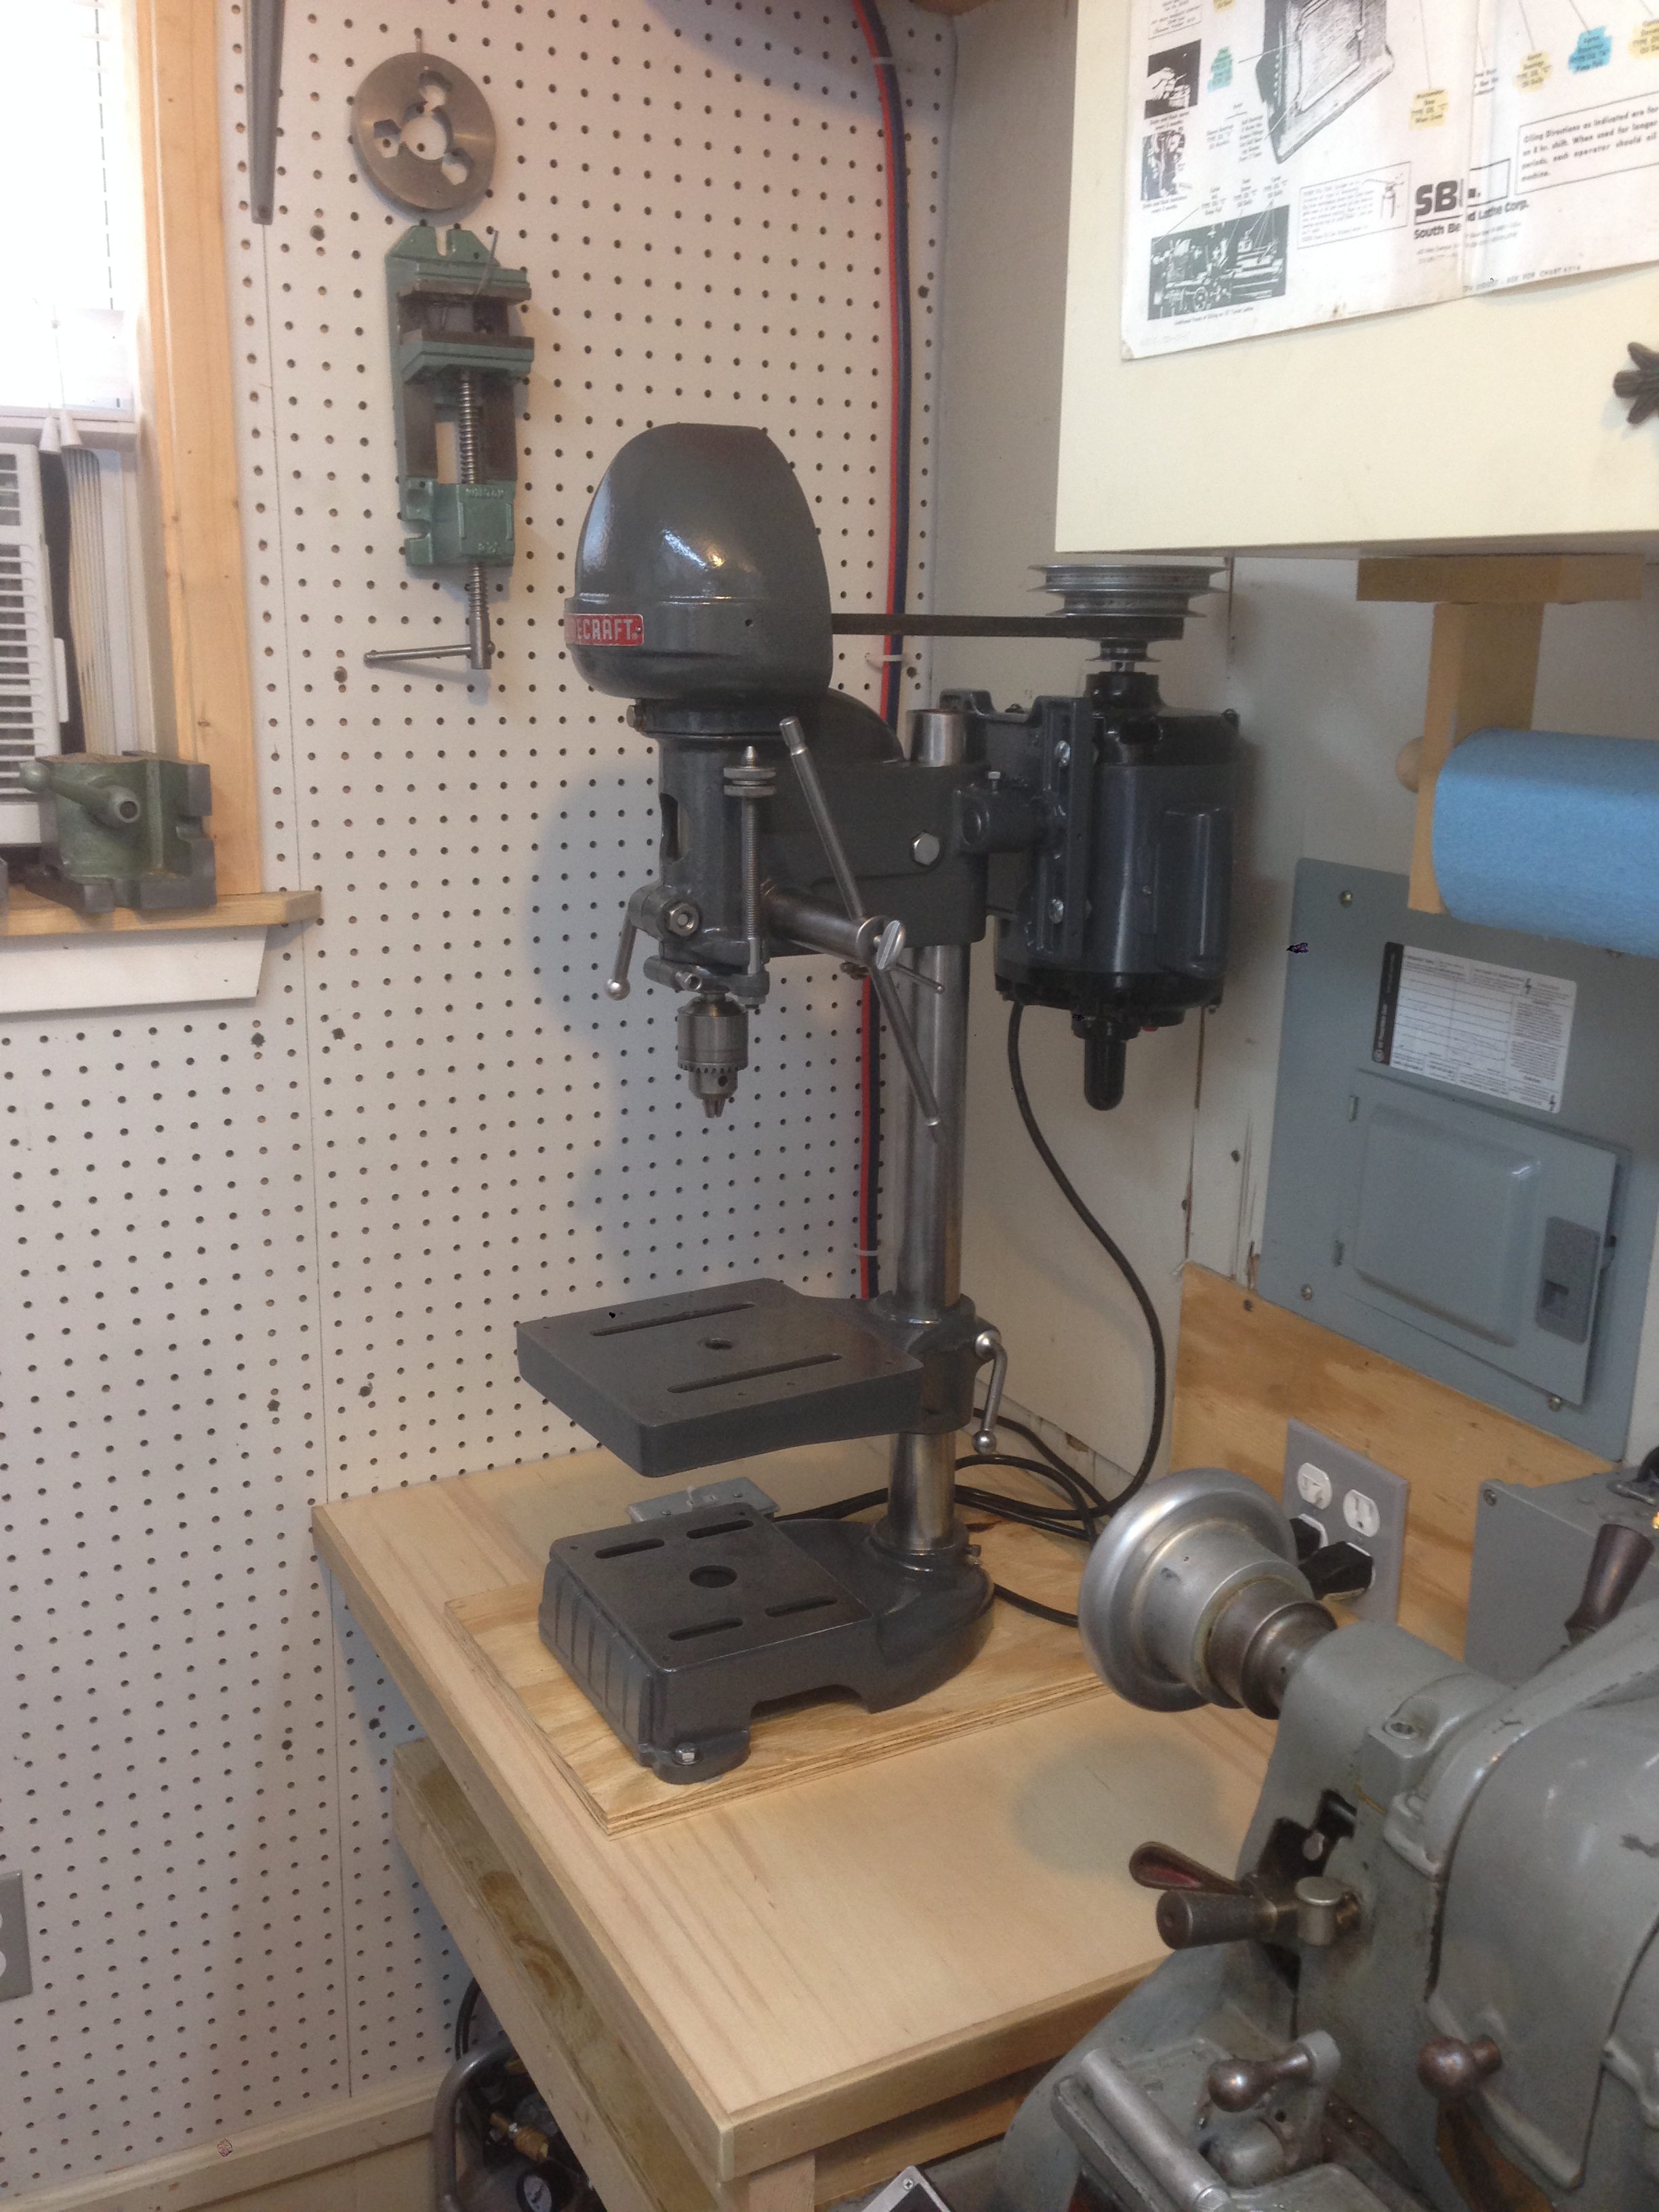
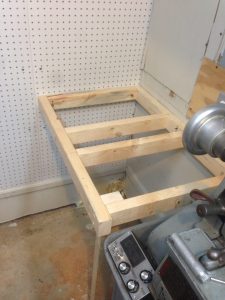
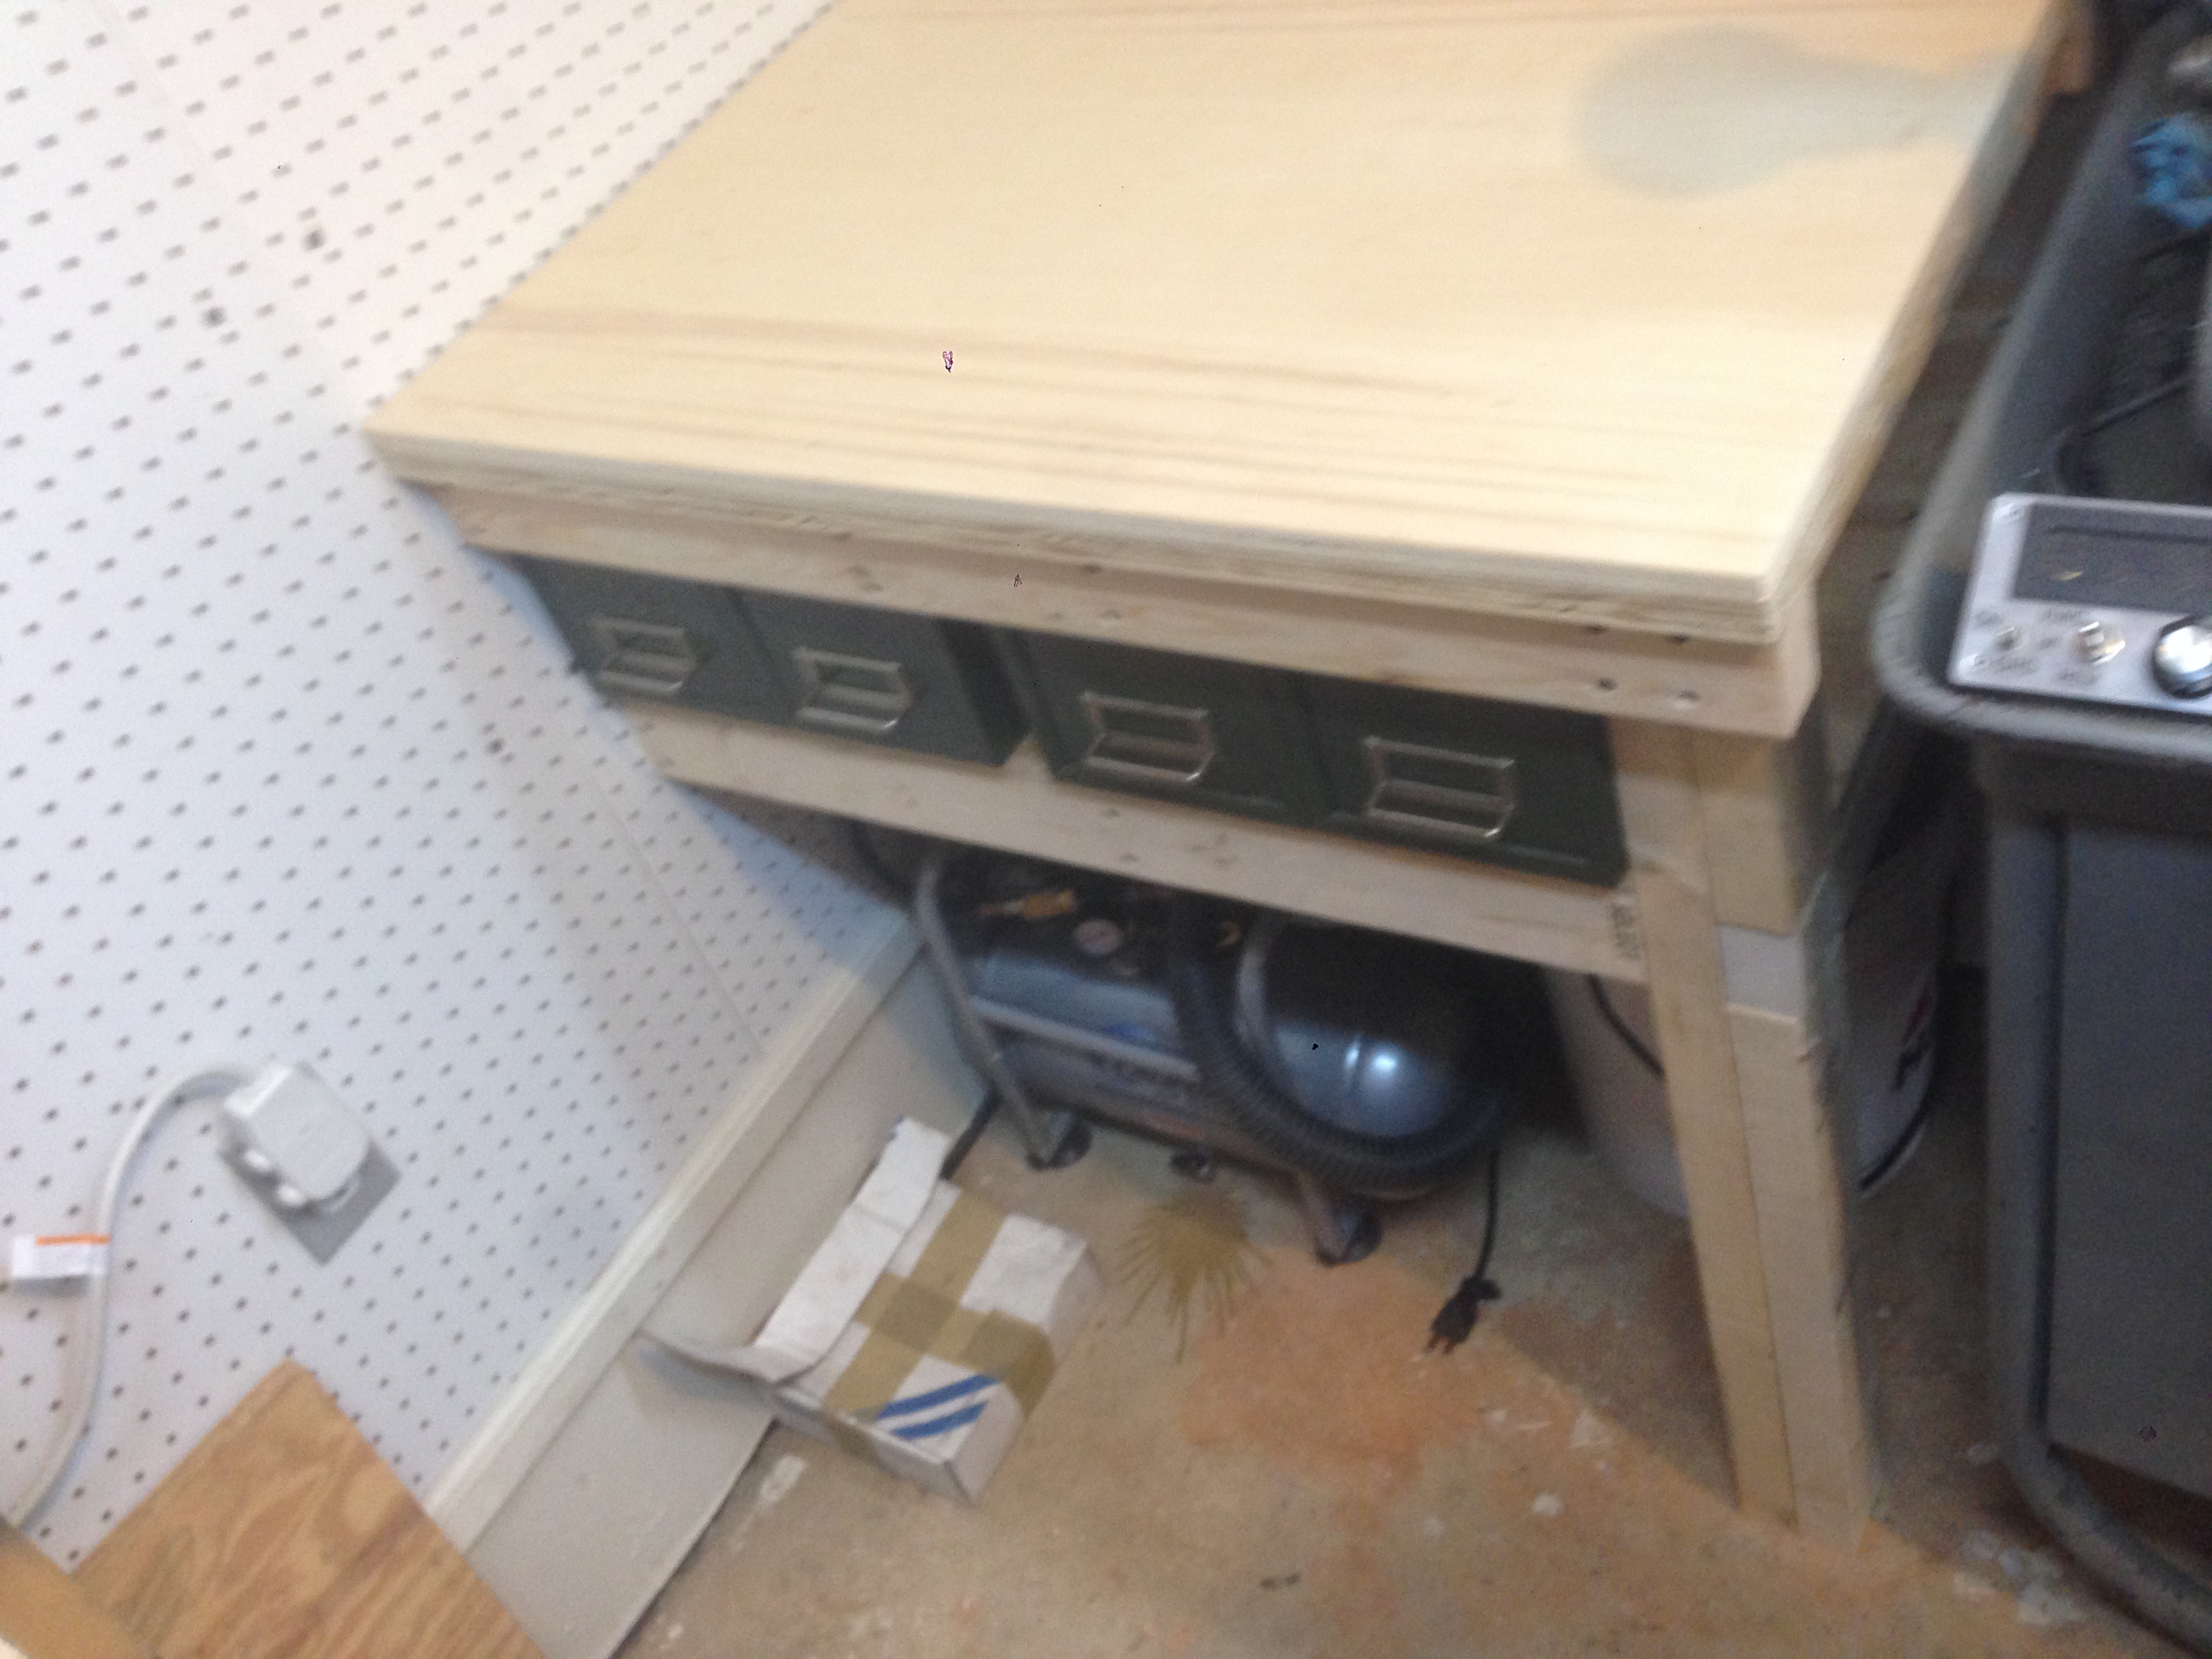
As work progresses, I hope to post here when there’s enough to write about. In the last few days I built the bench that will eventually hold the Benchmaster with the Bridgeport M Head. Currently it holds my newly restored Delta “Homelite” 11″ drill press, which is a “good enough” drill press to do the simple things not worth lining up on the mill. (Also, I use a tapping head a lot for a part I make regularly.)
The Bench
I ran the air hose to my extra air tank and the power cord for the air compressor. I used zip ties to keep the hose close to the pegboard wall.
I bought some “Steelmaster” (appropriate?) index files to install below the mill to hold cutters, tools, etc. They fit nicely, but I made a miscalculation and may have to only have three instead of four drawers due to the Benchmaster’s knee screw.

The structure of the bench is meant to hold the weight of the BM and BP machinery, which by my guess will be somewhere around 300 lbs. This should do just fine, and the BM will be lag screwed into the 2x3s that support the double plywood top.
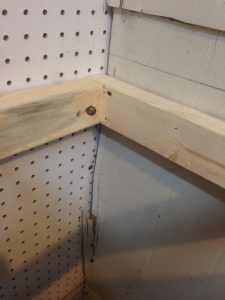
Each piece of wood was confirmed level before being screwed into a wall stud.
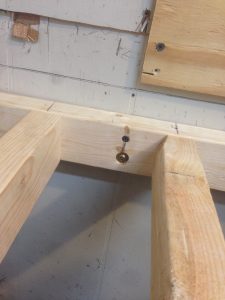
The bottom shelf was cut into two sections to allow the boards to go into place.

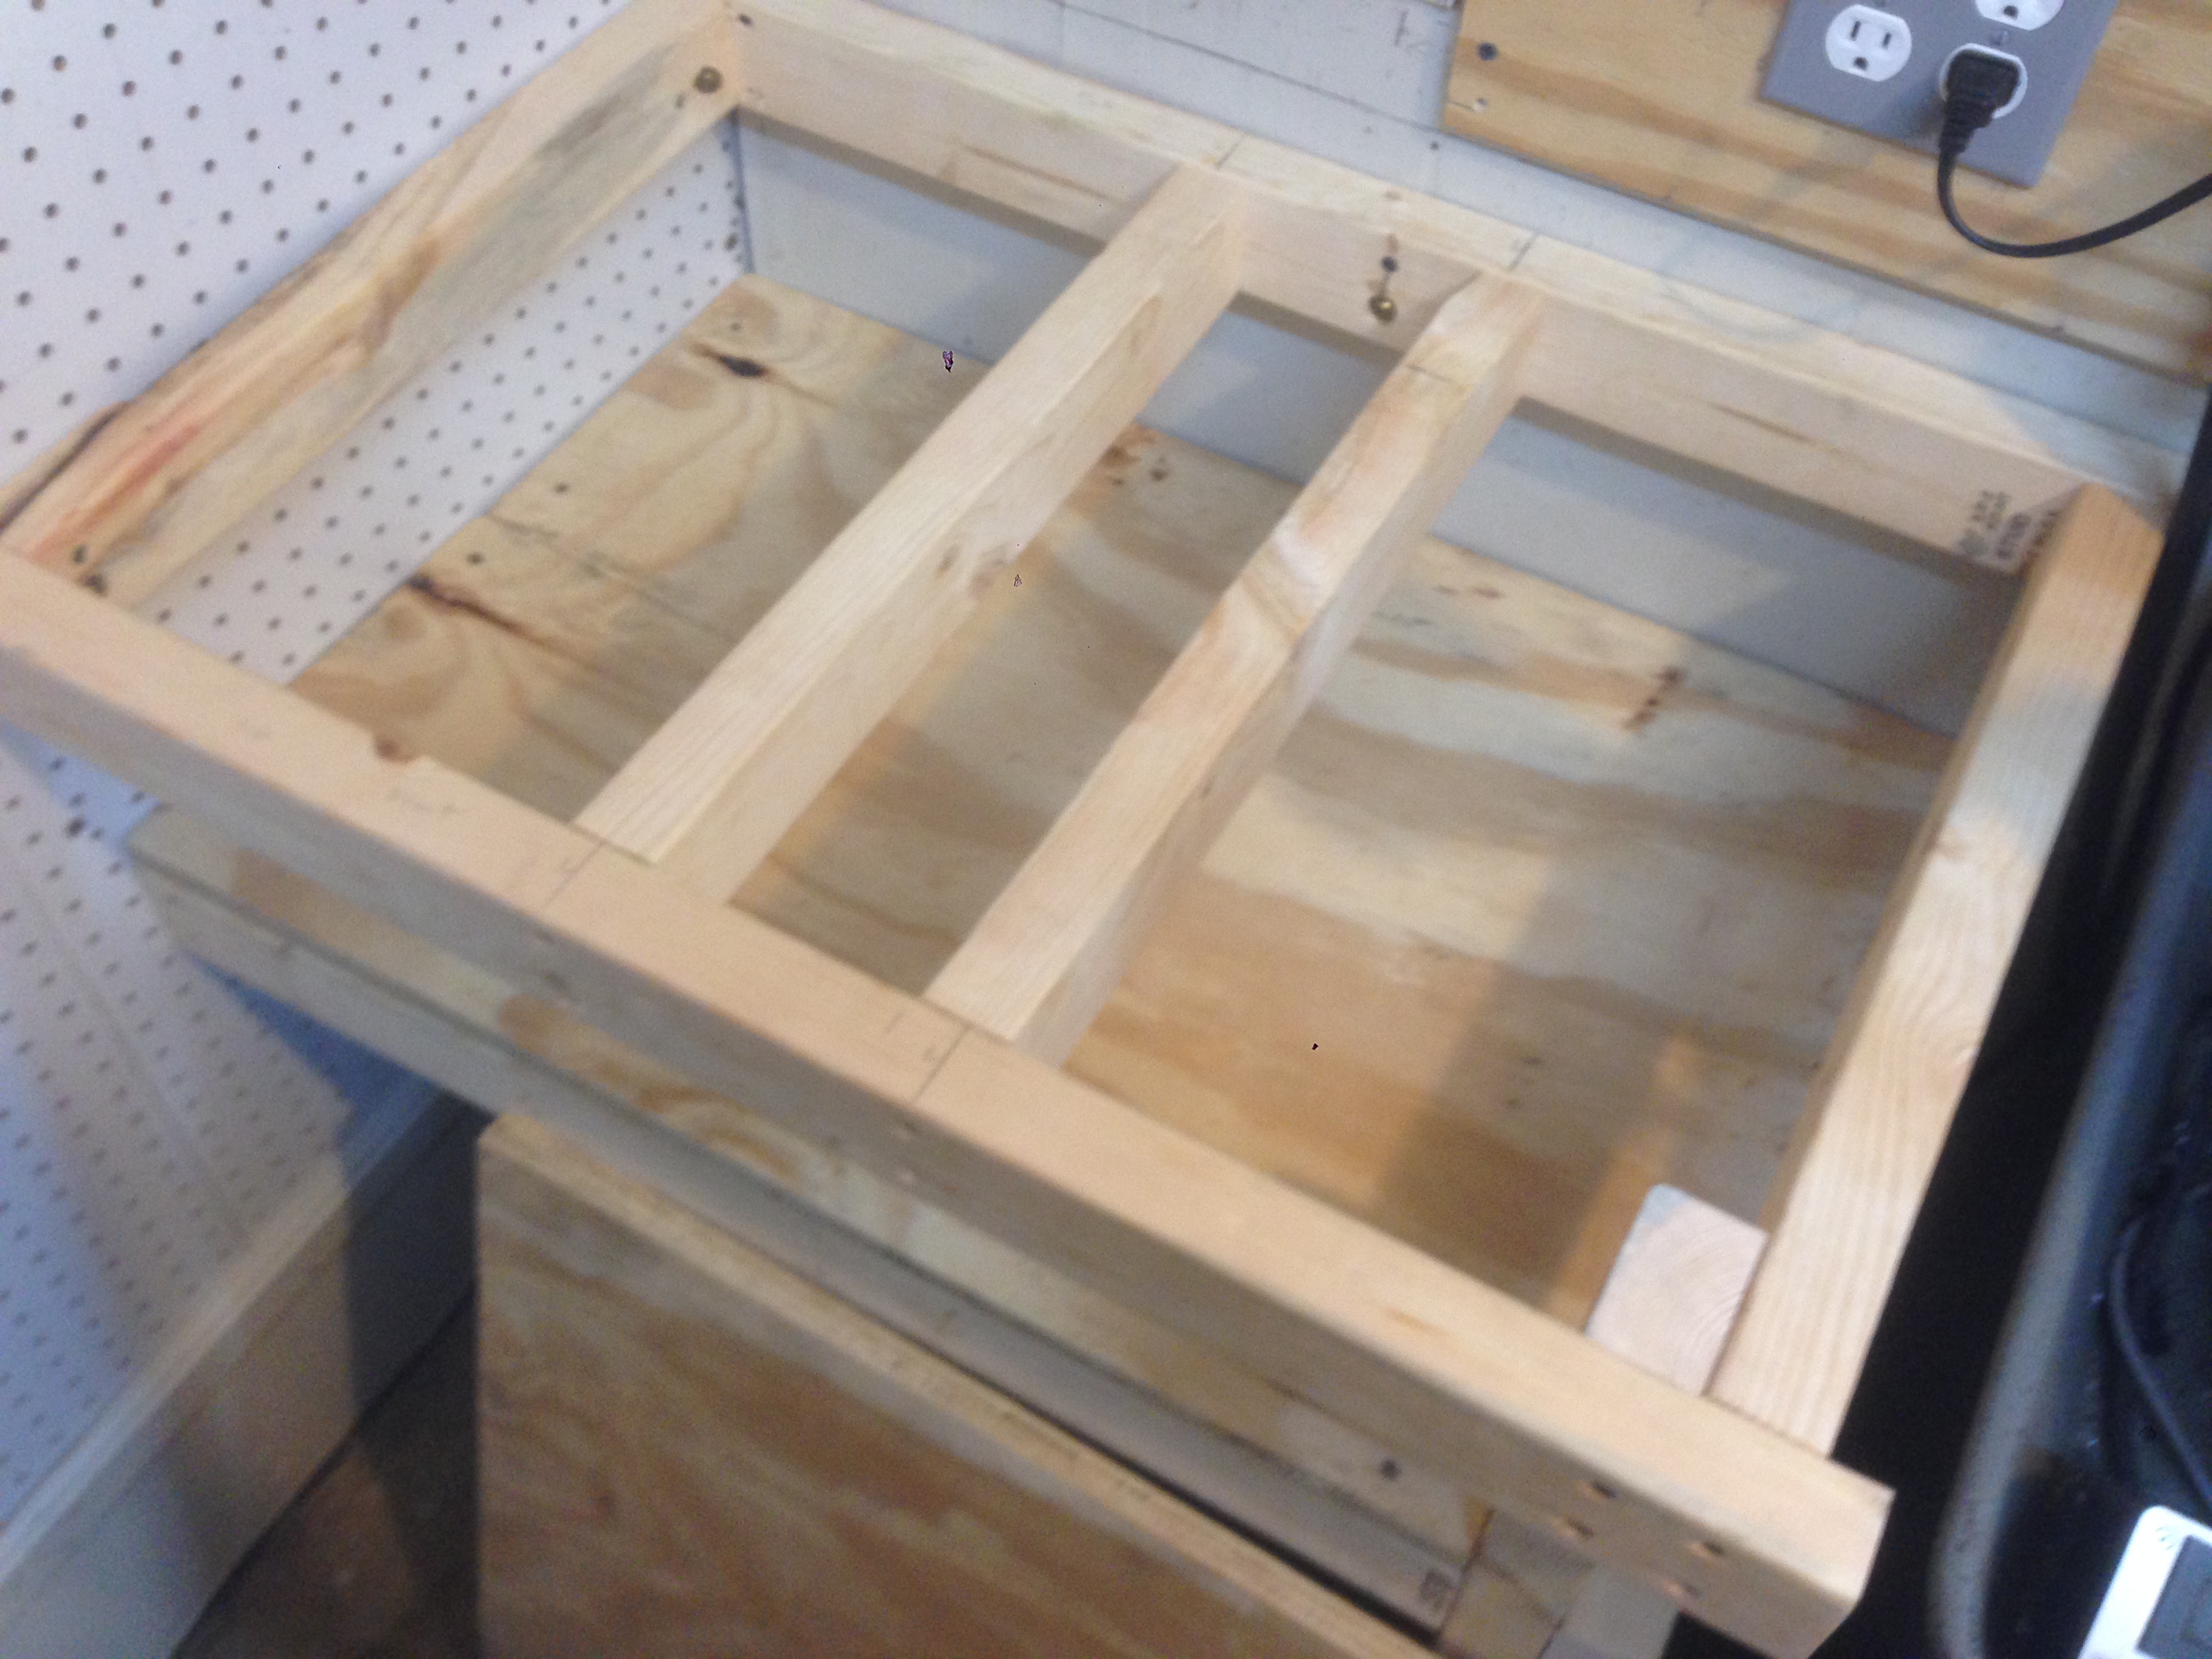
The top was made of 3/4″ plywood, screwed into the structure, followed by a glued on piece of 1/2″ cabinet-grade birch.

The Missing Parts
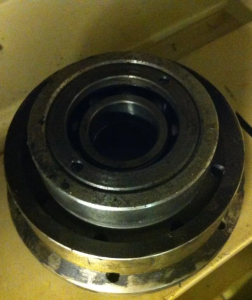
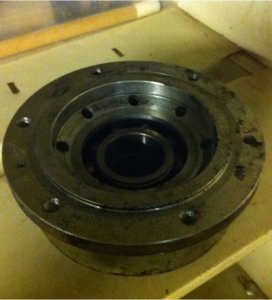
This picture pretty much sums up what I got when I purchased this “complete head.”
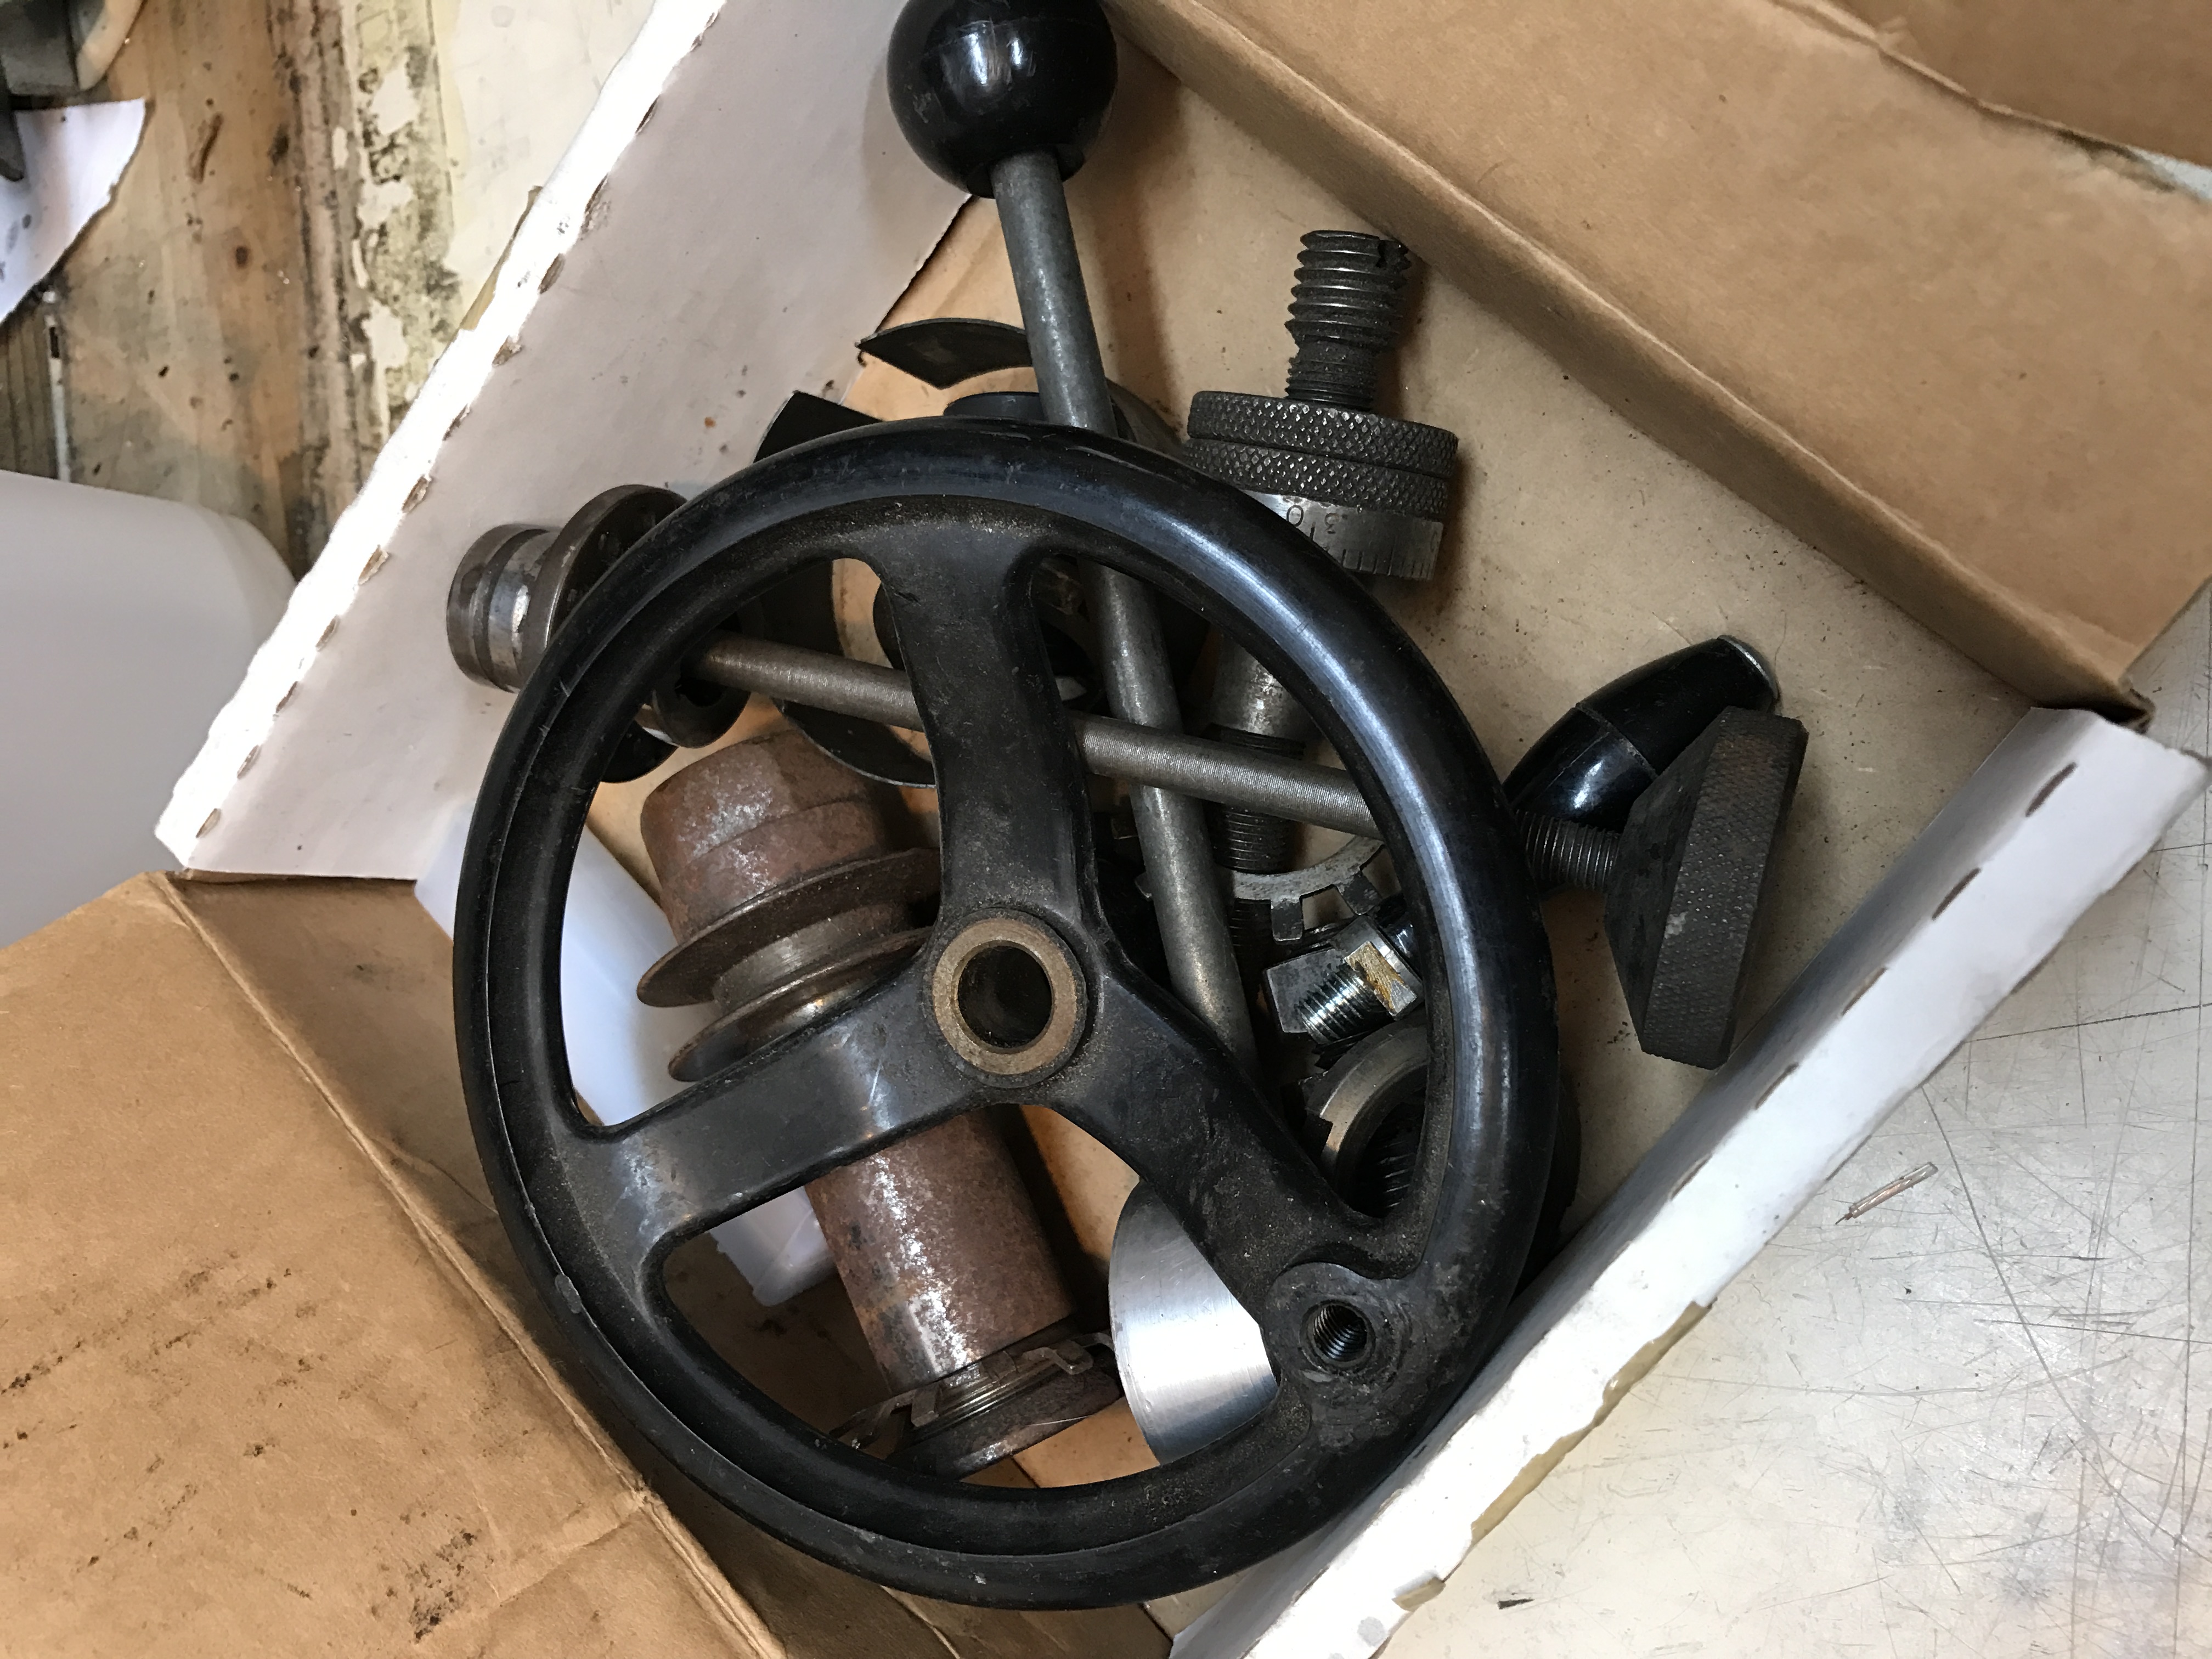
Only two parts from that box even go to the mill head. Ridiculous.
Some other missing parts included small things I could make in the shop including a drawbar nut and a quill spring cover. Both made for fun projects.
Another missing part that is crucial to the head is the upper pulley spindle bearing housing. I found one on eBay but missed it by an hour. Luckily another one came up and I purchased it right away. I think the seller of the mill head should pay for it…
All the bearings have been ordered (six in total not including the motor) and will be replaced once the time is right.
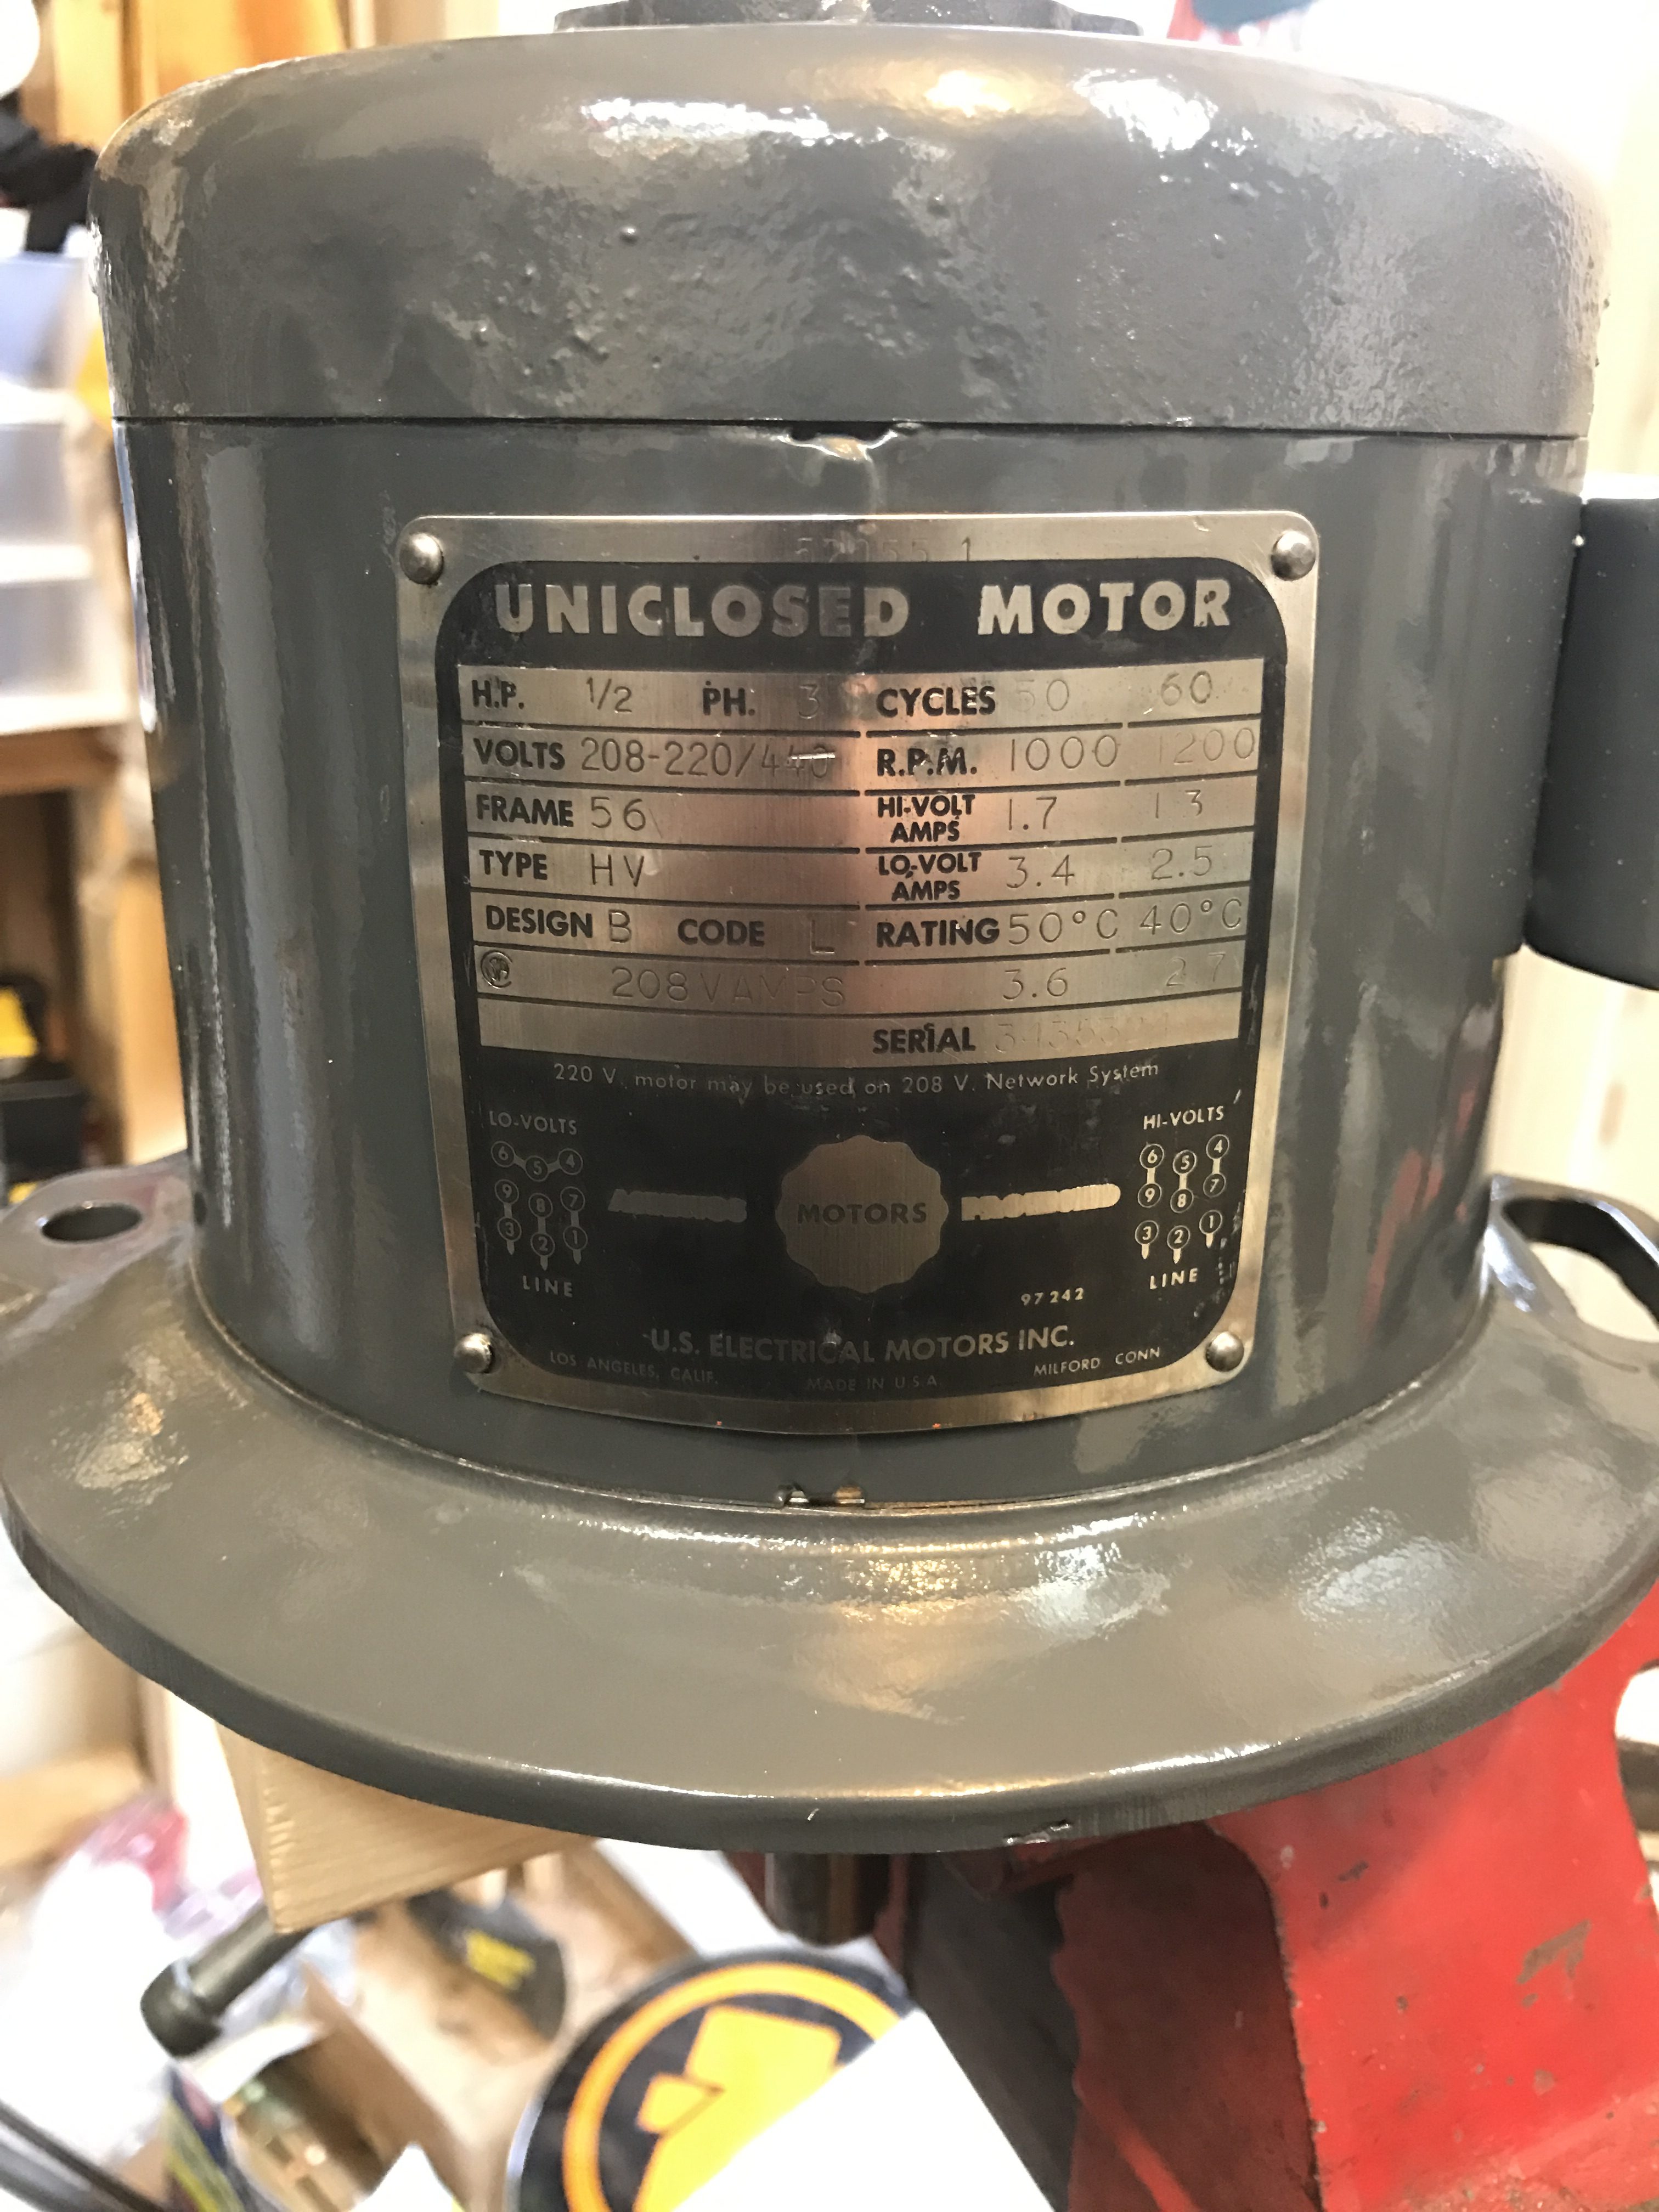
The Motor
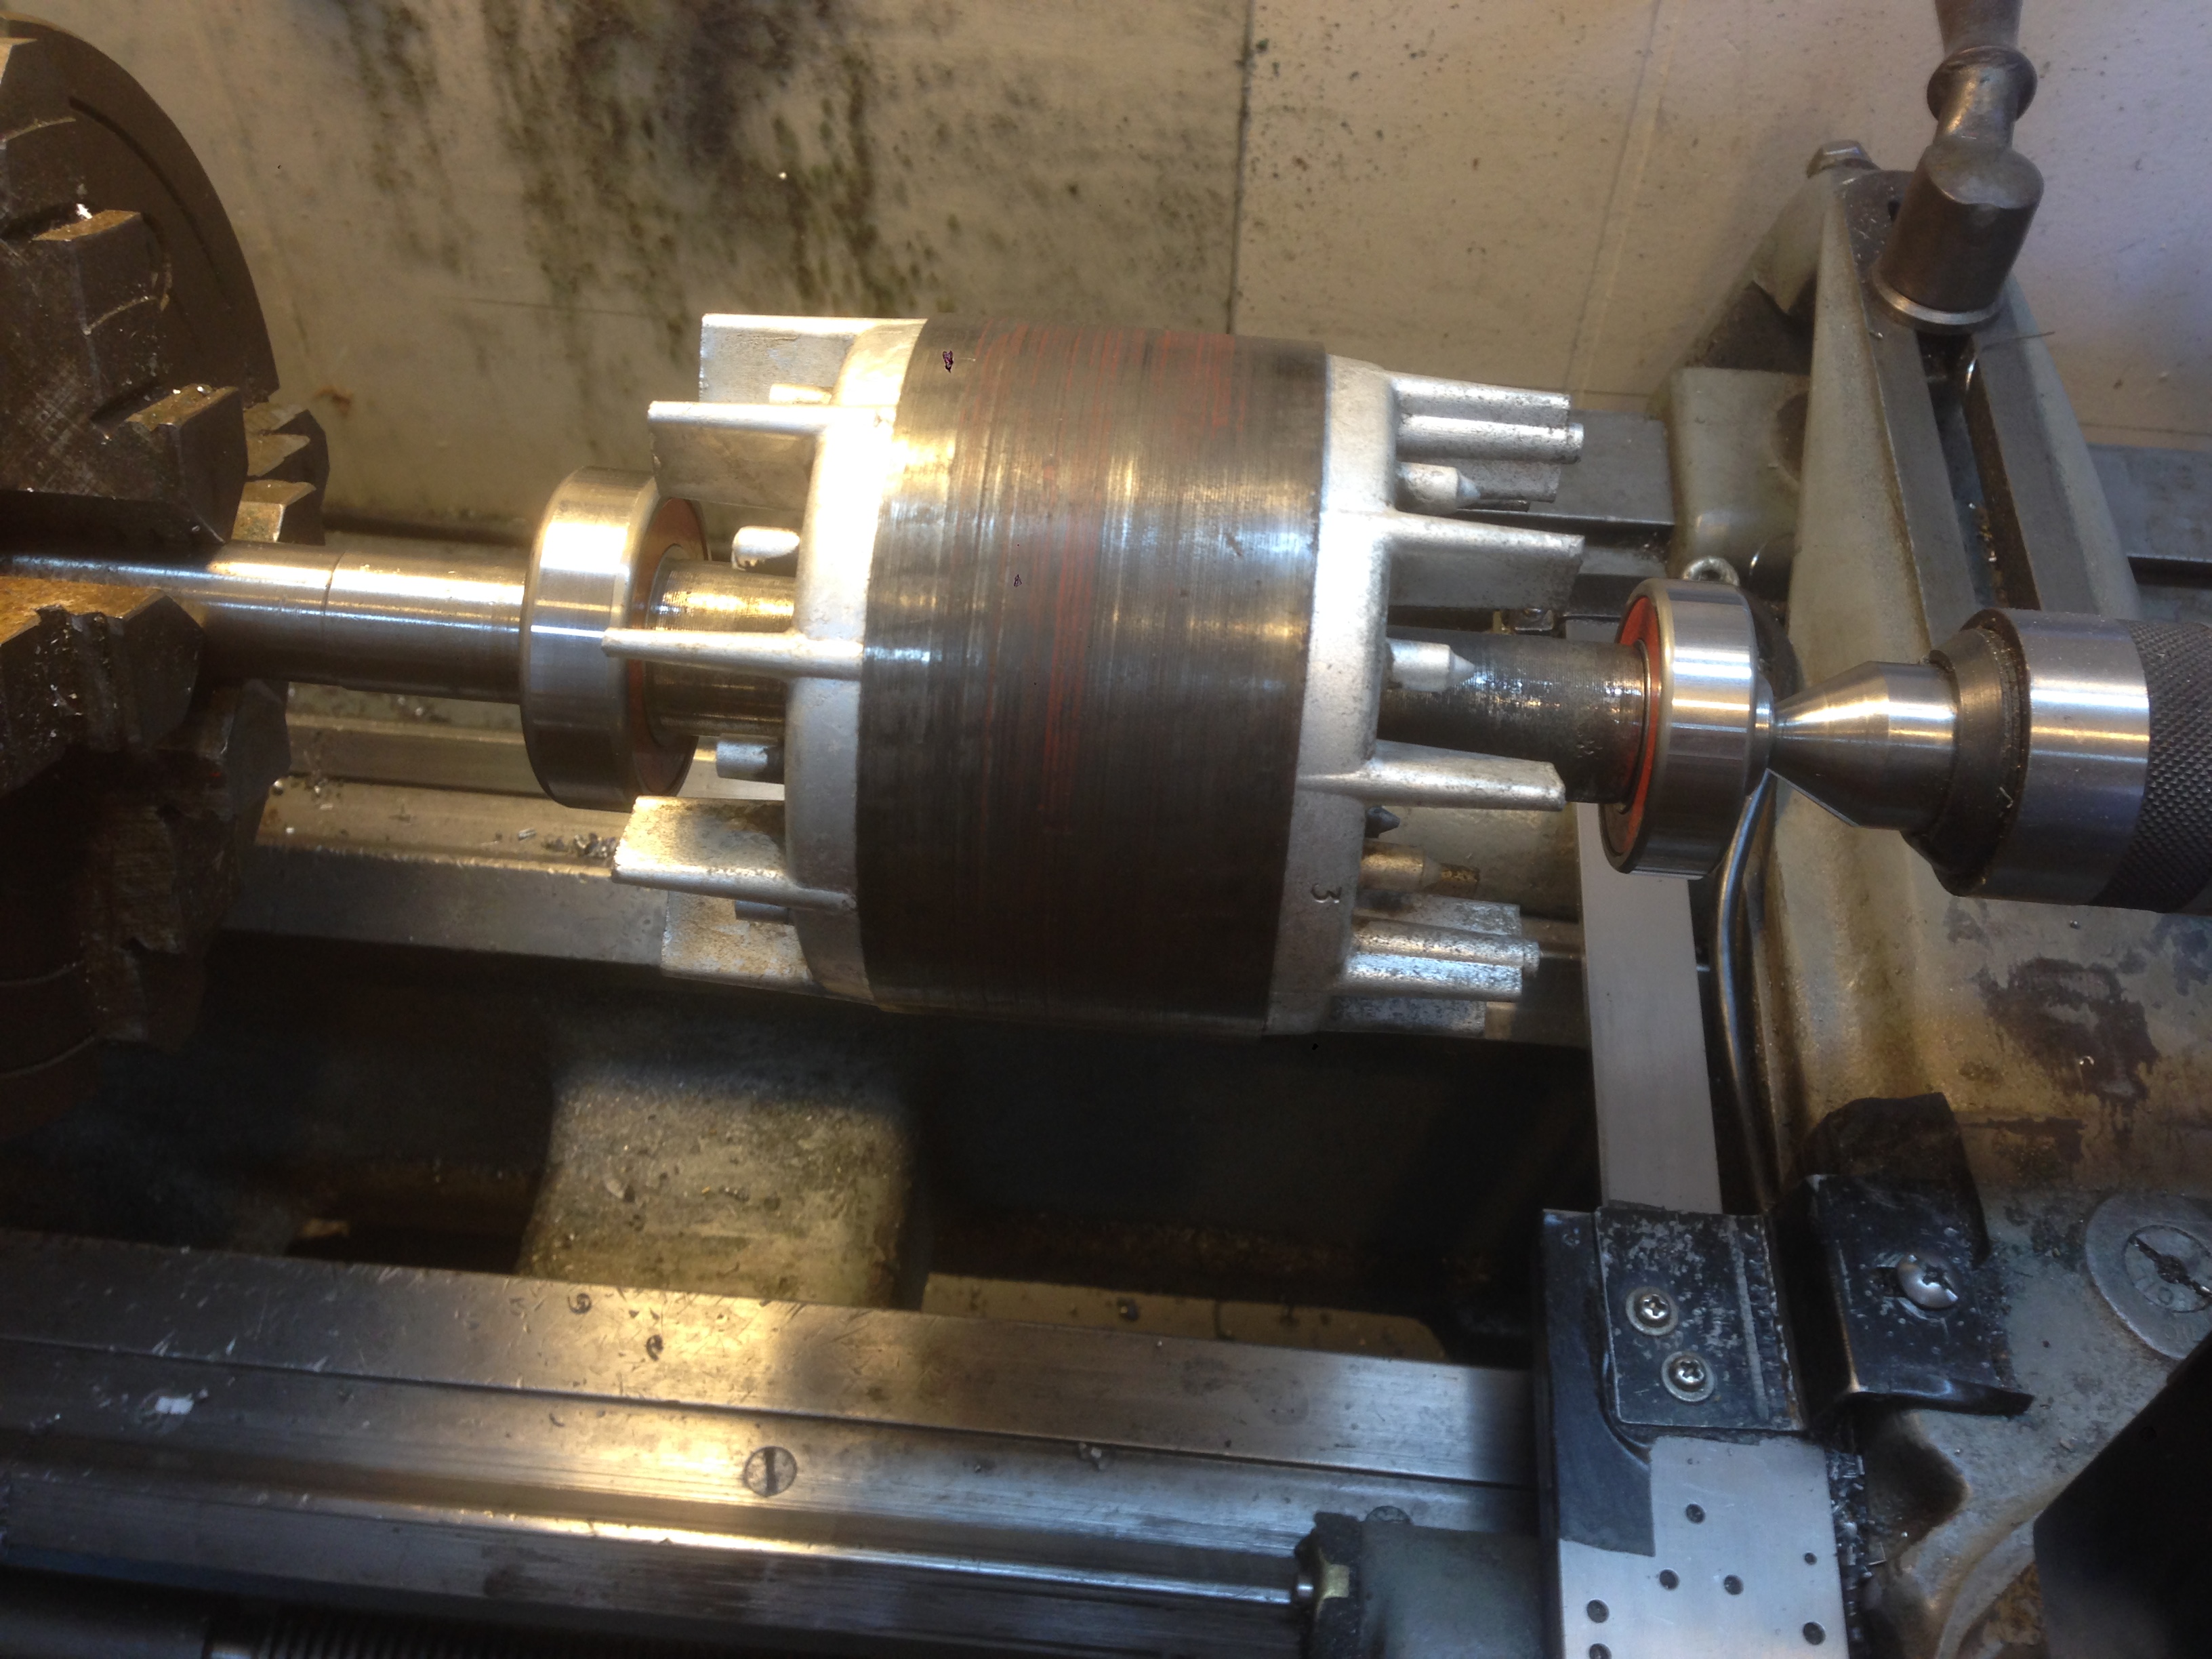
The first part of the head restoration was to get the motor up and running. As it is a 3 phase motor, I purchased a VFD to run it. When I initially tested it, it had a scraping sound and I figured it was the bearings. Turns out, it wasn’t. That didn’t stop me from replacing the open bearings with sealed, new bearings.
The scraping sound was actually from two things. The armature in the motor is unbalanced (the aluminum fans aren’t centered perfectly) and the portion on the middle wasn’t round. I dialed it in on the lathe to within .0005″ and took a skim cut along the length. I believe I removed about .030″. After putting the motor back together, it runs way nicer, however it still has a bit of a vibration from the unbalanced fans. I believe it will still work fine.
Some fresh paint and a skim cut on the lathe.
Before and after:

I plan to reuse the motor’s switch housing to contain some connections and possibly the potentiometer for the VFD.
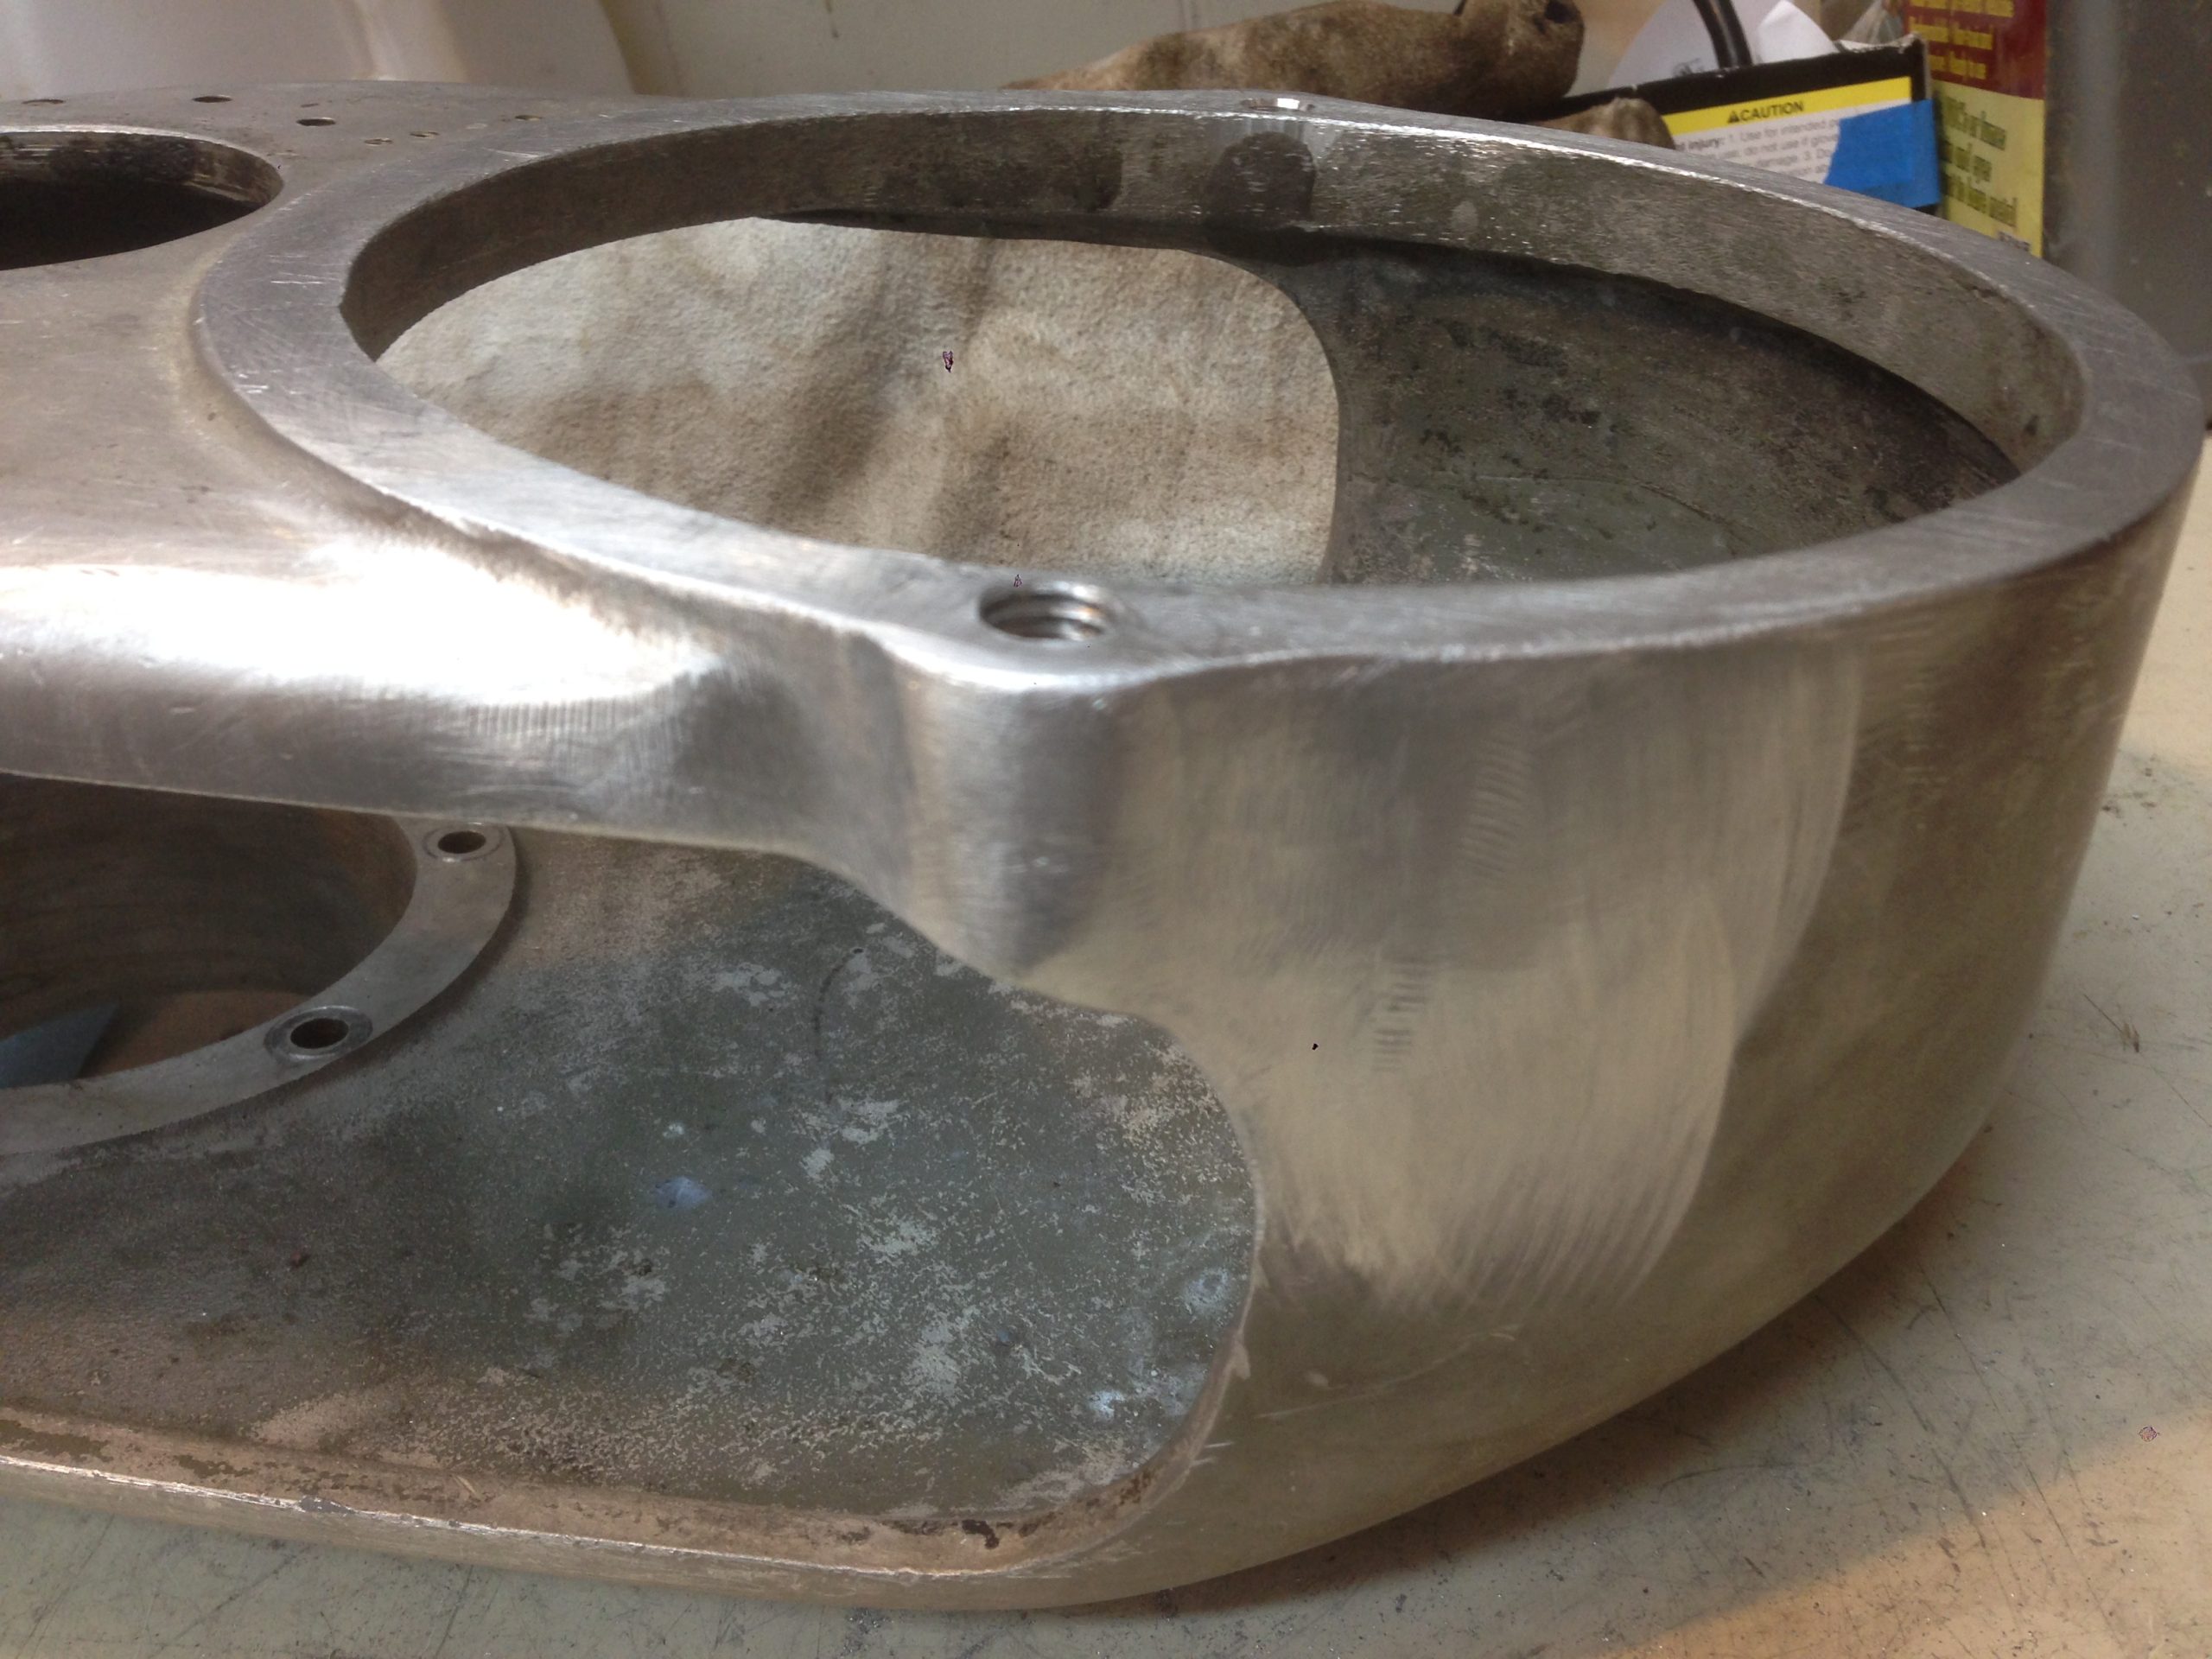
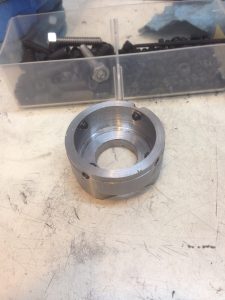
The Aluminum Pulley Housing
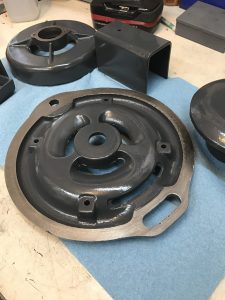
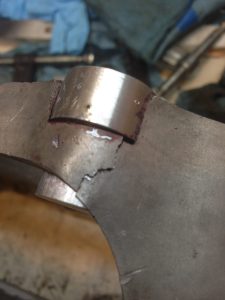
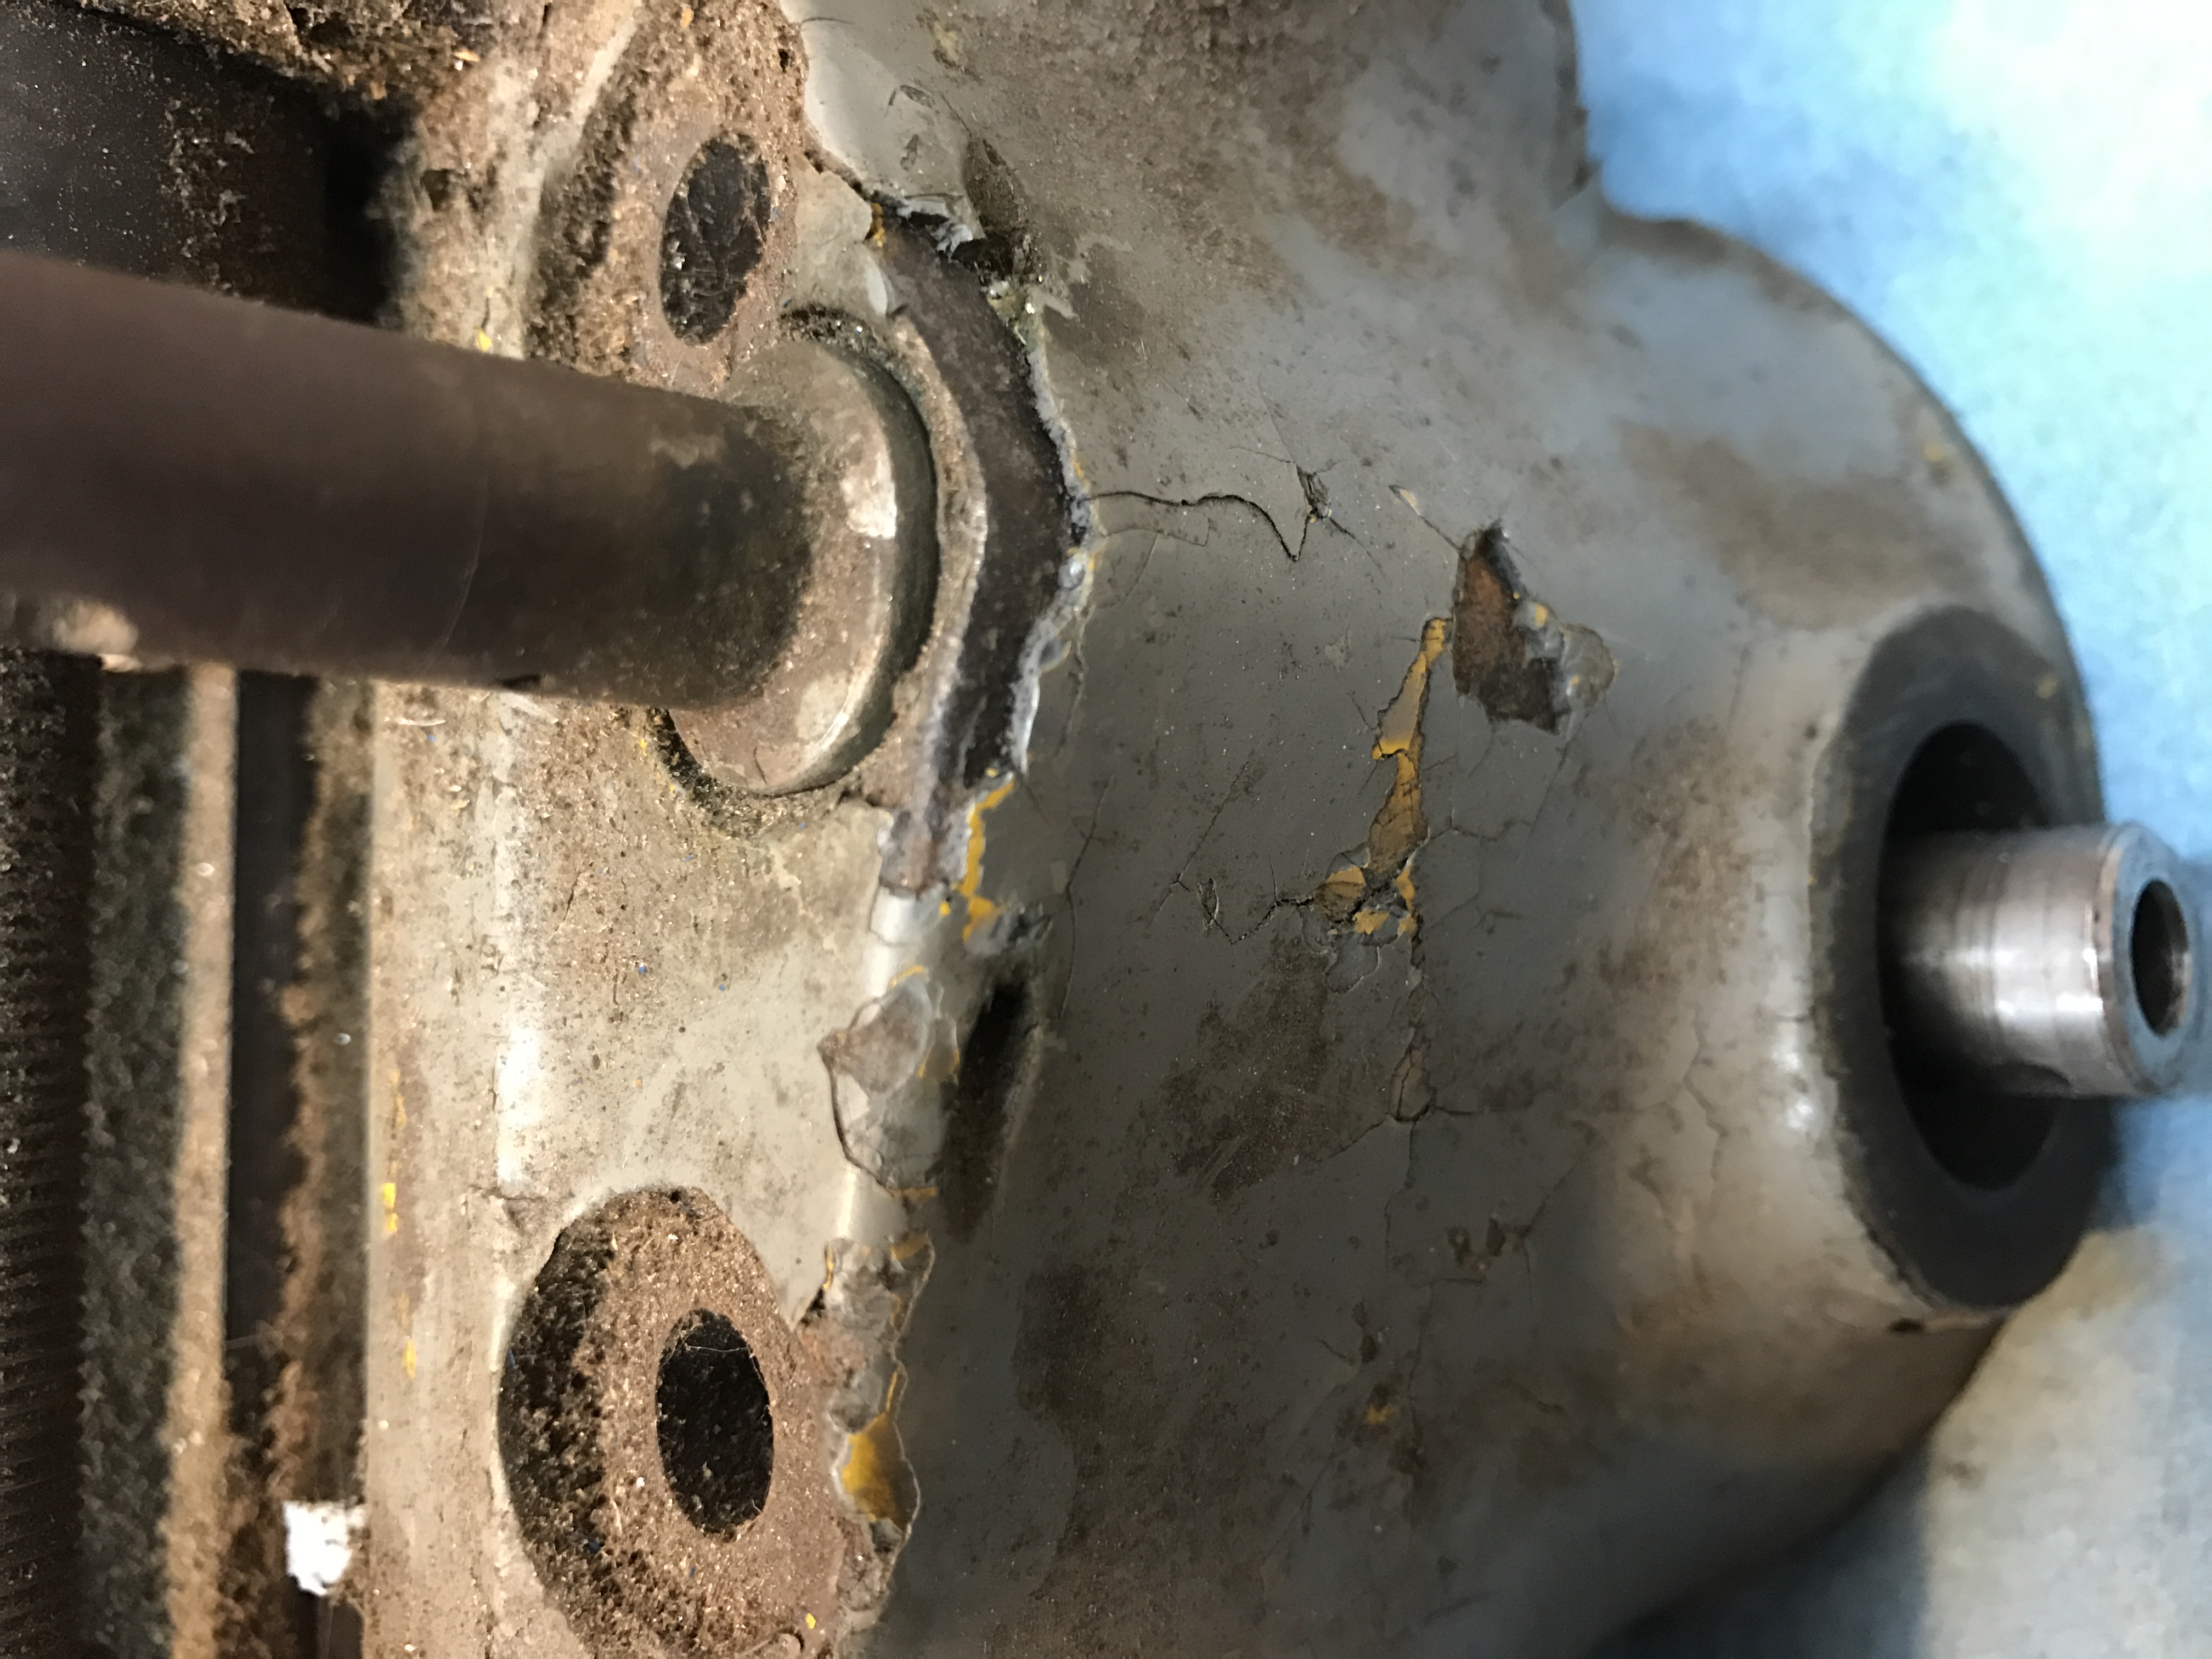
This part… has enough evidence on it to indicate that the mill hadn’t been used in years. And it was probably removed from service when it fell over and broke. As mentioned in the previous post, there were cracked and stripped parts. I fixed all those using various methods: press fit and Loctite, aluminum 4043 stick welding electrodes, and sort-of-aluminum welding rods. At the time of this writing, the casting is completely repaired and is awaiting sanding and polishing.
The side that gave me trouble was corrected by first tack welding with some aluminum 4043 sticks, and then cracks filled using “aluminum welding” rods from Harbor Freight and Mapp gas. I wouldn’t trust these rods on something structural, but as far as a “filler” that can be polished later, they are great.

I didn’t stop to take pictures while welding or grinding, but afterwards…

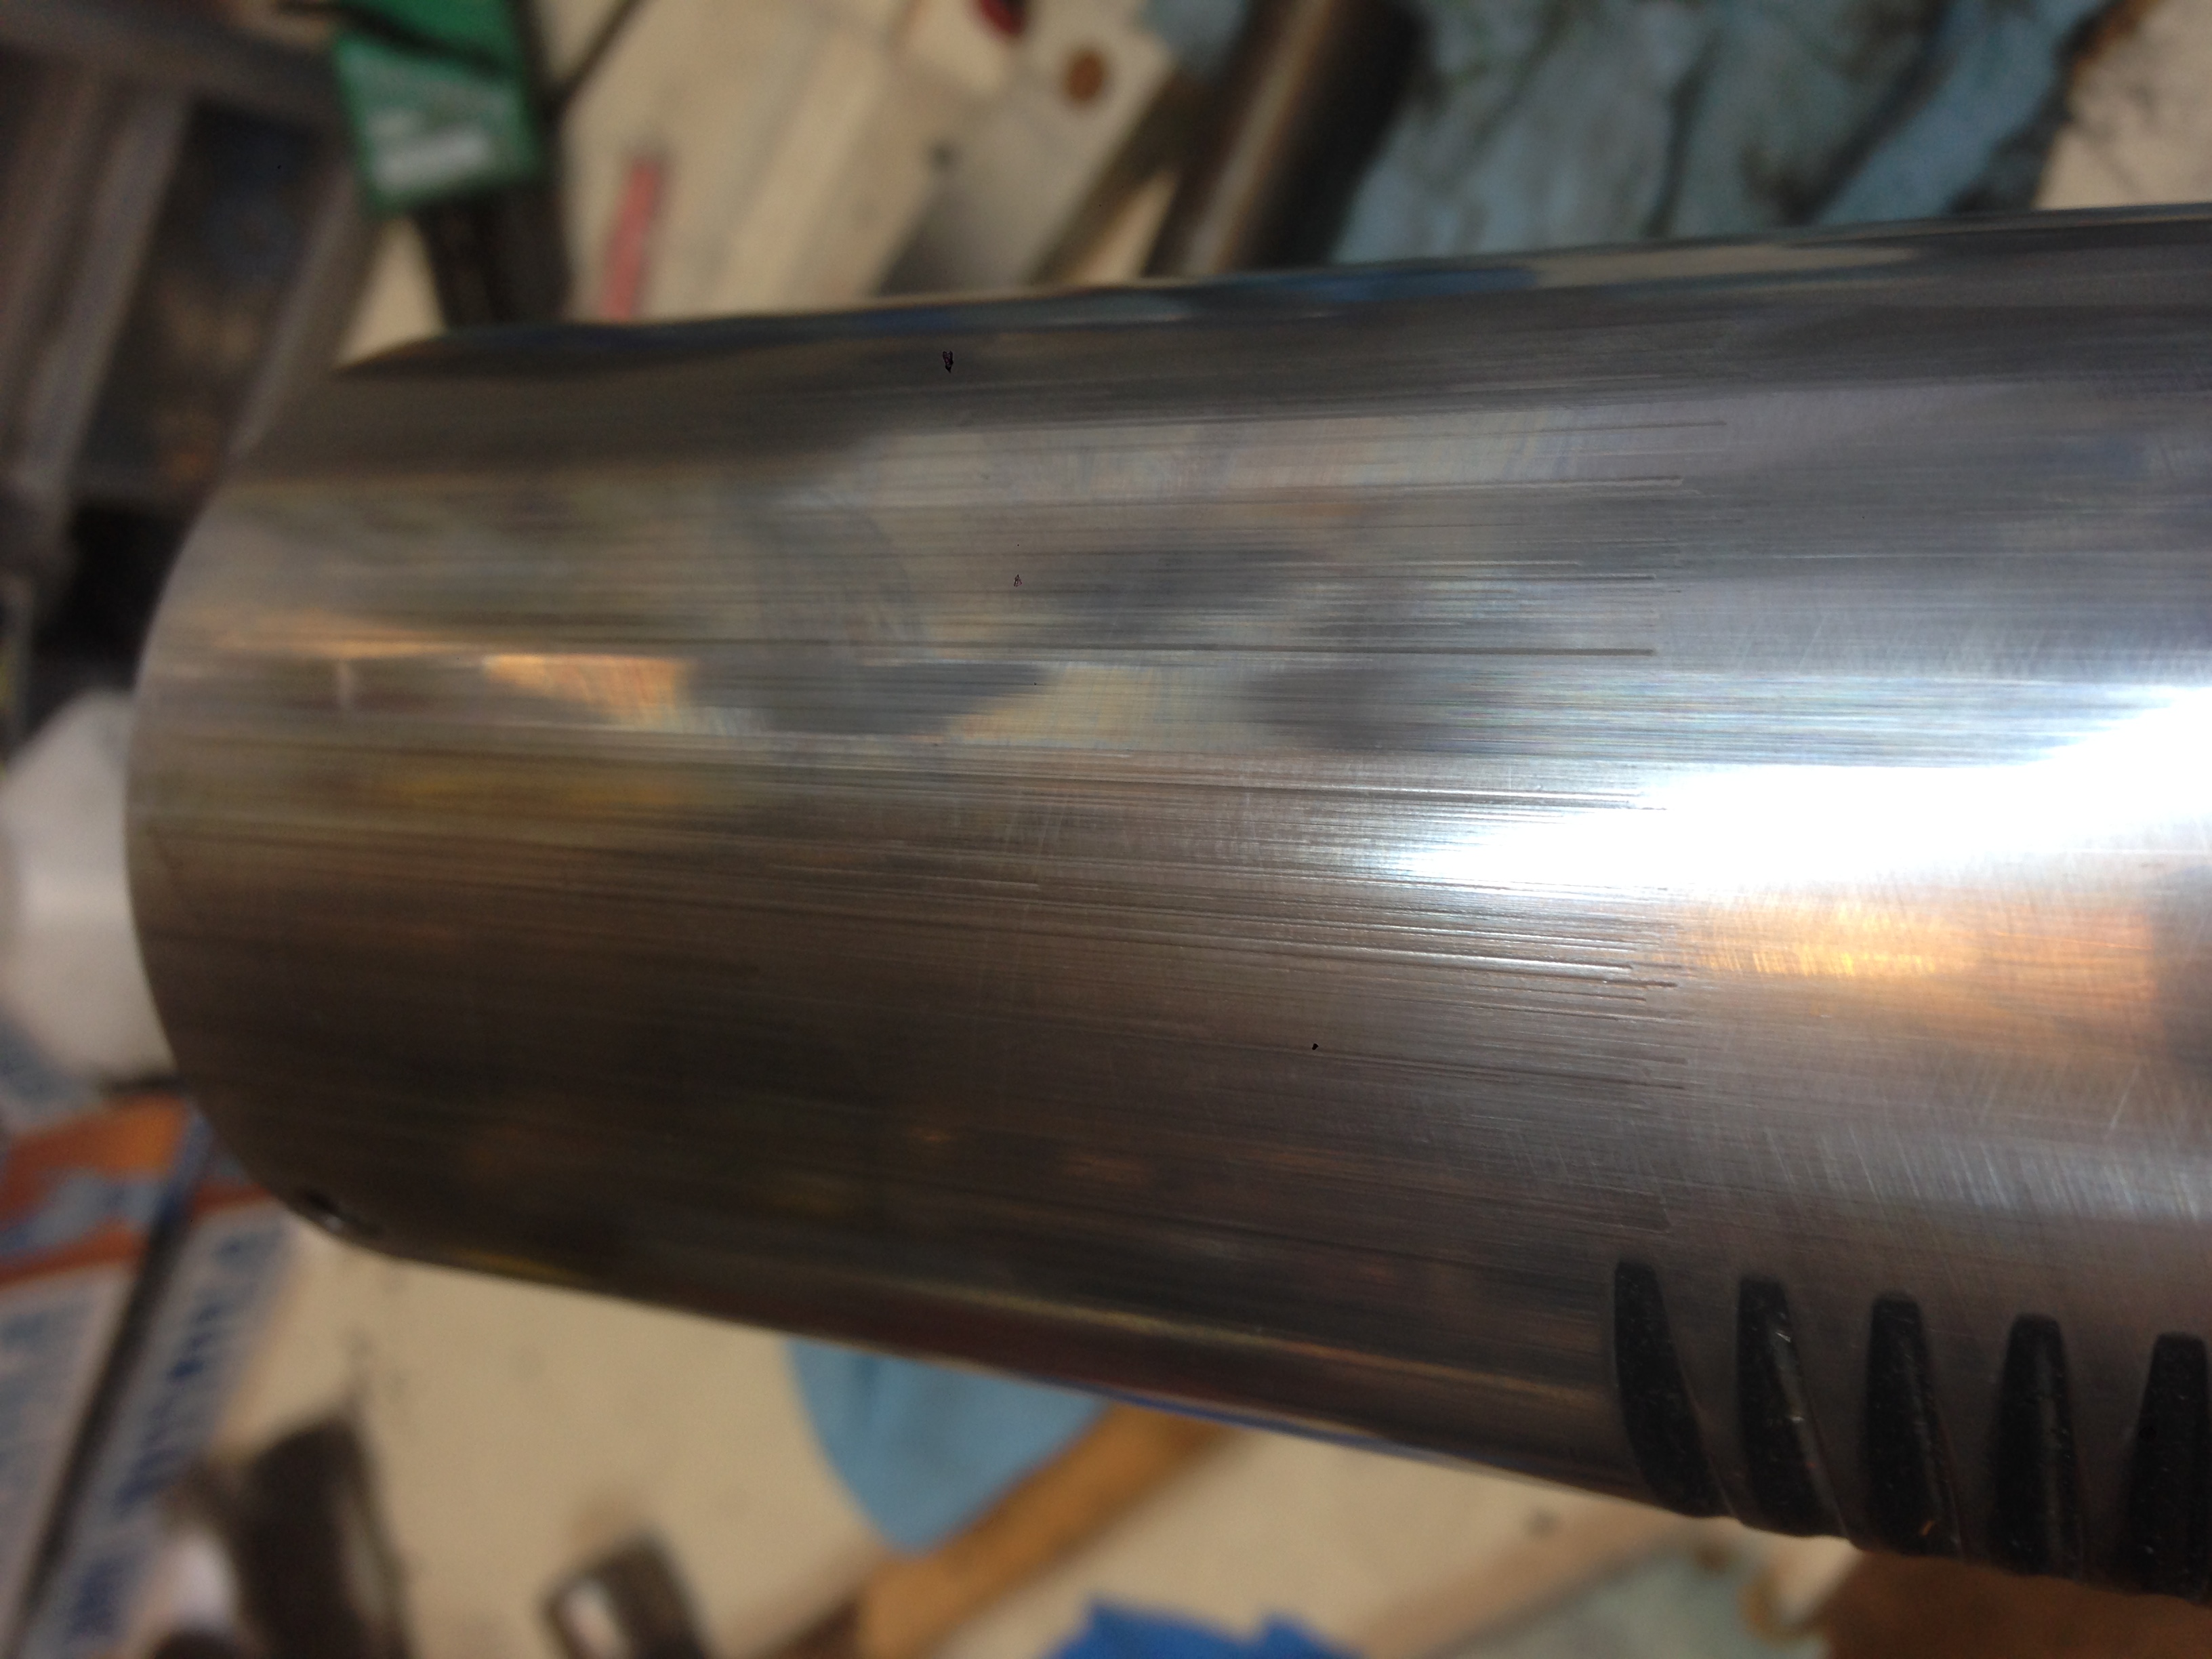
Fixed Side (top), original (insert-repaired) on bottom:

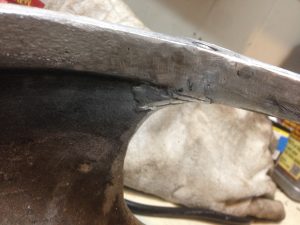
The oiler port was securely attached but I didn’t like the way it stuck out. I tried to blend the casting and new part together using the “aluminum welding” rods and some grinding.
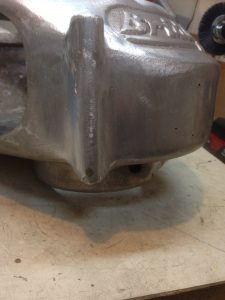
I plan to wire wheel, sand, do-whatever to get the oxidation and scratches removed from the aluminum casting and eventually bring it back to its original polished look. Should be a long term project, most likely. Any suggestion for chemical solutions to help brighten the metal and remove oxidation is certainly welcome…
The Quill
The quill seems to be in decent condition, but has a few age and use related marks on it. Hopefully it doesn’t have any effect on the accuracy.
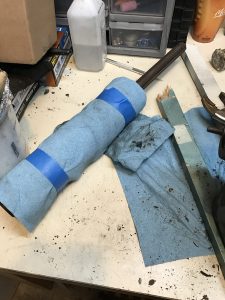
While working on the internal parts of the quill, I kept it wrapped in paper towels to protect the outside surface.
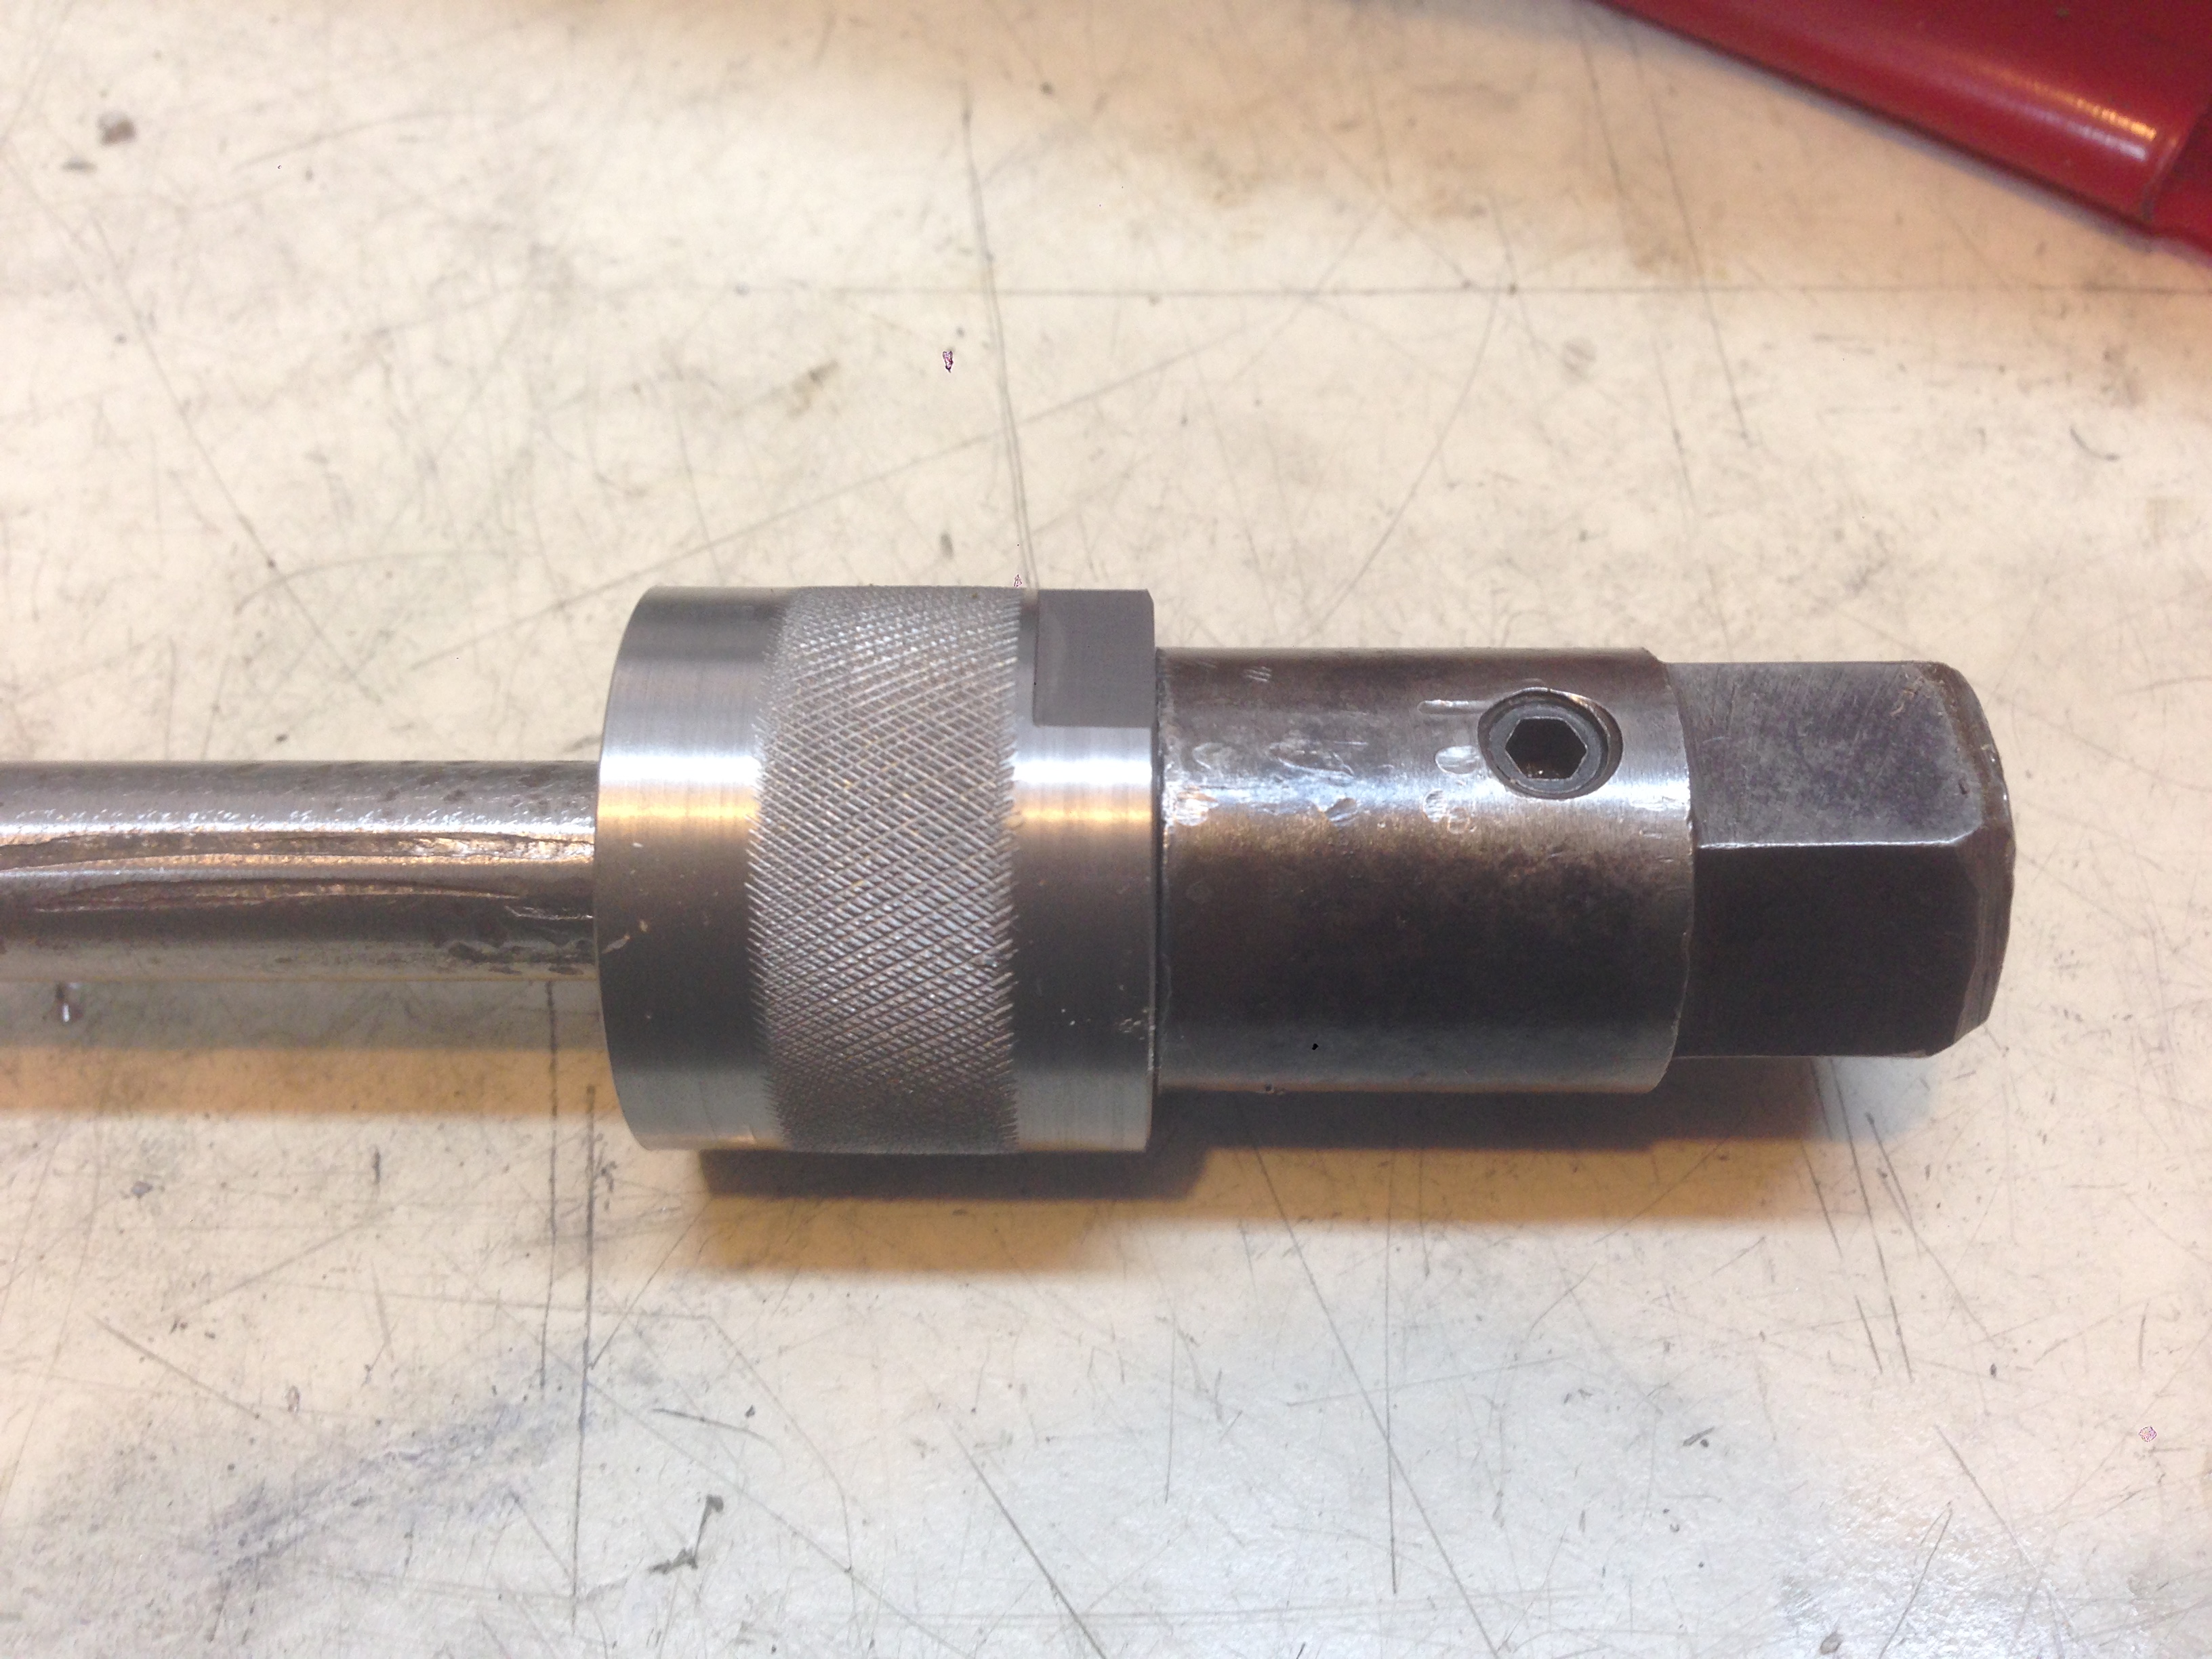
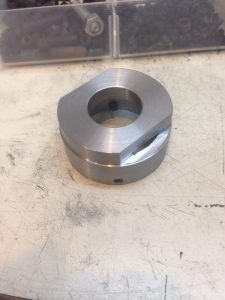
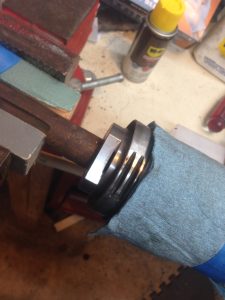
Many people posted on various forums about trouble removing the top bearing nut. Rather than struggle with it, I decided to soak it in a special WD-40 penetrating oil over night and make a special removal tool in the morning. I bored out a simple “cup” on the lathe and tapped four holes 90 degrees apart and put set screws in that fit snugly inside the bearing nut’s slots. The advantage of set screws is that they can be adjusted to the depth needed for the nut and made to fit tight. I ended up putting them just right to require knocking the tool into place with a rawhide mallet. I also milled a flat to accept a 1-1/2″ wrench.
With the oil, large wrench, tight fitting tool, and two blocks of wood clamping down on the spindle, it came apart with very little effort. I did try the night before to use a brass punch to remove the nut and gave up quickly. So I know it was stuck on there. It was almost non-climatic how easy it came apart.
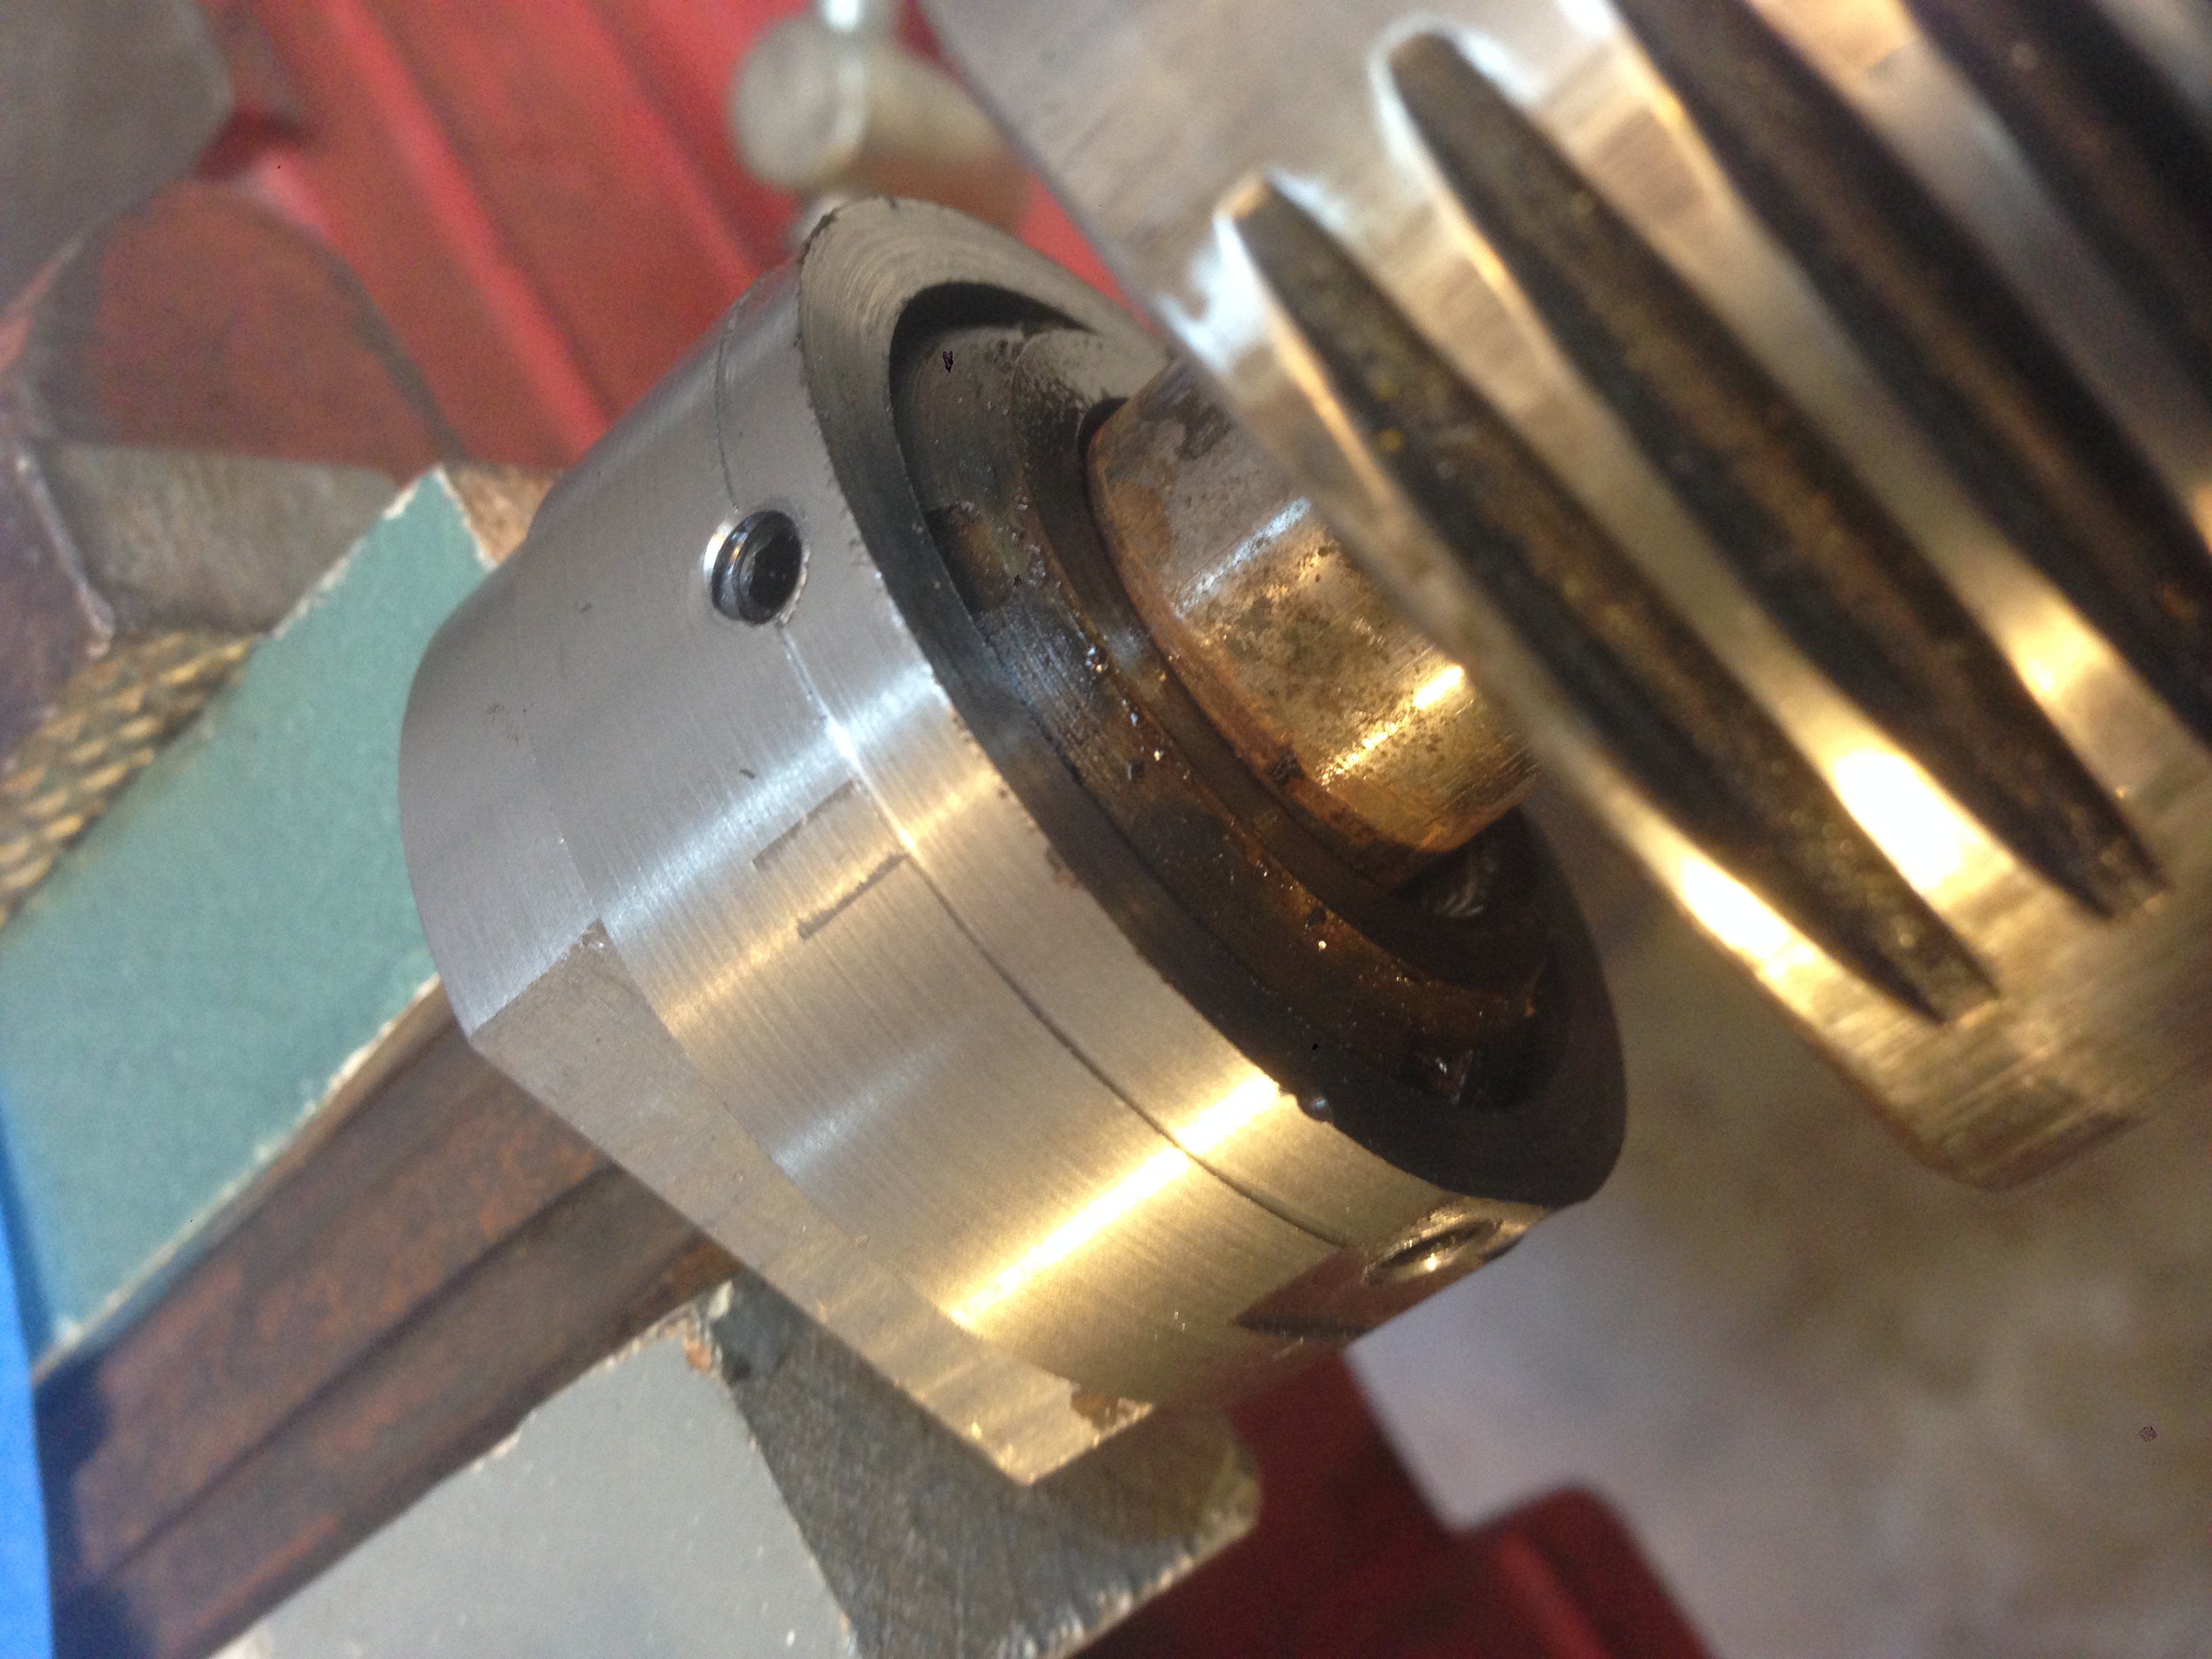
The quill is so dirty it’s hard to tell if the bearings are rusted stuck or just gunked up. I believe at one point this mill head was used for wood and not oiled for a while.

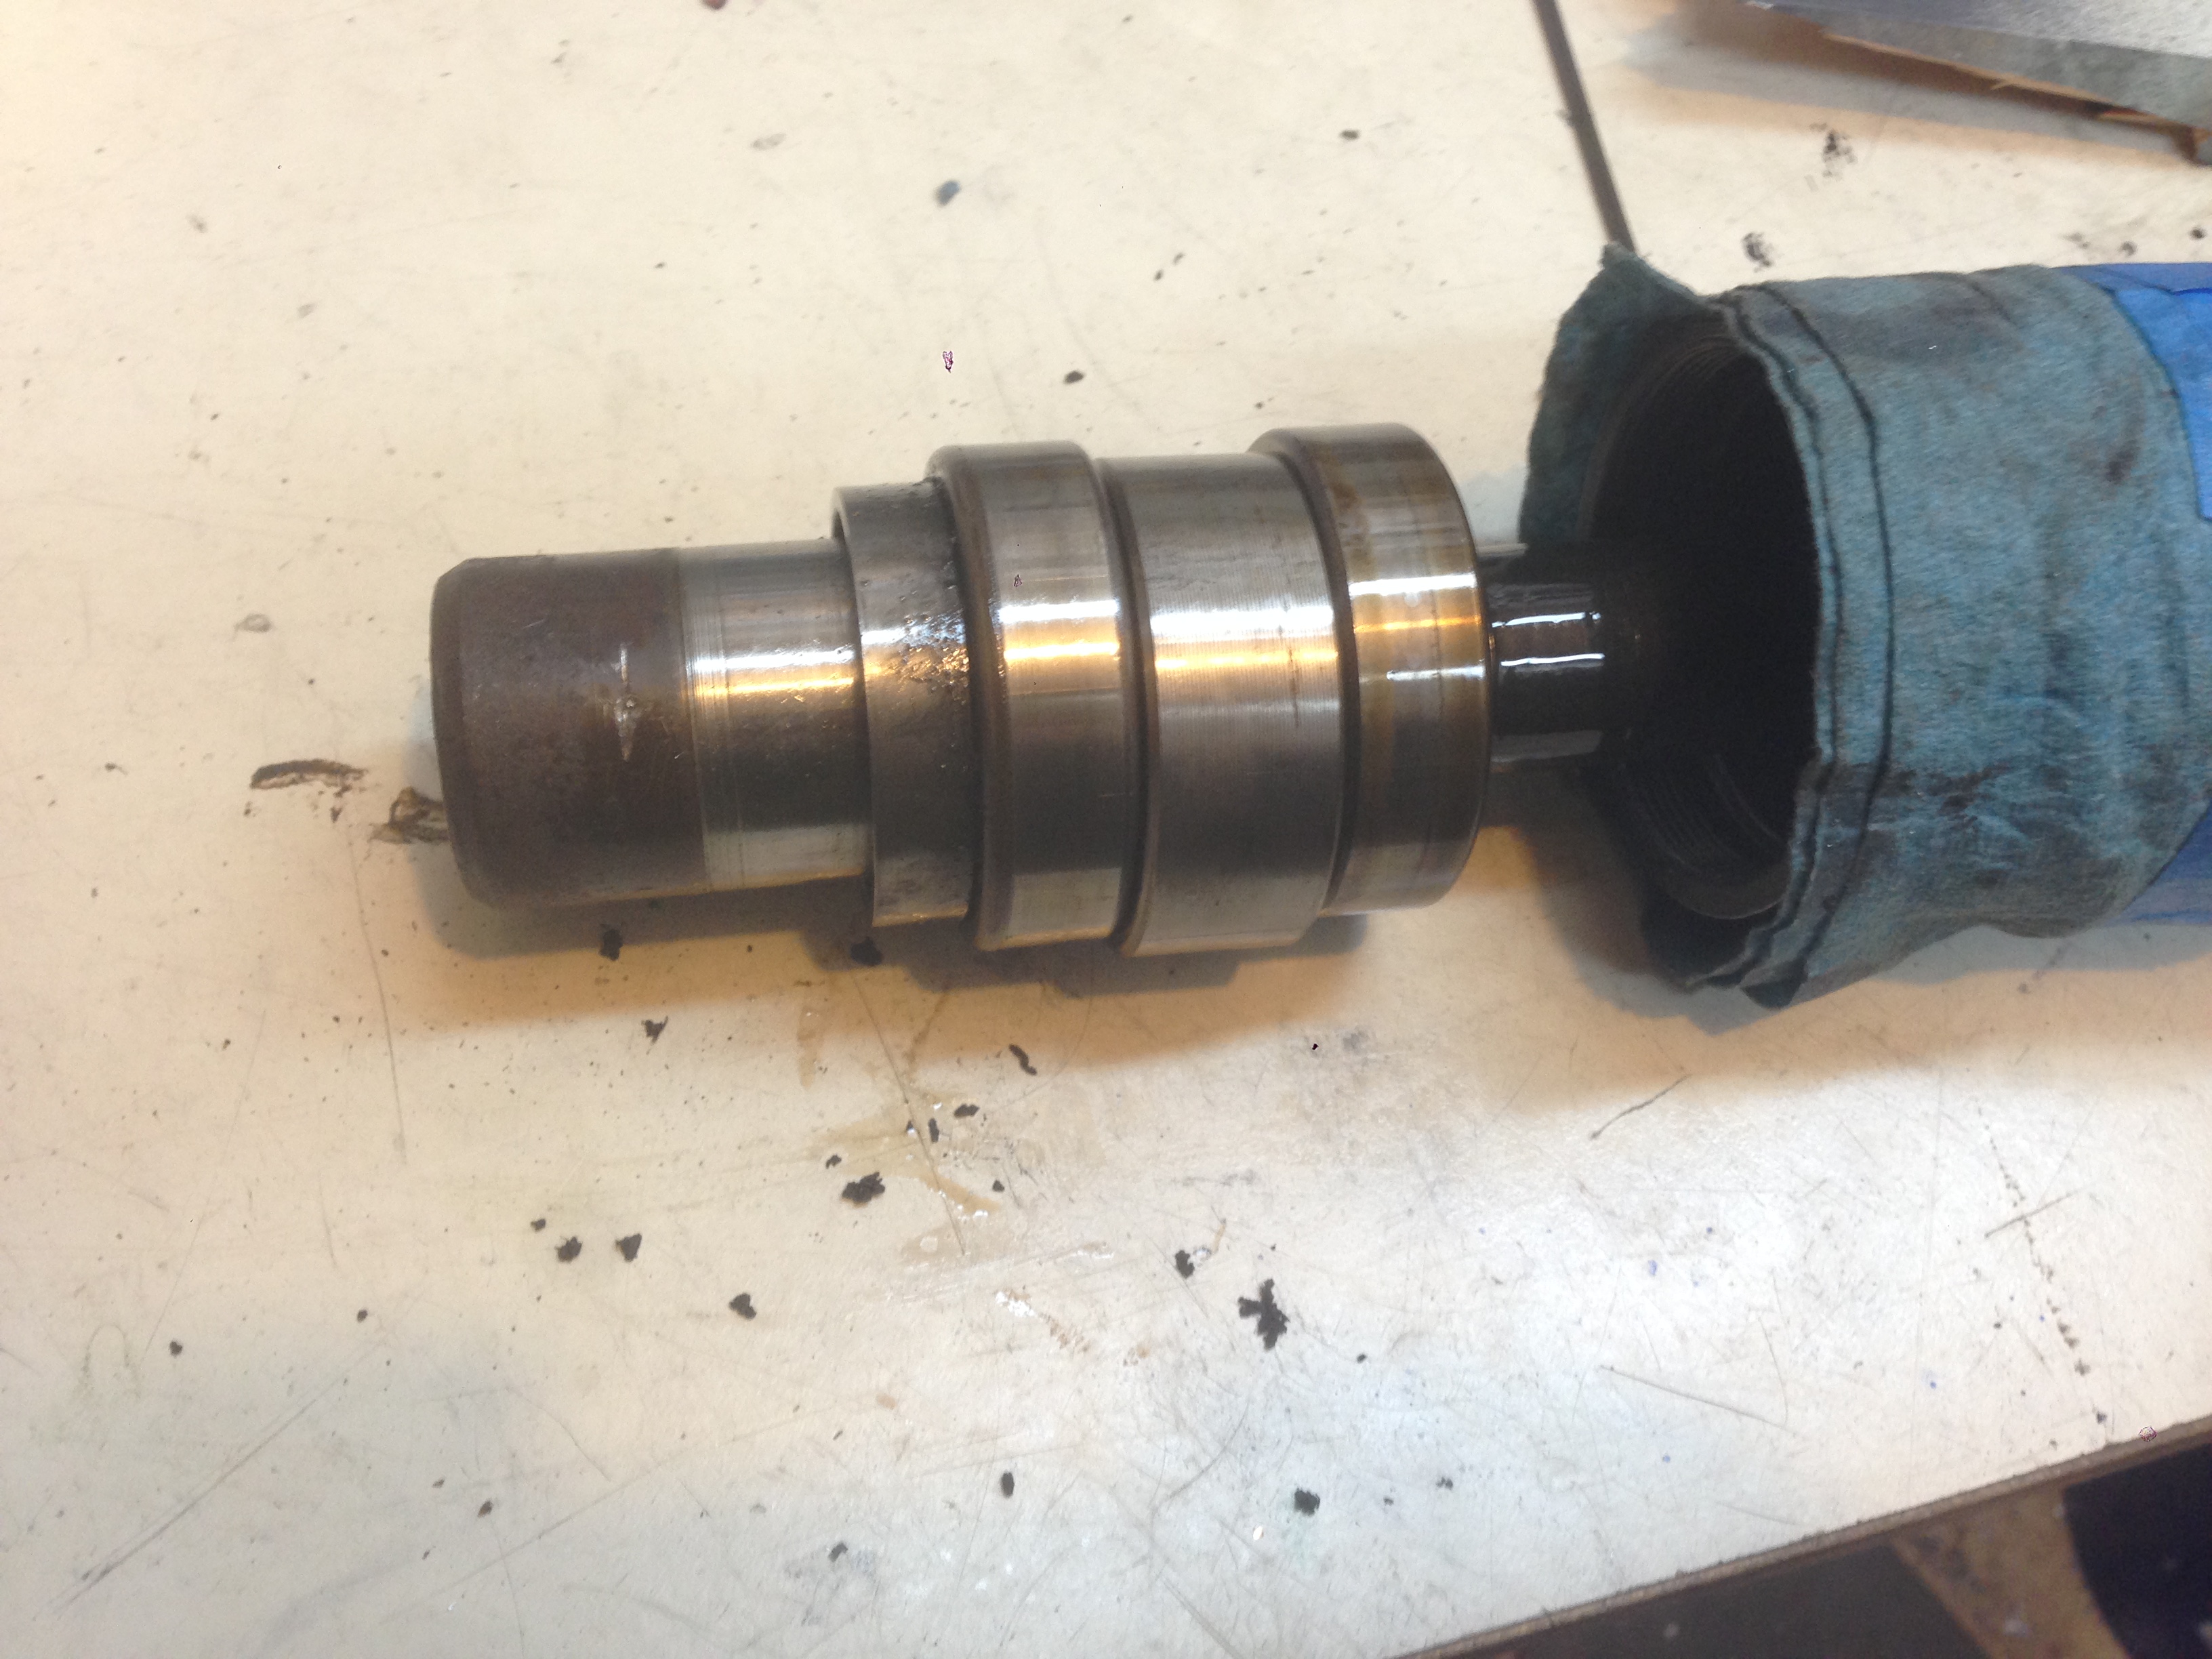
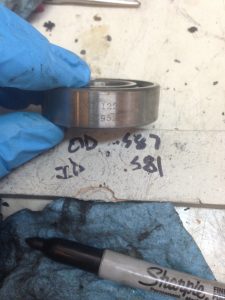
All the spacers were measured with a micrometer and all measured out evenly. The bearings, however, were originally ground at the BP factory to act as angular contact bearings. Measurements were written in case these would be needed later.
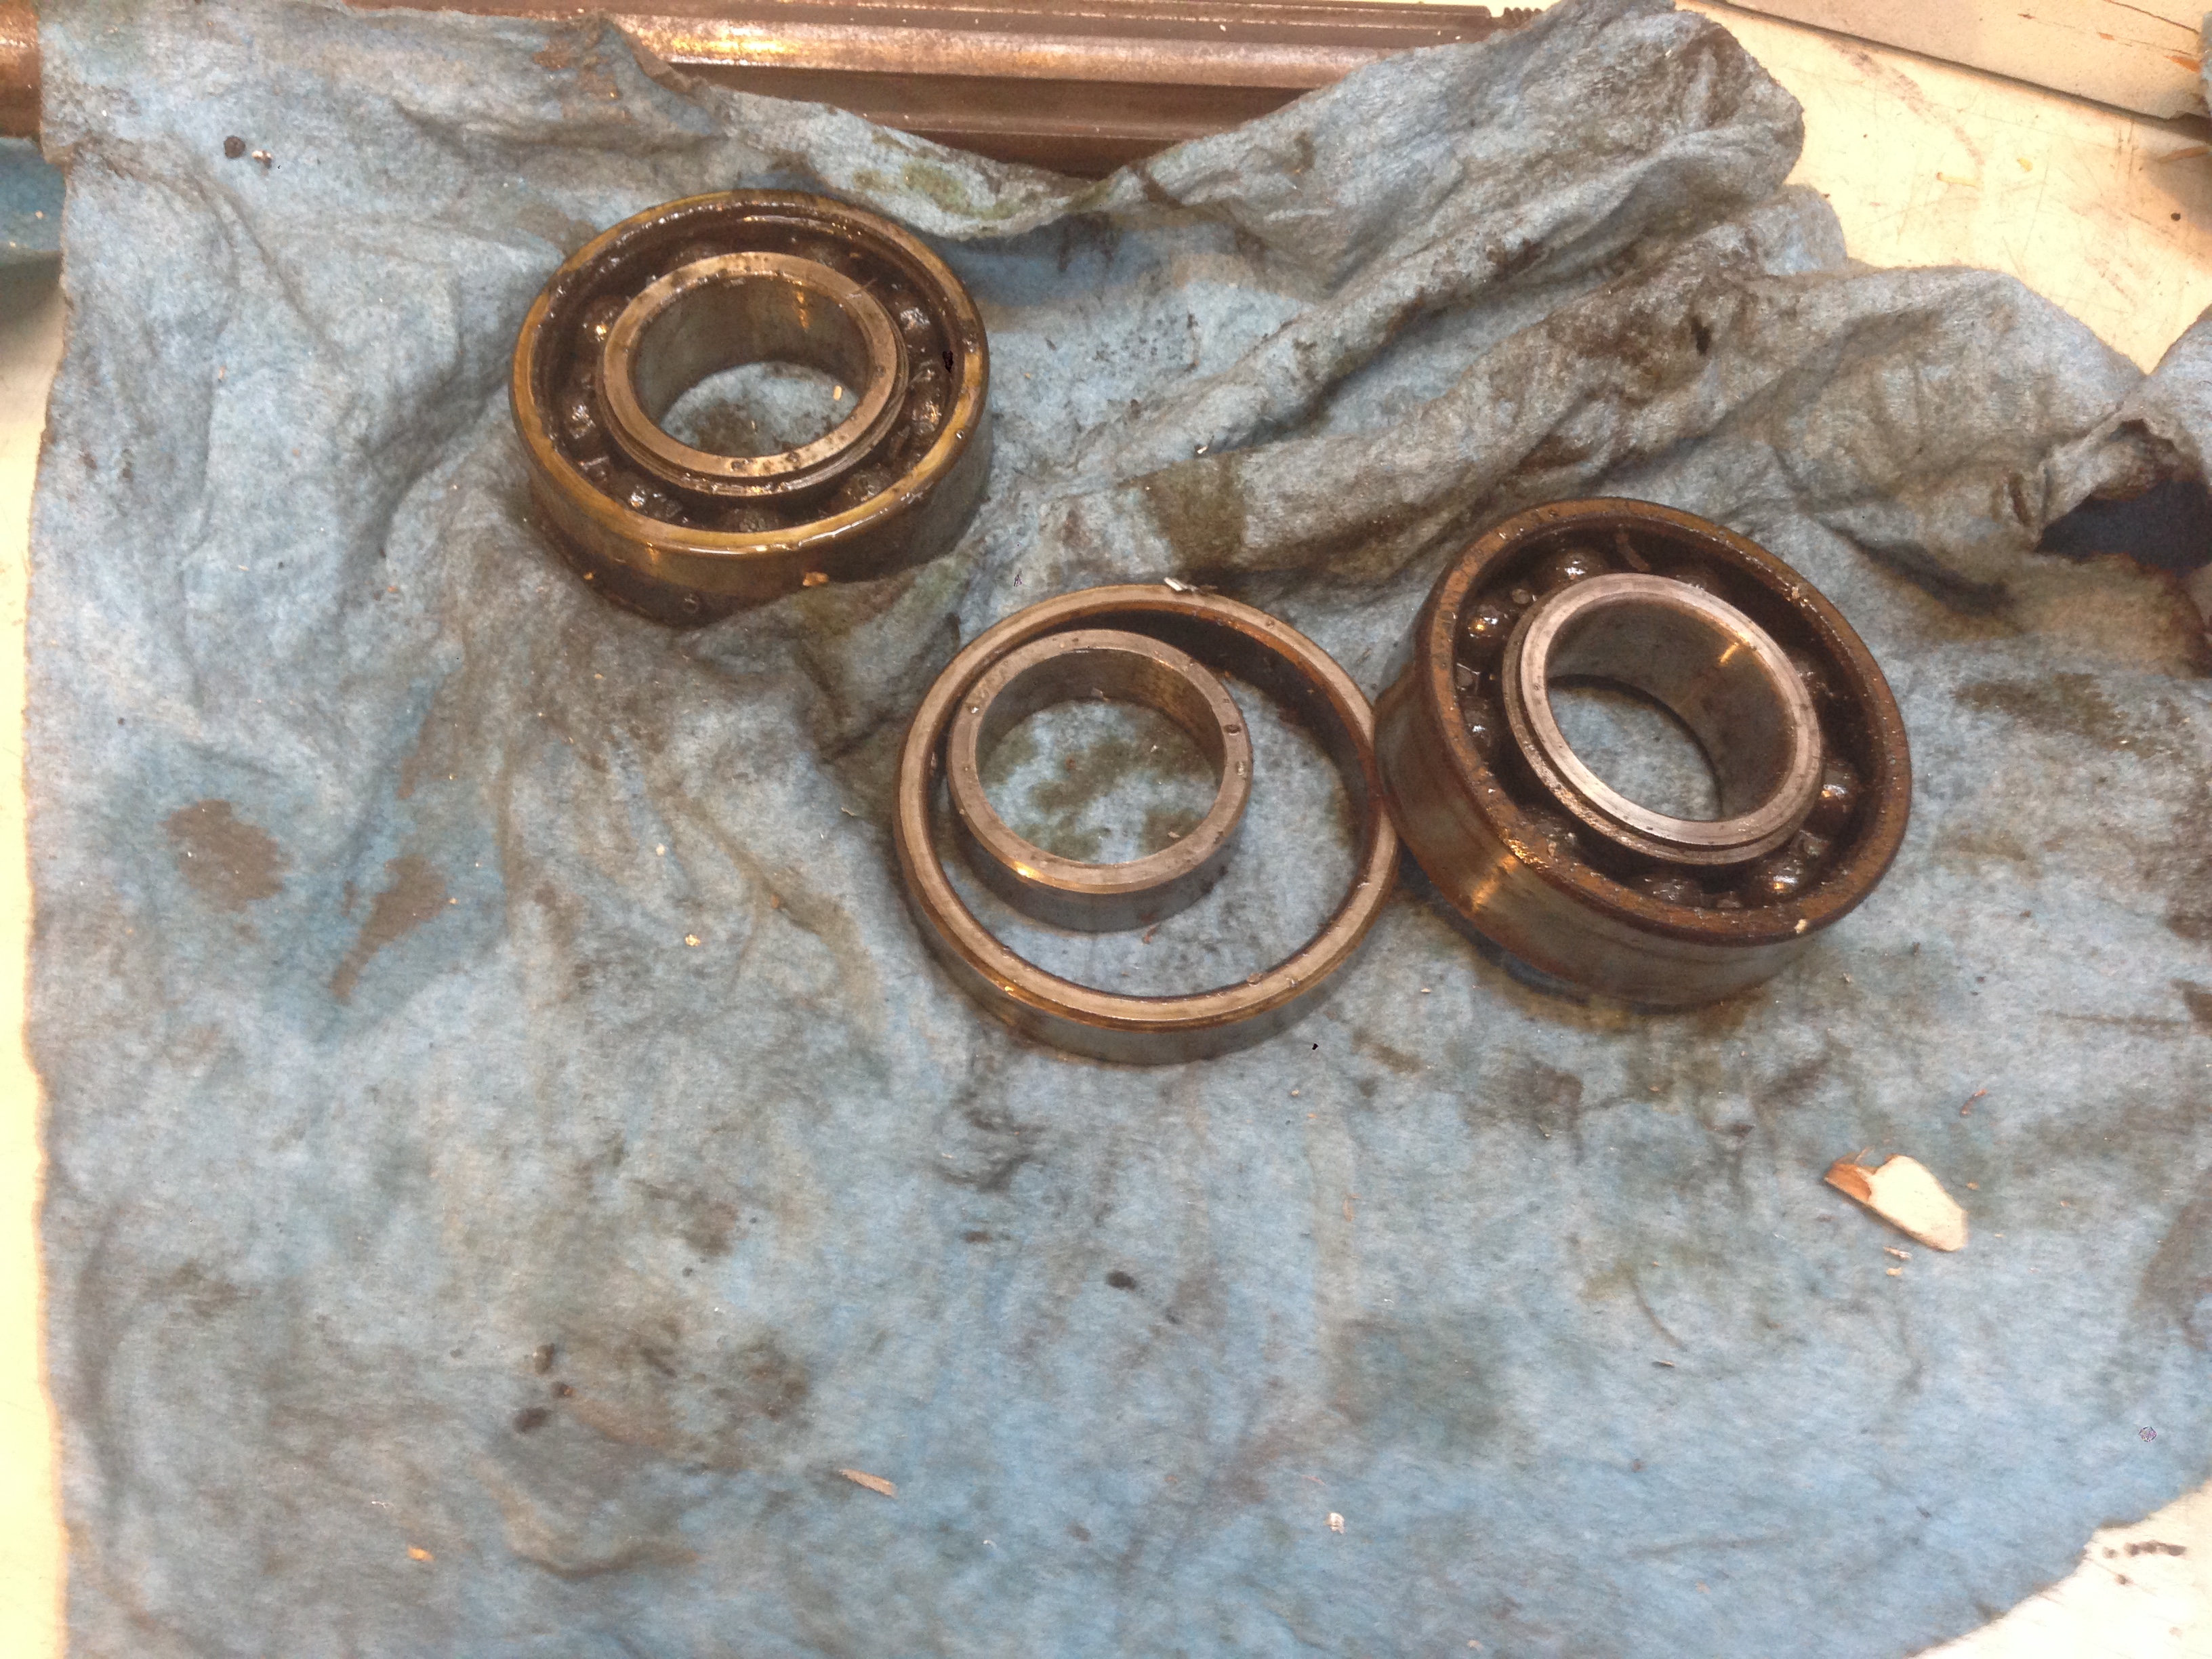
New bearings ordered included (all open and in pairs):
Lower (closest to cutter) spindle bearings:
NSK 7205 CTYNSUL P4 ABEC7 ($100 on eBay for a matched pair)
Upper spindle bearings:
Nachi 6205 C3
Pulley spindle bearings:
SKF 6206 C3
Why all the different brands? No reason other than price and quality, all purchased on eBay, all US or Japanese made. The matched pair are the only ones that need to be truly precise, where as the others can be electric motor quality or better.
The Head Casting
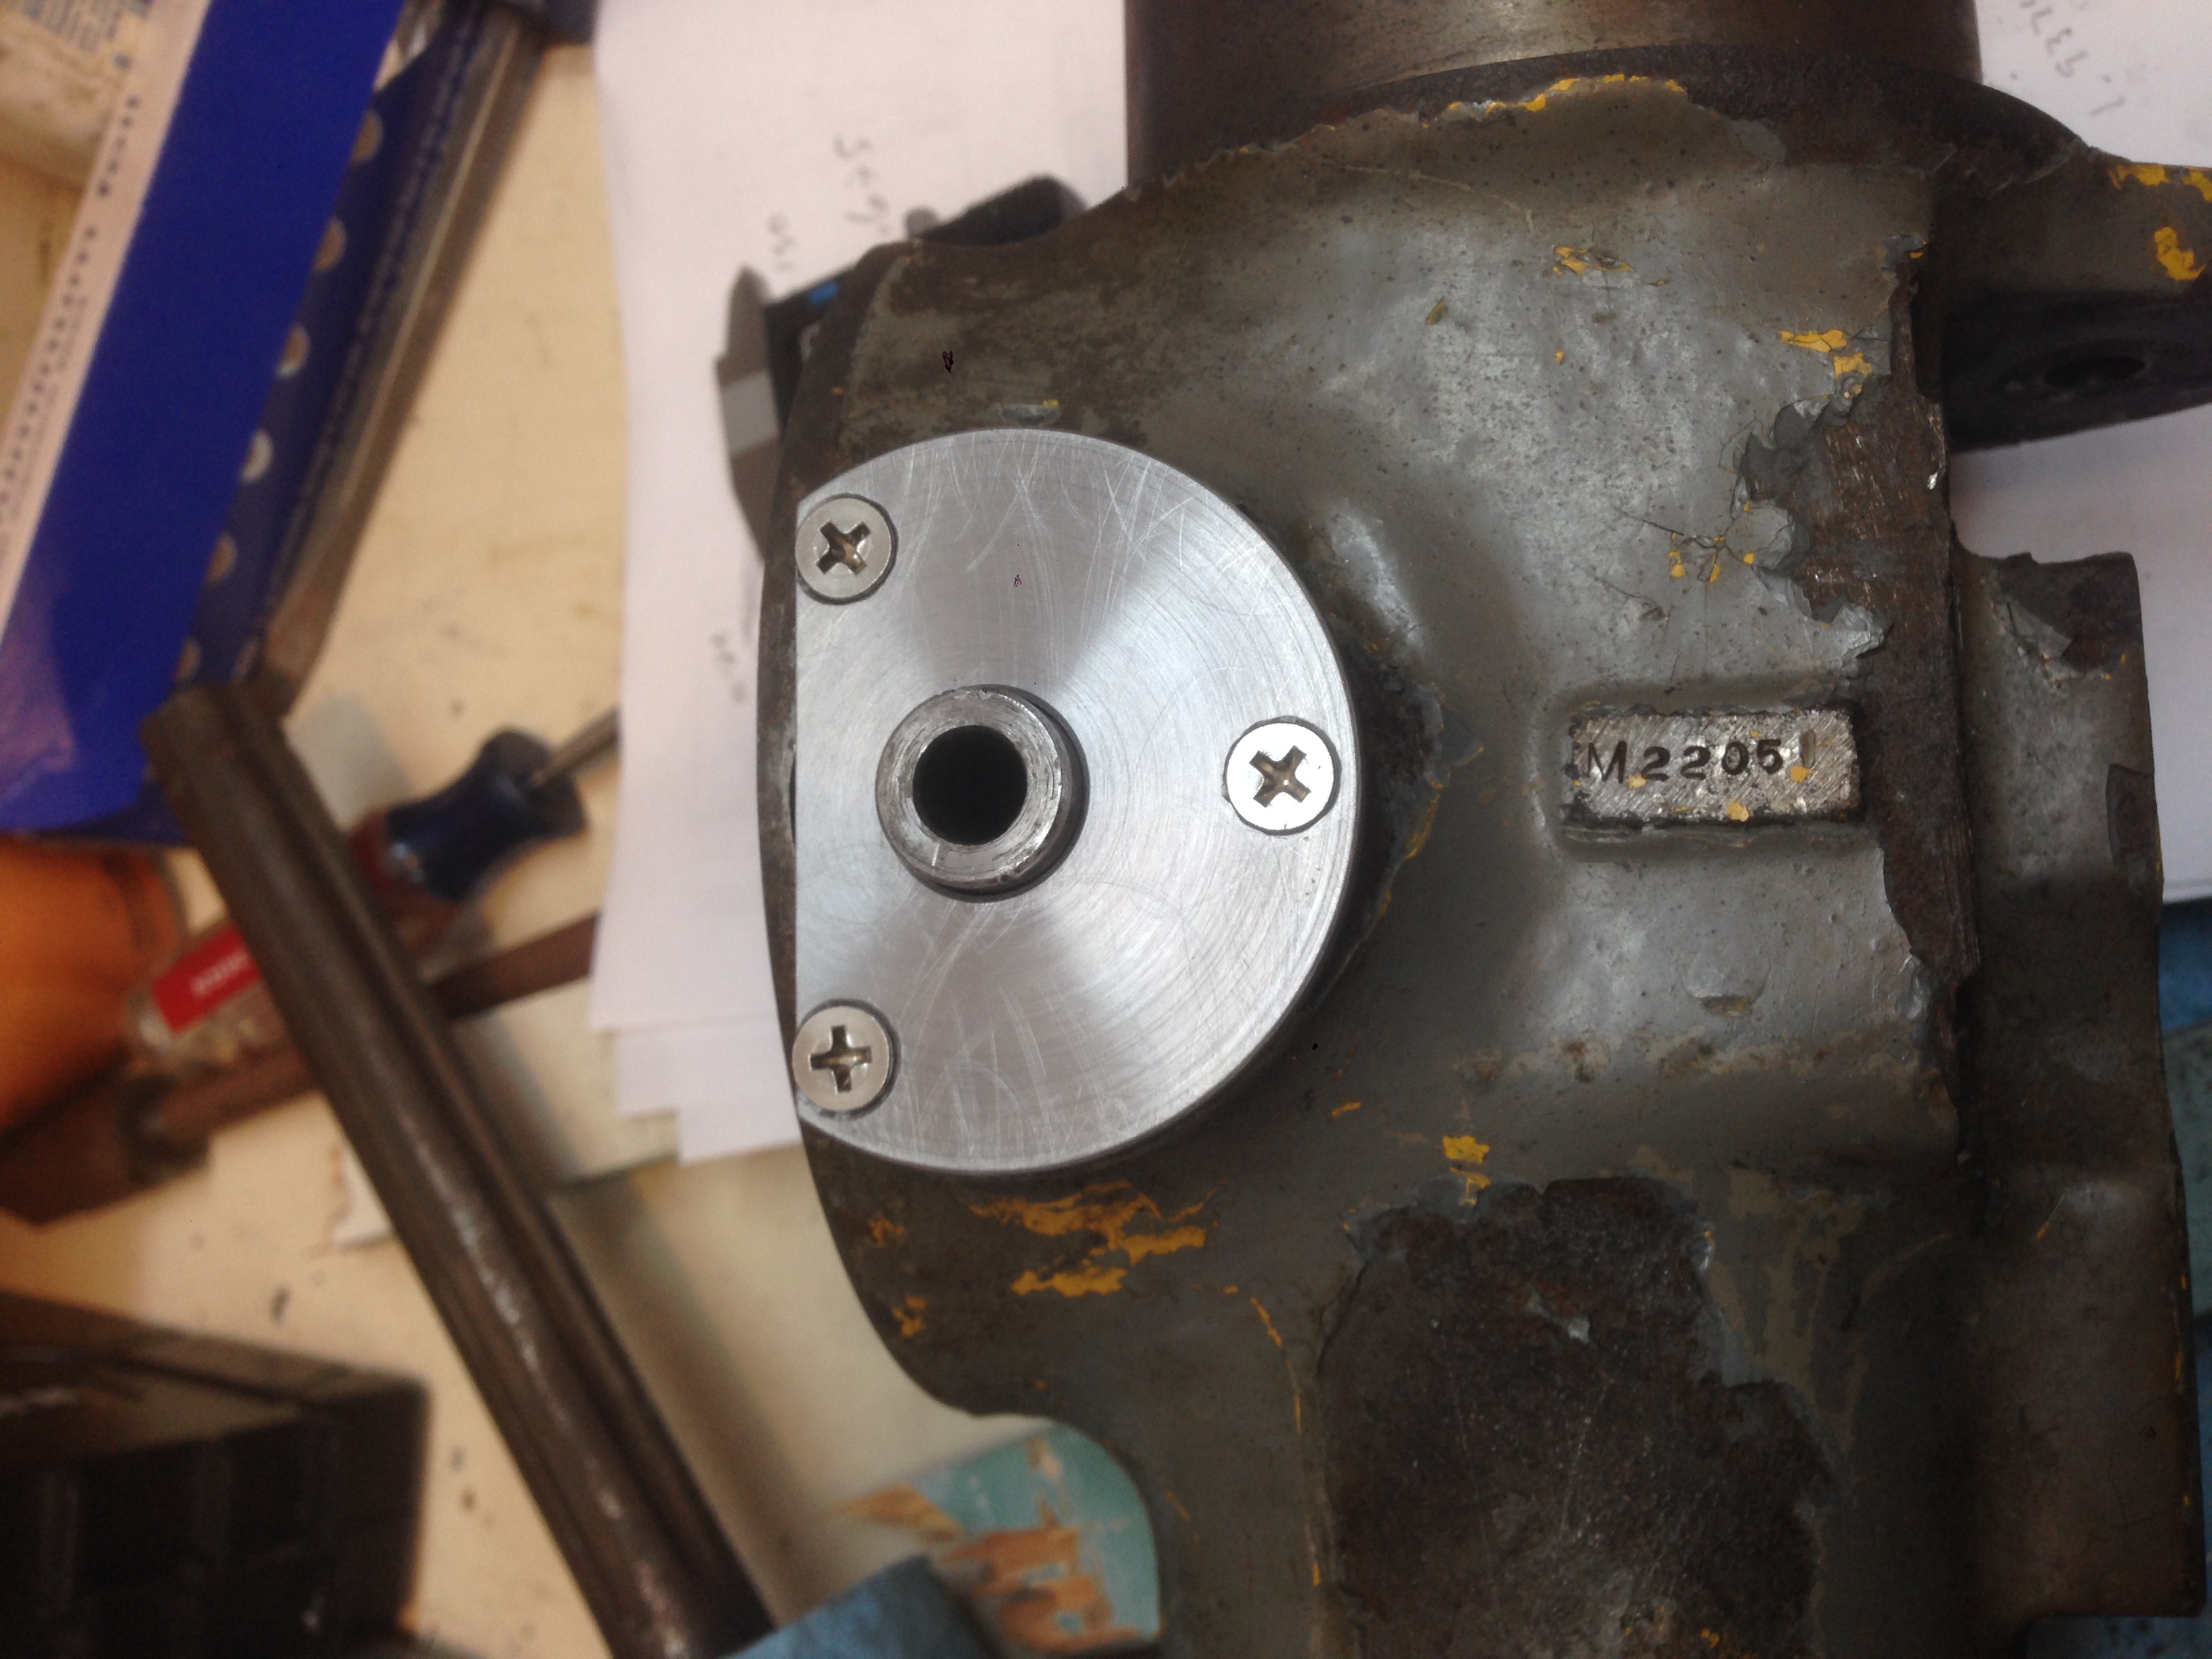
Not much to say here yet as I haven’t really dug into the head yet. However, I did remove about 1/8″ thick paint that had been slathered on over the years. It was so thick in some spots that I wondered if I was removing casting filler when I was chipping away with a screw driver and hammer.


The photo on the right shows the amount of grime on the quill. The shiny part was when I tested the movement of the quill.

Originally I had thought the quill feed pinion was missing a few internal parts. Luckily it was only missing the quill spring cover and one fiber washer. A quick test with some washers from my parts bin and it turns out the quill is great. The handle and the hand wheel shaft both work. I’ll replace the fiber washers when I reassemble the head.

I hope the next post shows a finished, polished aluminum pulley housing and perhaps a rebuilt quill! It’ll be a while before the head is actually installed on the Benchmaster and perhaps I’ll share my plans for that in the next post. Thanks for reading.
Leave a Reply