
This post will chronicle the rebuilding of my Bridgeport M Head milling head that will be put onto my Benchmaster mill. I’ve heard of the “Benchport” but I’ve never seen photos anywhere online. Most people seem to say it won’t work, but none of them have said they tried or have seen it done and failed. So with that, my plan is to rebuild this M Head that I bought on Craigslist and put it on my 1948 Benchmaster mill. I may post about the BM mill later – that was a worthwhile restoration and I enjoy using the mill often.
Benchmaster Mill (BM)
(A few other things I may post about later are my Light timpani project, new welding hobby, and the ring roller I built to make timpani hoops and repair existing ones. Be prepared for a technical geek-out.)
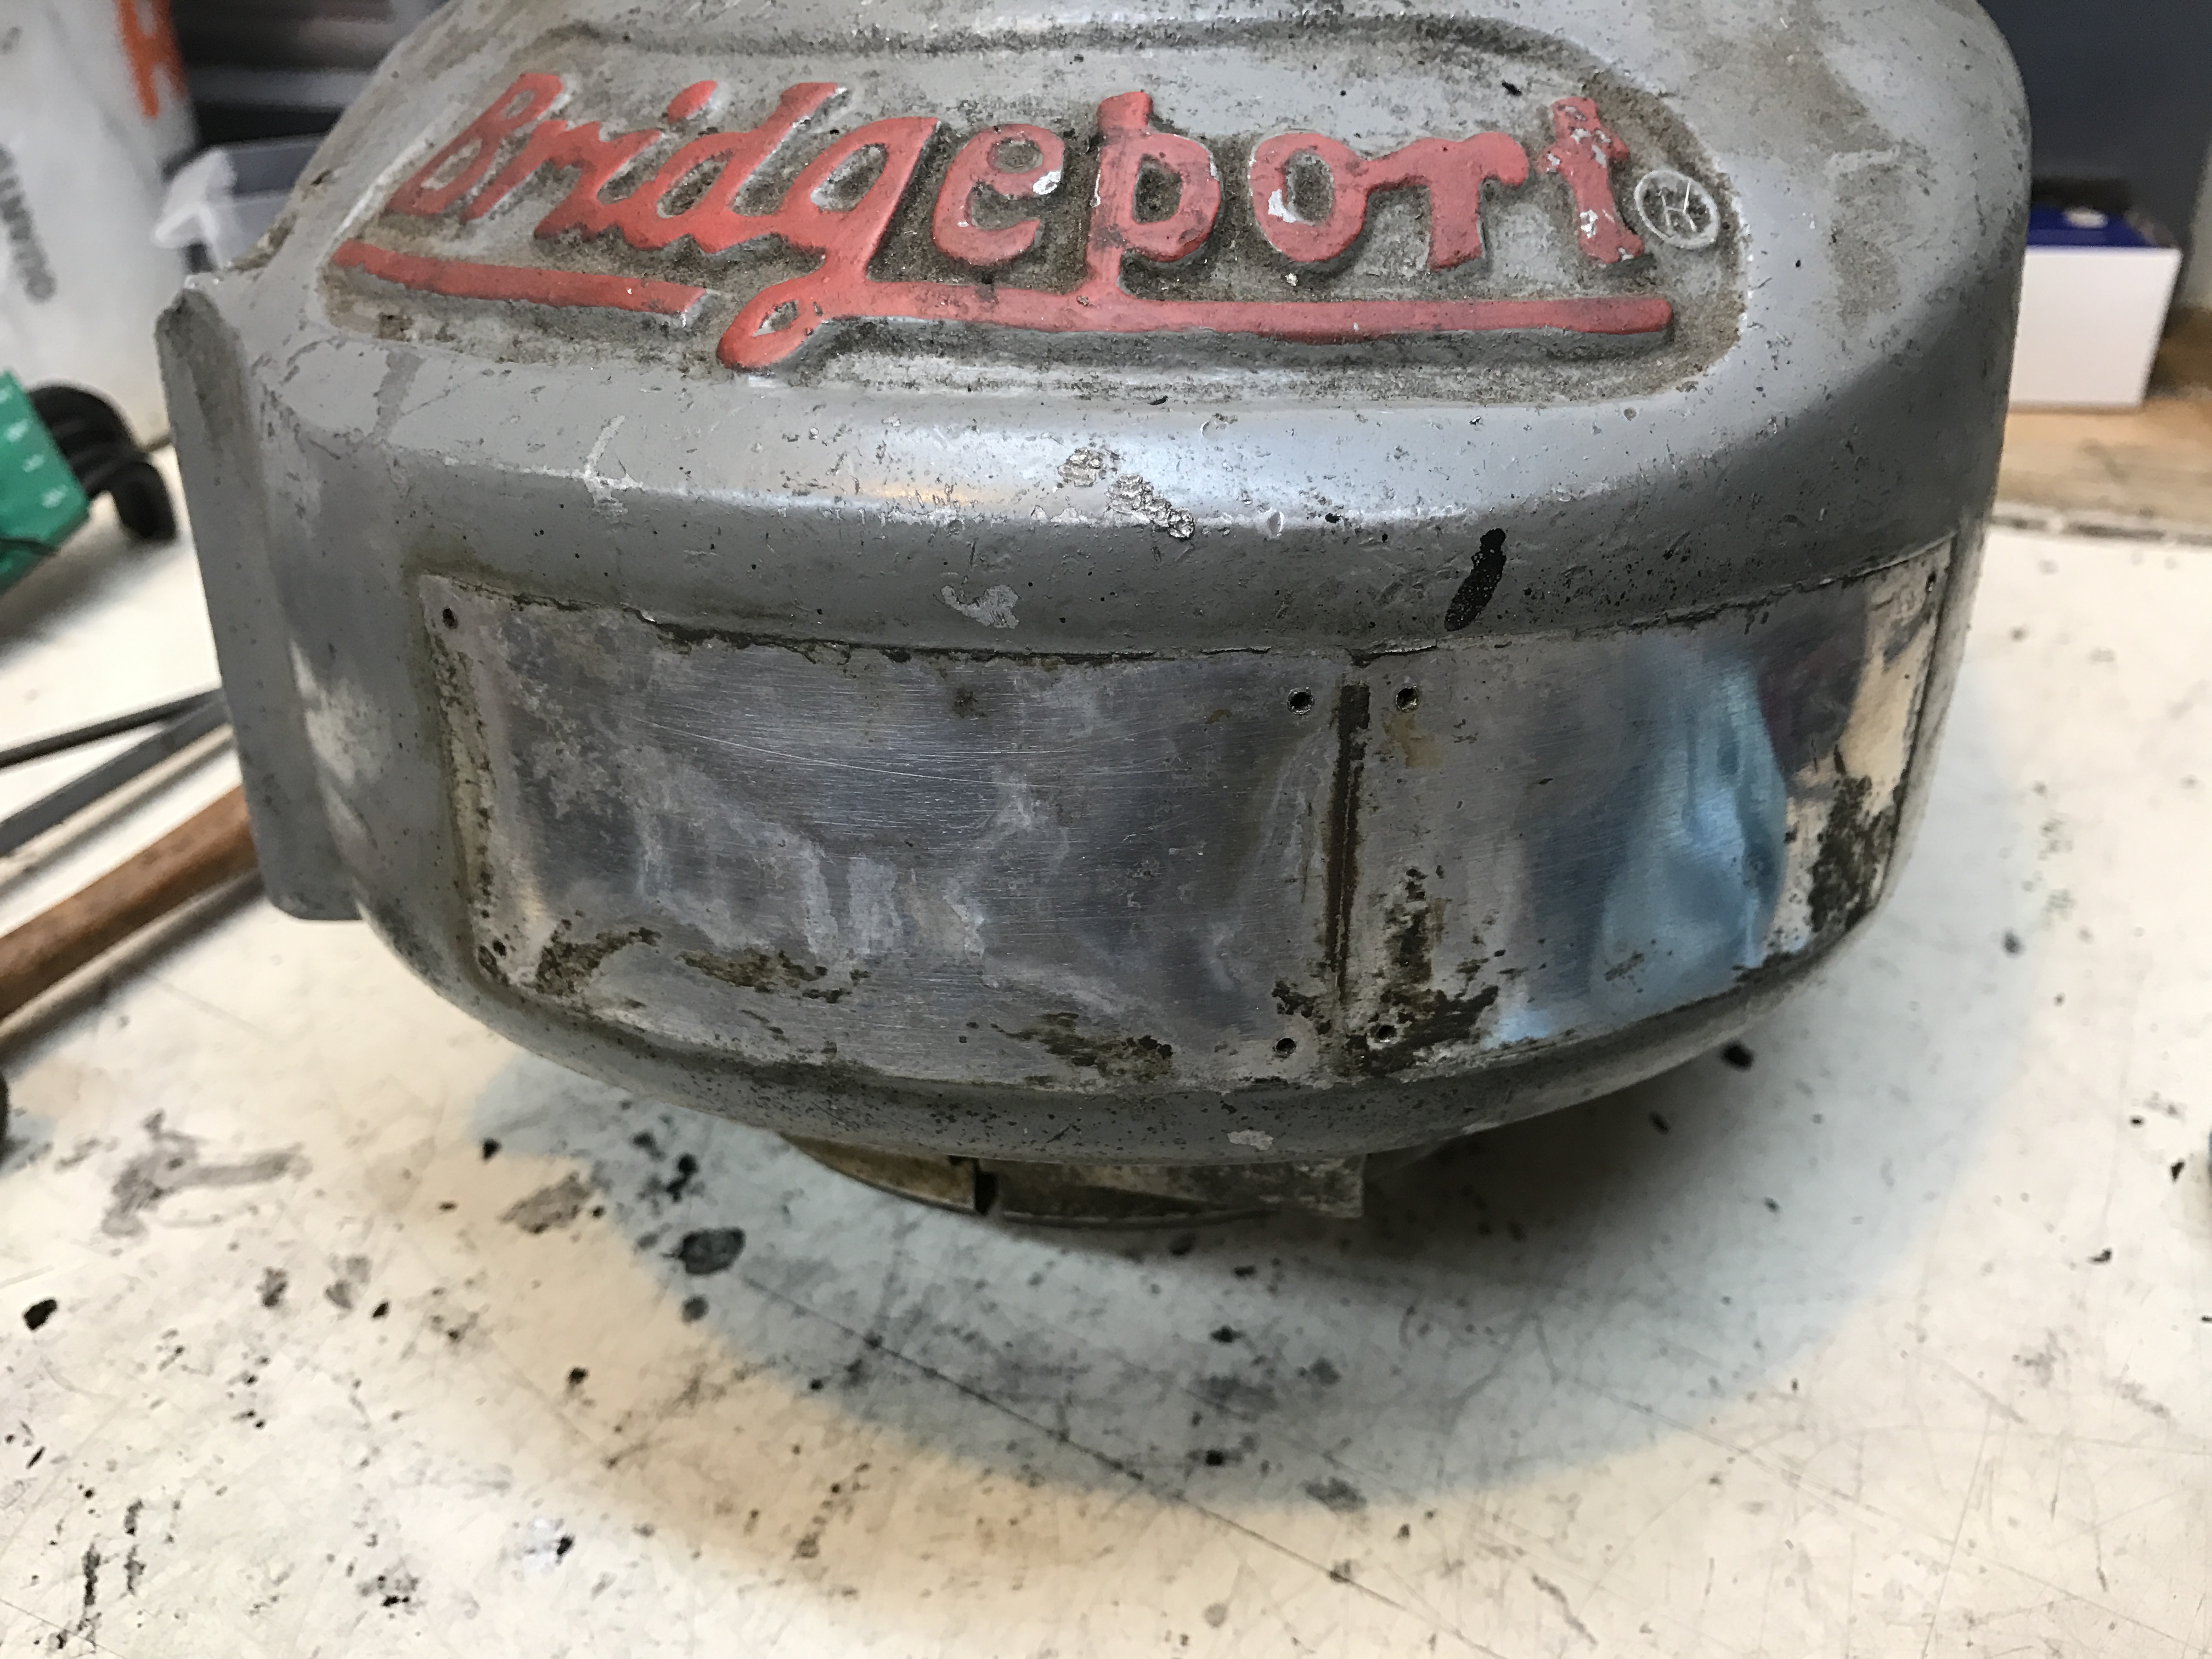
The Bridgeport M Head was original built in the mid-20th century and featured a 1/2 HP motor and several tapers for holding tools in the spindle. Mine has a Morse Taper no. 2. This is nice because so is my BM. No additional tooling is needed to get started. The spindle (lower) section of the head is made of cast iron and the upper portion is (usually polished) aluminum. Mine came painted and gunked up. The gunk also hid several broken portions which must be fixed.
Pulley casting as received:
Under the badge was the original finish:
Cracked motor mounting area:
Stripped thread on other motor mount: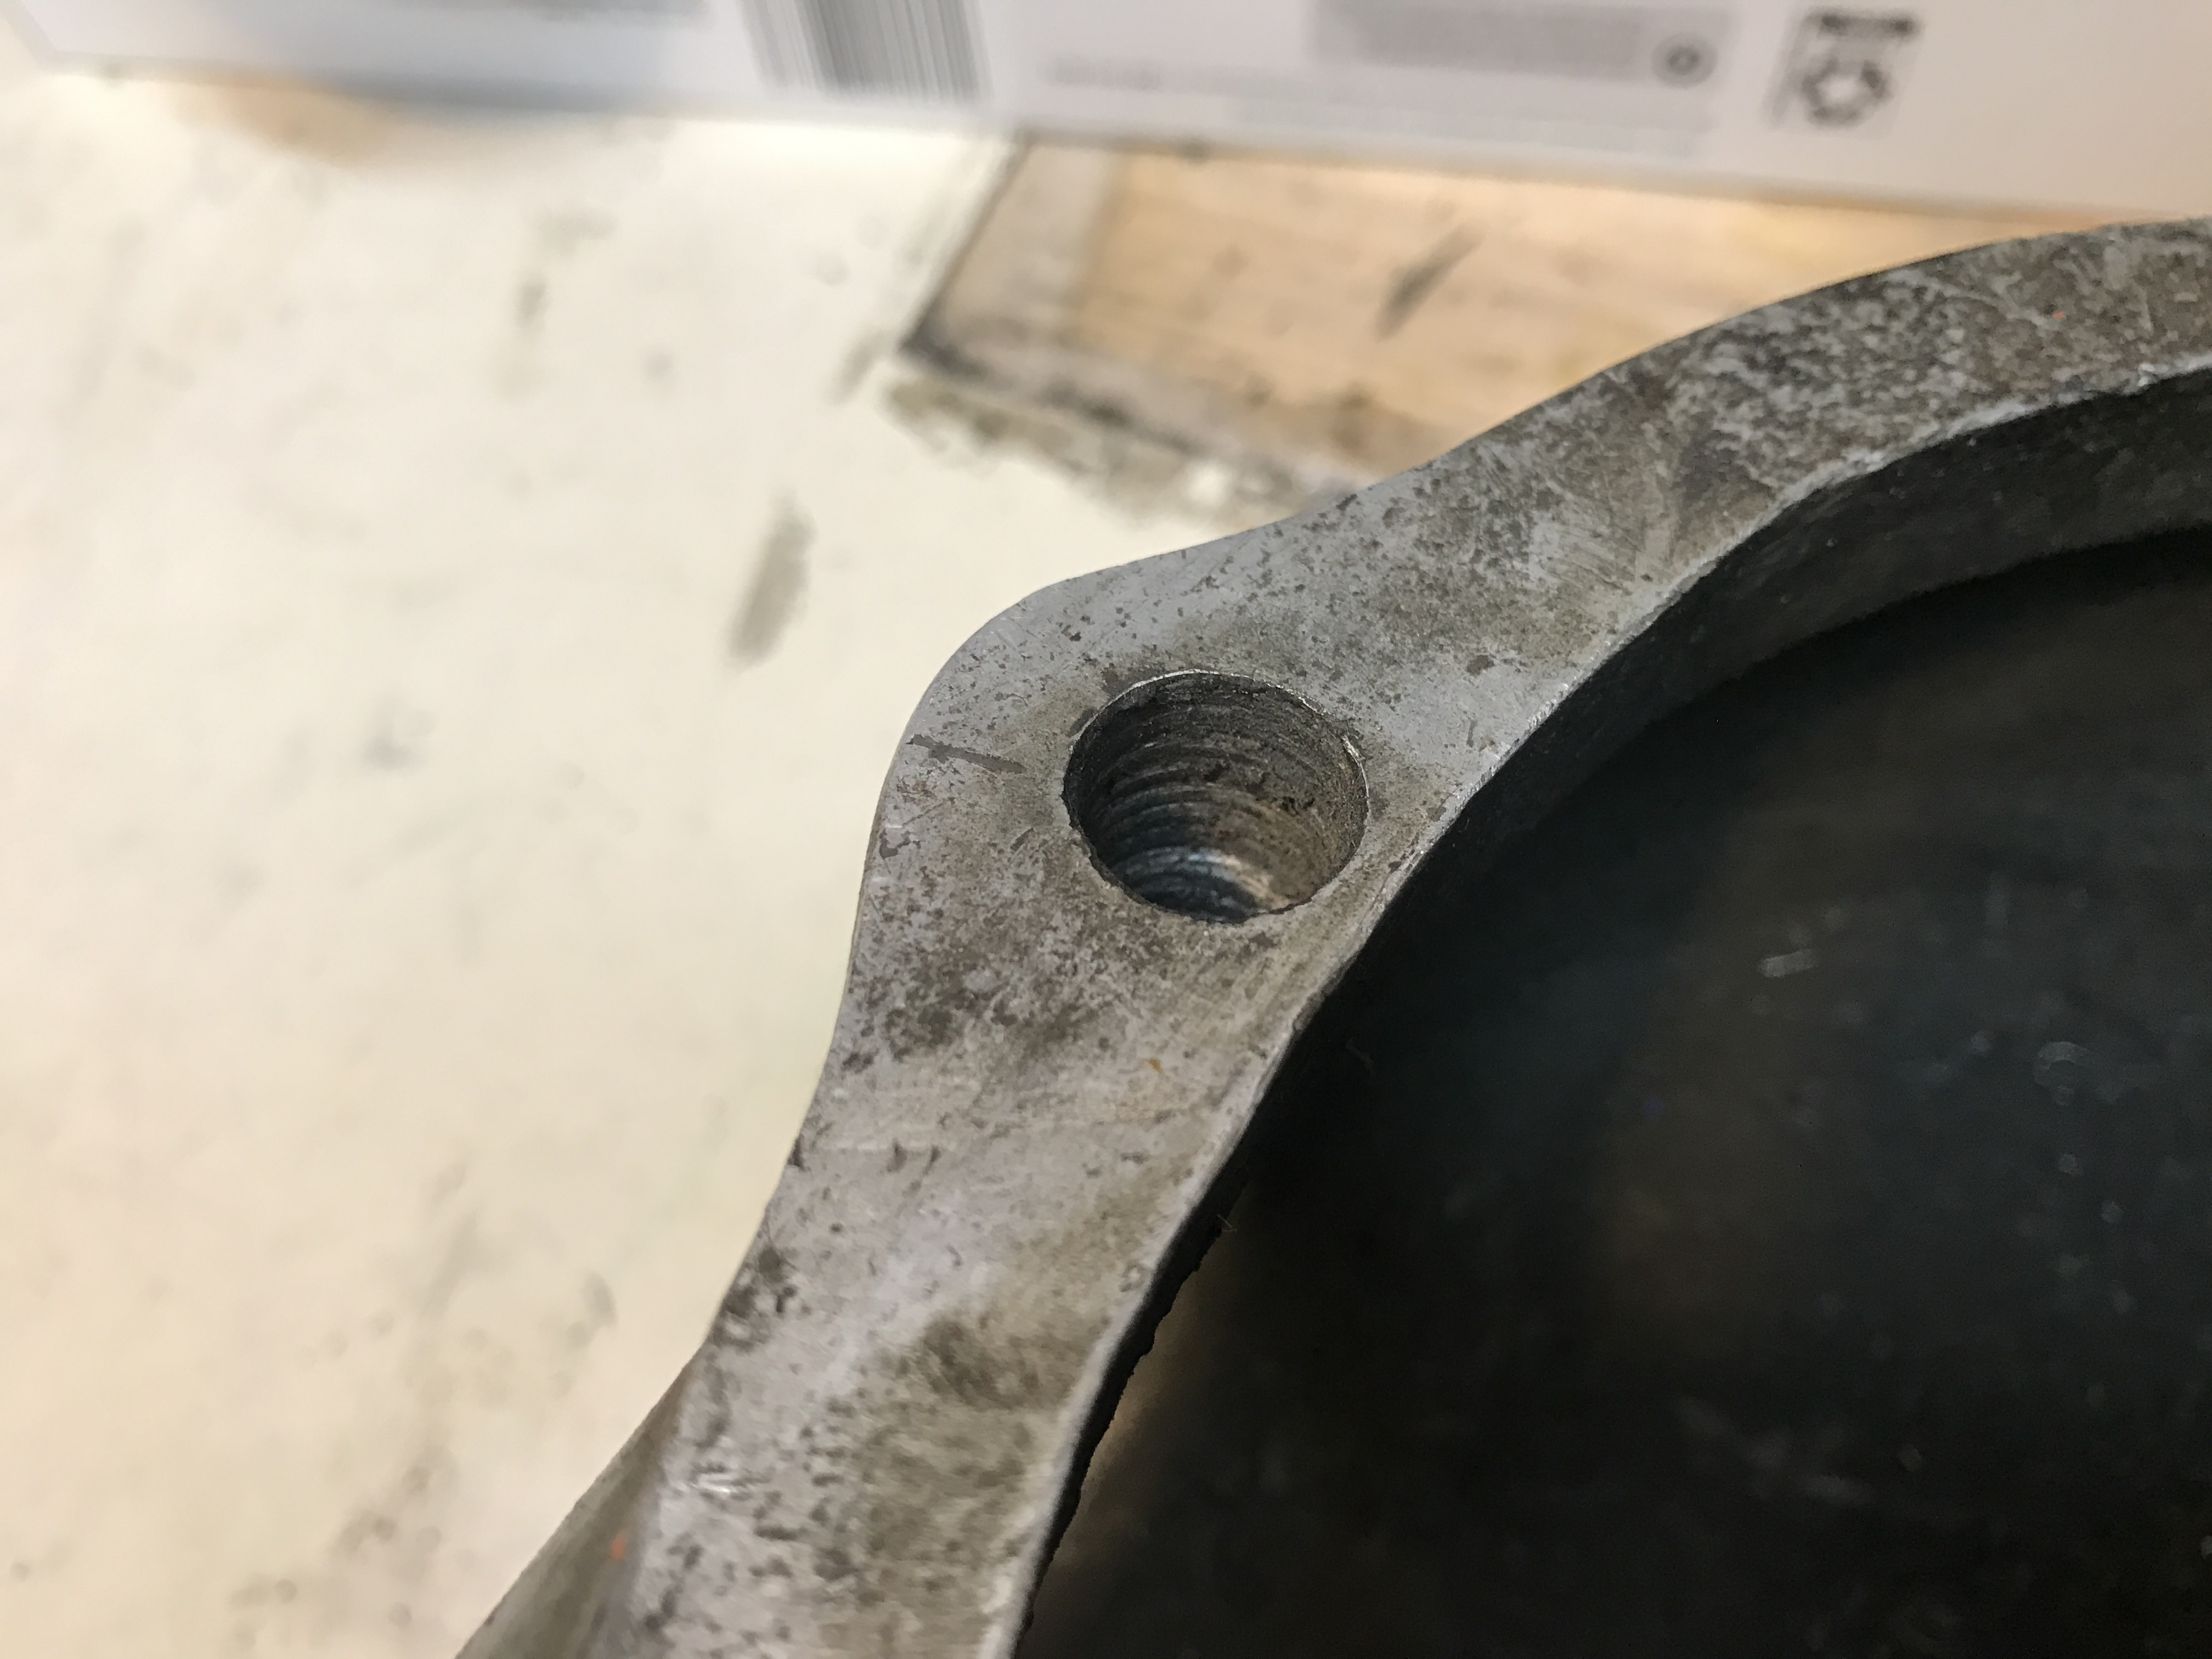
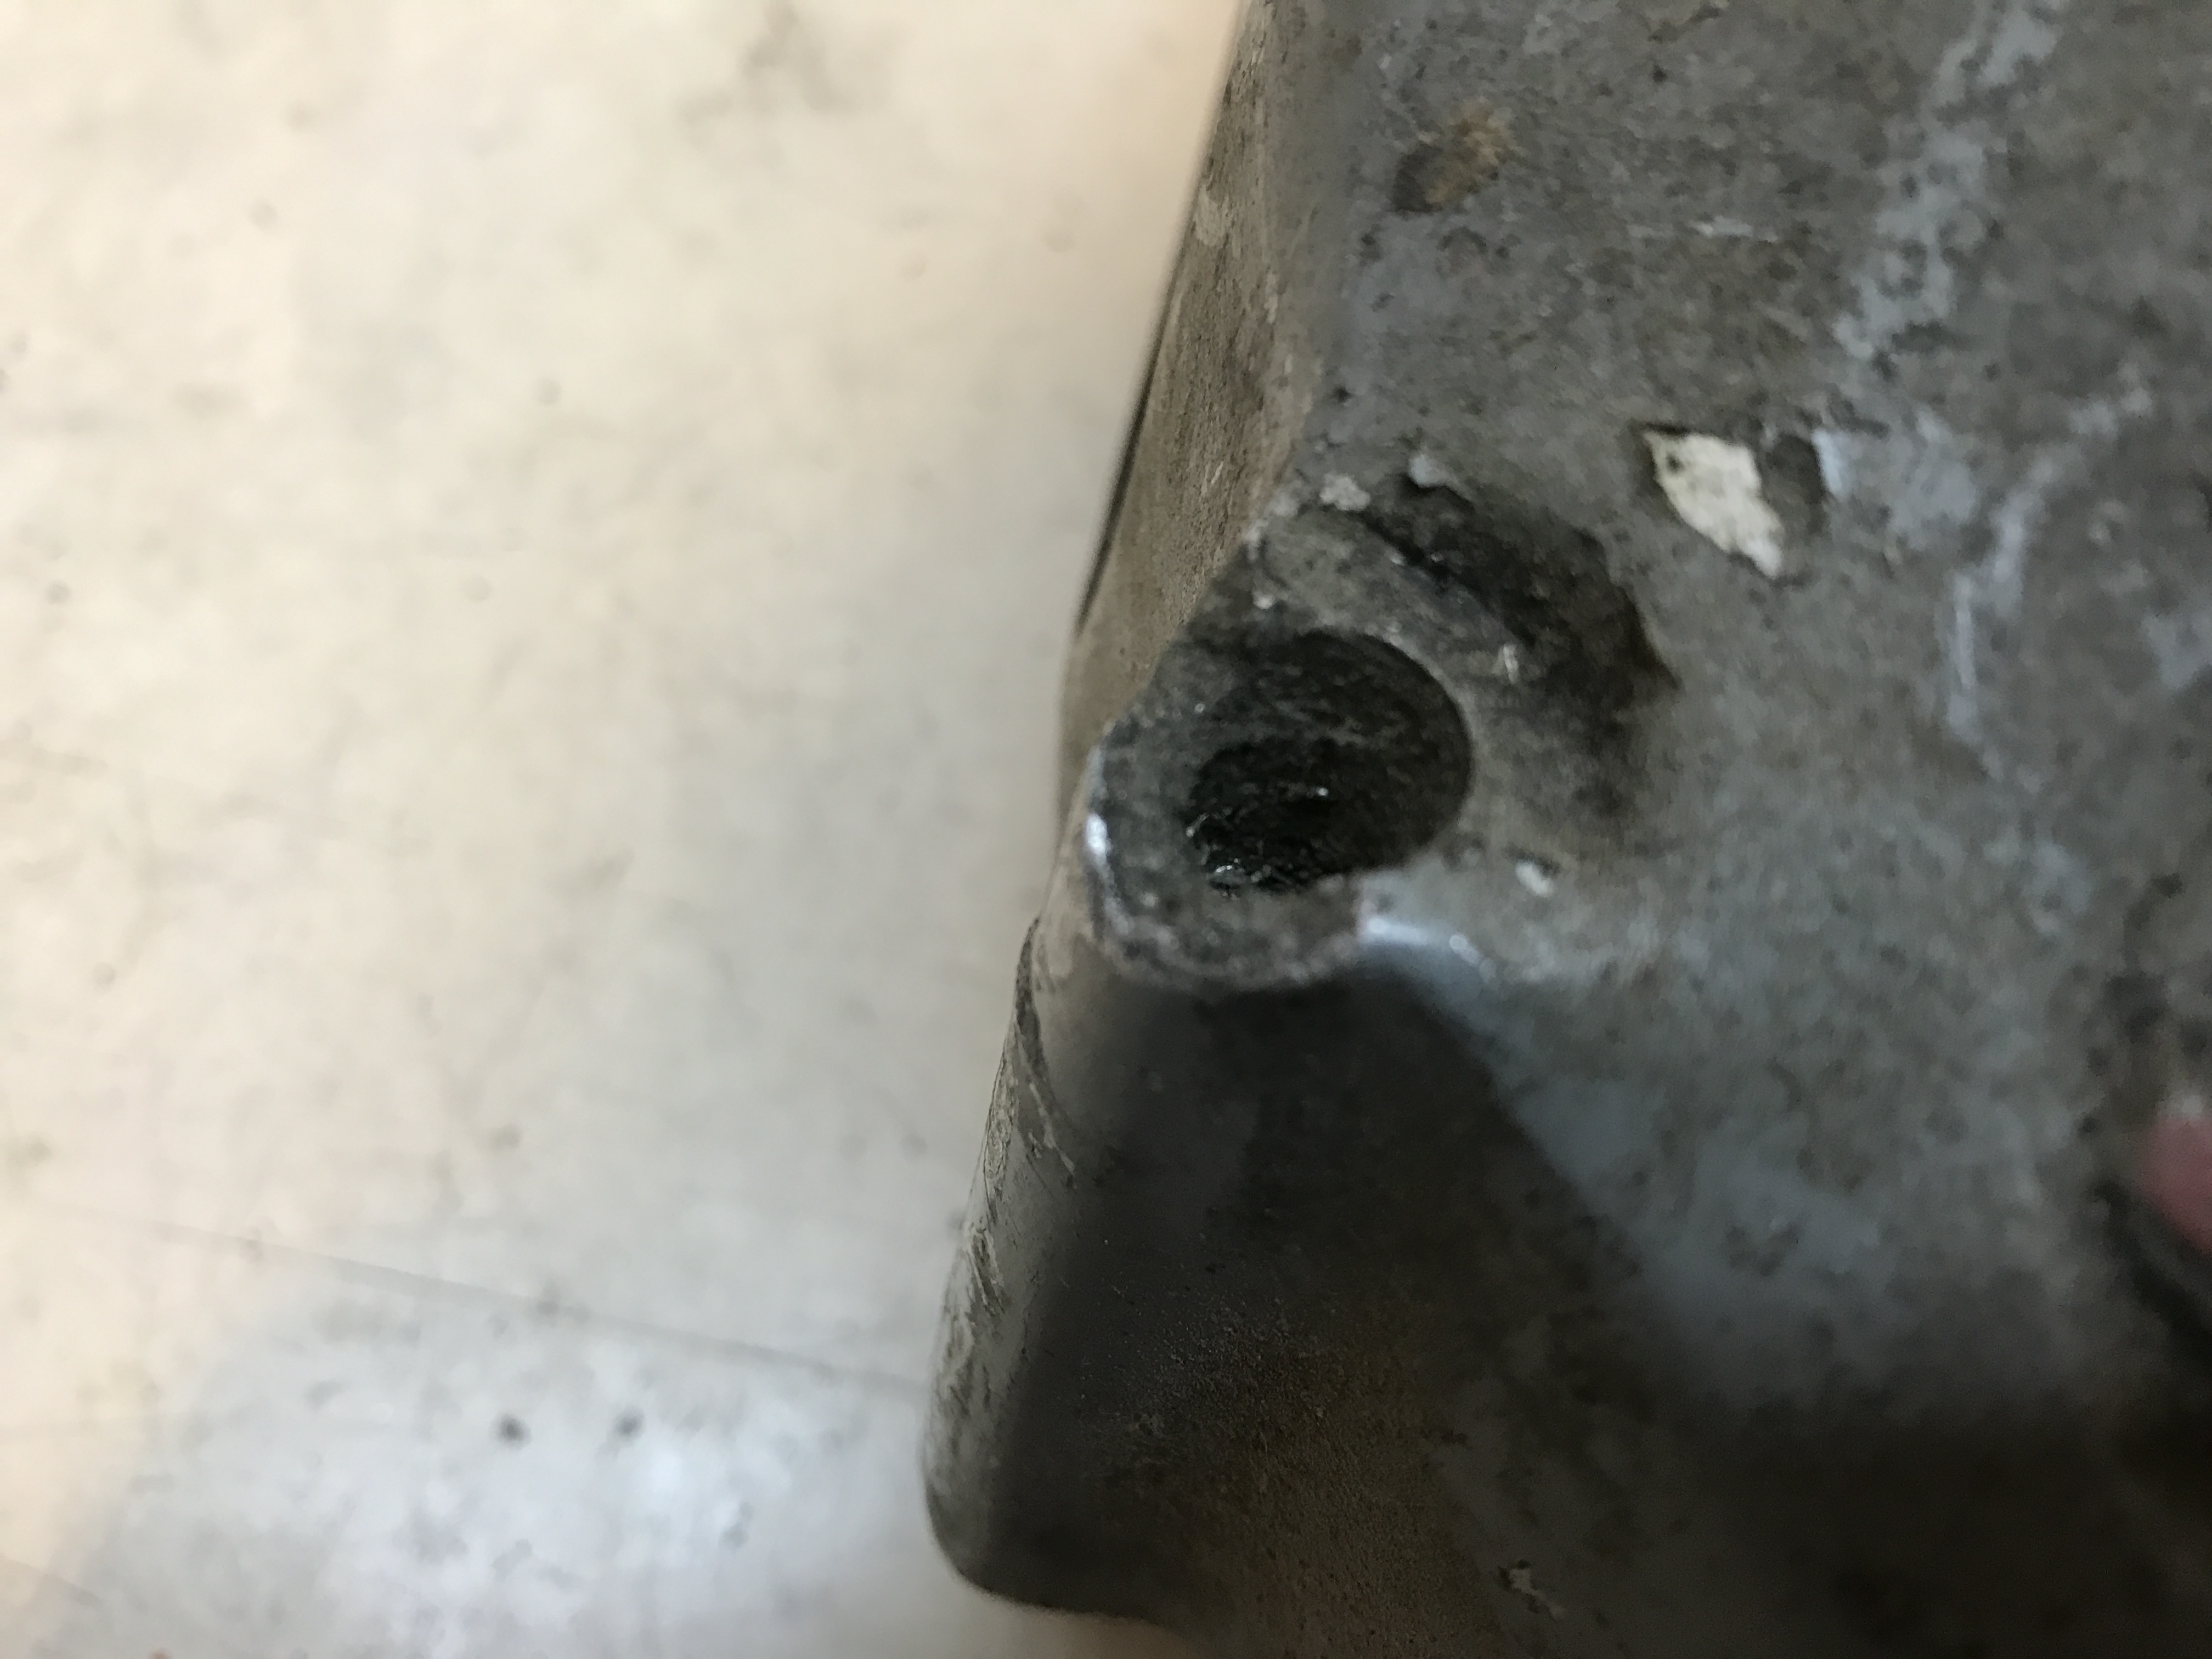
Oiler port cracked and stripper (and Gits oiler missing):
The first part of the project involved checking the motor to make sure it was still functioning. I bought a Variable Frequency Drive (VFD) to run the 3 phase motor and it tested fine, but it was obvious it needed new bearings. So the whole thing came apart and was cleaned using paint stripper, Purple Industrial Cleaner, and a fine wire wheel. It will get new sealed bearings when put back together.

The castings have been primed, but I’ll be sanding them later, re-priming, and then putting a coat or few of Rust-oleum Charcoal Grey on them. Once the paint has hardened (I’ll give it a week or more), I’ll reassemble the motor with new bearings and hook it up to the VFD again to test it. Once done, it will be sitting on the shelf waiting for when the whole head is rebuilt.
The next (concurrent) part of the project is the aluminum pulley casting. When I bought this on CL, the seller sent me a picture of ANOTHER head, leading me to believe I was getting something a (good) bit different. The picture had a nicely kept appearance, no missing parts, and no stripped bolts head with a mounting bracket. The package I received contained a grimy mess, missing parts, stripped and missing bolts, and pieces missing from the casting. Oh, and no mounting bracket. It was so bad that the casting couldn’t have held a motor or oiler. So… a quick run down of what I did:
Removed all the paint and cleaned the casting in the Purple cleaner. This was dangerous since the cleaner is not meant for aluminum. However, it was worth it to get the 1/16″ of oily grime off in addition to some paint. Removing all the paint and grime allowed me to see any additional cracks or missing parts. Luckily, no more surprises were found.
Cracked motor mount: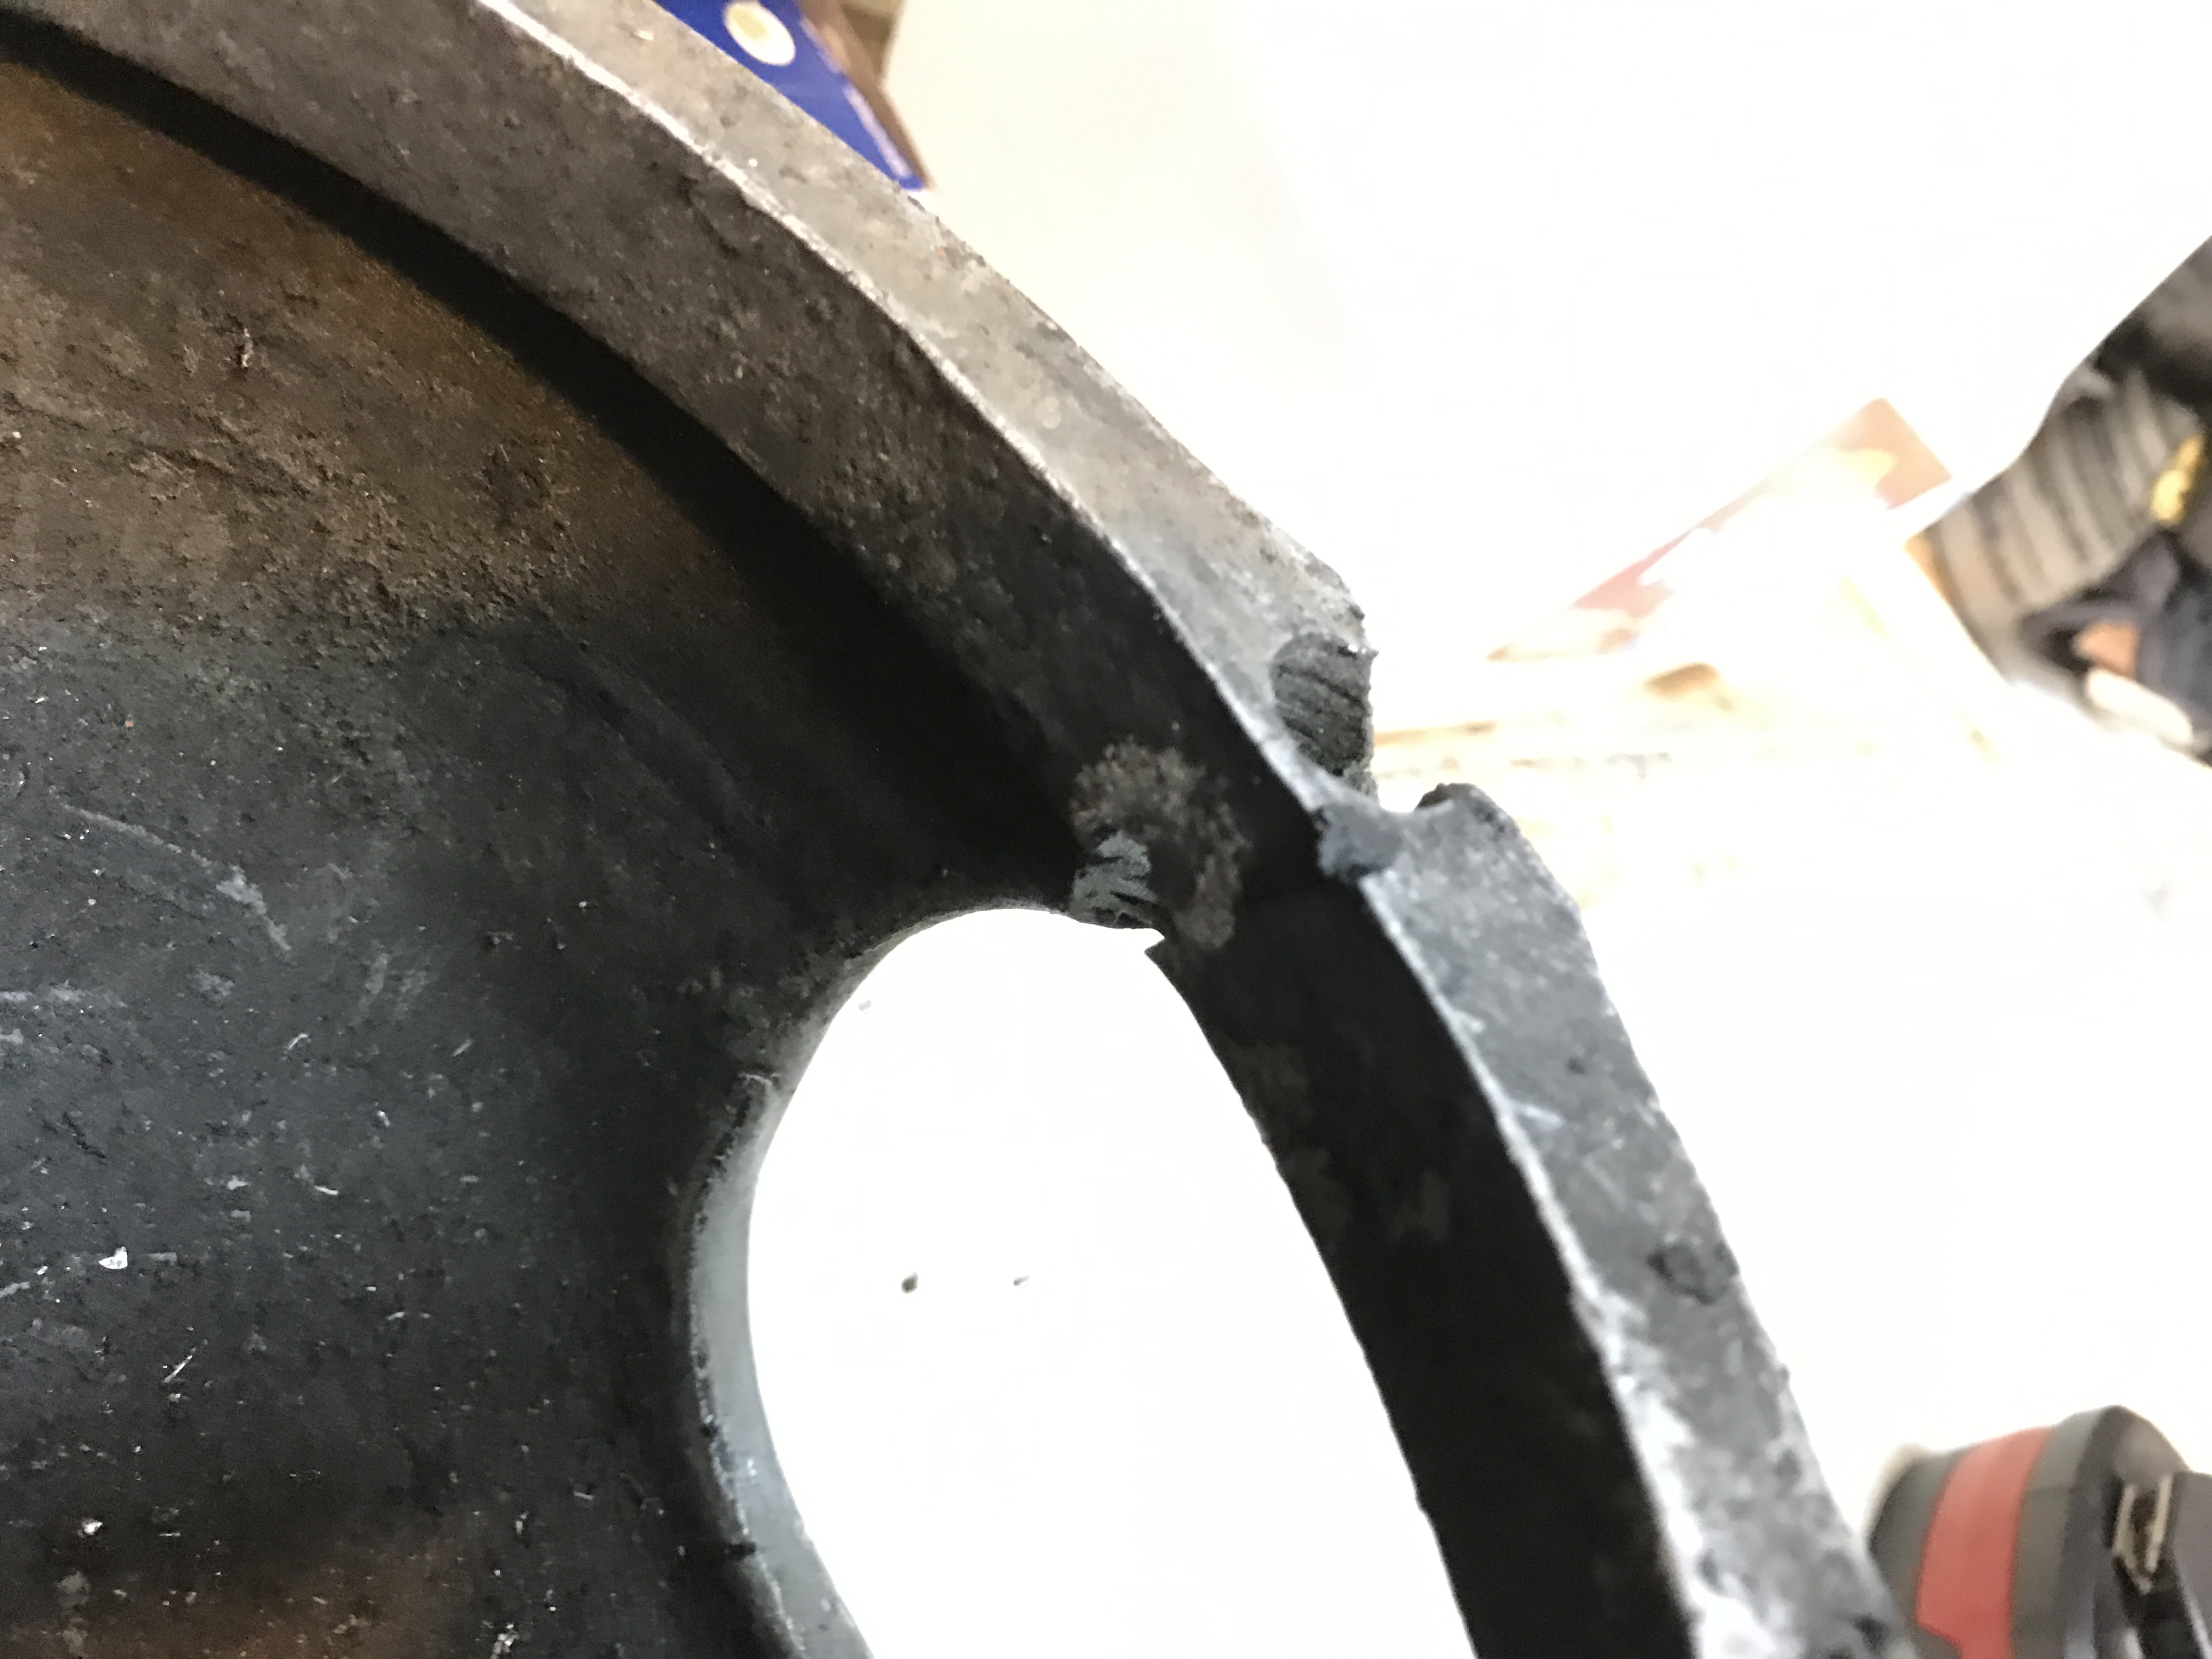
Extra holes (some will be filled, some may be used…)


All cleaned up and ready to fix:
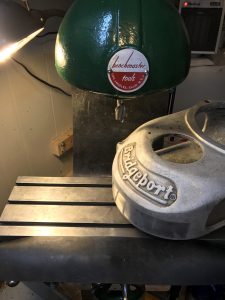
I milled the cracked and stripped oiler port down. I messed it up a little by moving the wrong handle on the mill. Not a huge deal. (The irony of working on one mill using another one isn’t lost on me…)
Milled a 3/4″ flat hole, drilled a 7/16″ hole farther down:
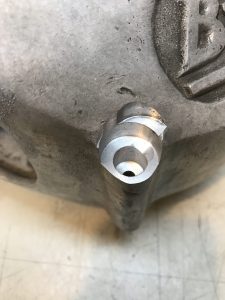
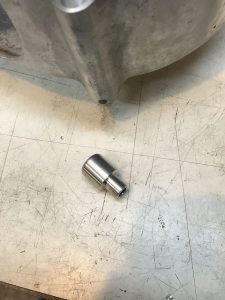
Made a 1/8-27 NPT threaded aluminum piece to be press fit into the casting:
Installed: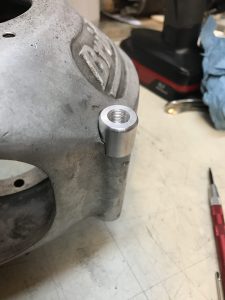
Side view: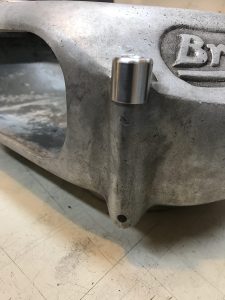
Next, the motor mounting “threaded” holes were milled out and new aluminum press fit and Loctited in.
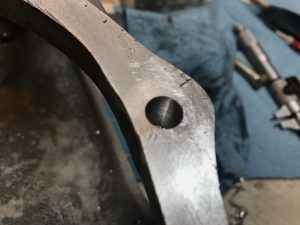
The first side was simple – bore out the stripped thread to 3/4″, press fit and Loctite a piece of aluminum stock. I peened it in a bit with a ball-peen hammer to mushroom the top a little. It was a tight fit but there was a tiny wobble in the cut when starting. This covered that up nicely.
Filed and drilled to 3/8″, later threaded to 7/16-14.
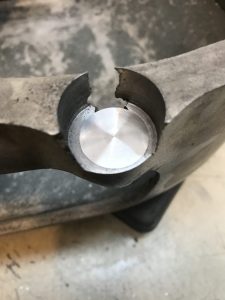
Using a 3/4″ endmill to cut straight down into the cracked hole.
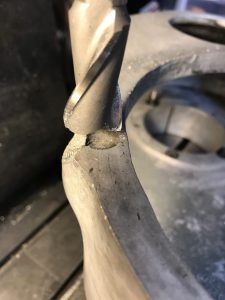
After the 3/4″ endmill, I used a 1″ Forstner bit (really meant for wood) to cut a 1″ hole above the 3/4″ hole. It worked really (surprisingly) well and cut slightly undersize, which made it easy to make a -1″ press in bushing. 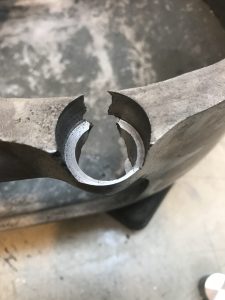
Drilling the new aluminum to 3/8″ for the threaded stud:

All but threaded!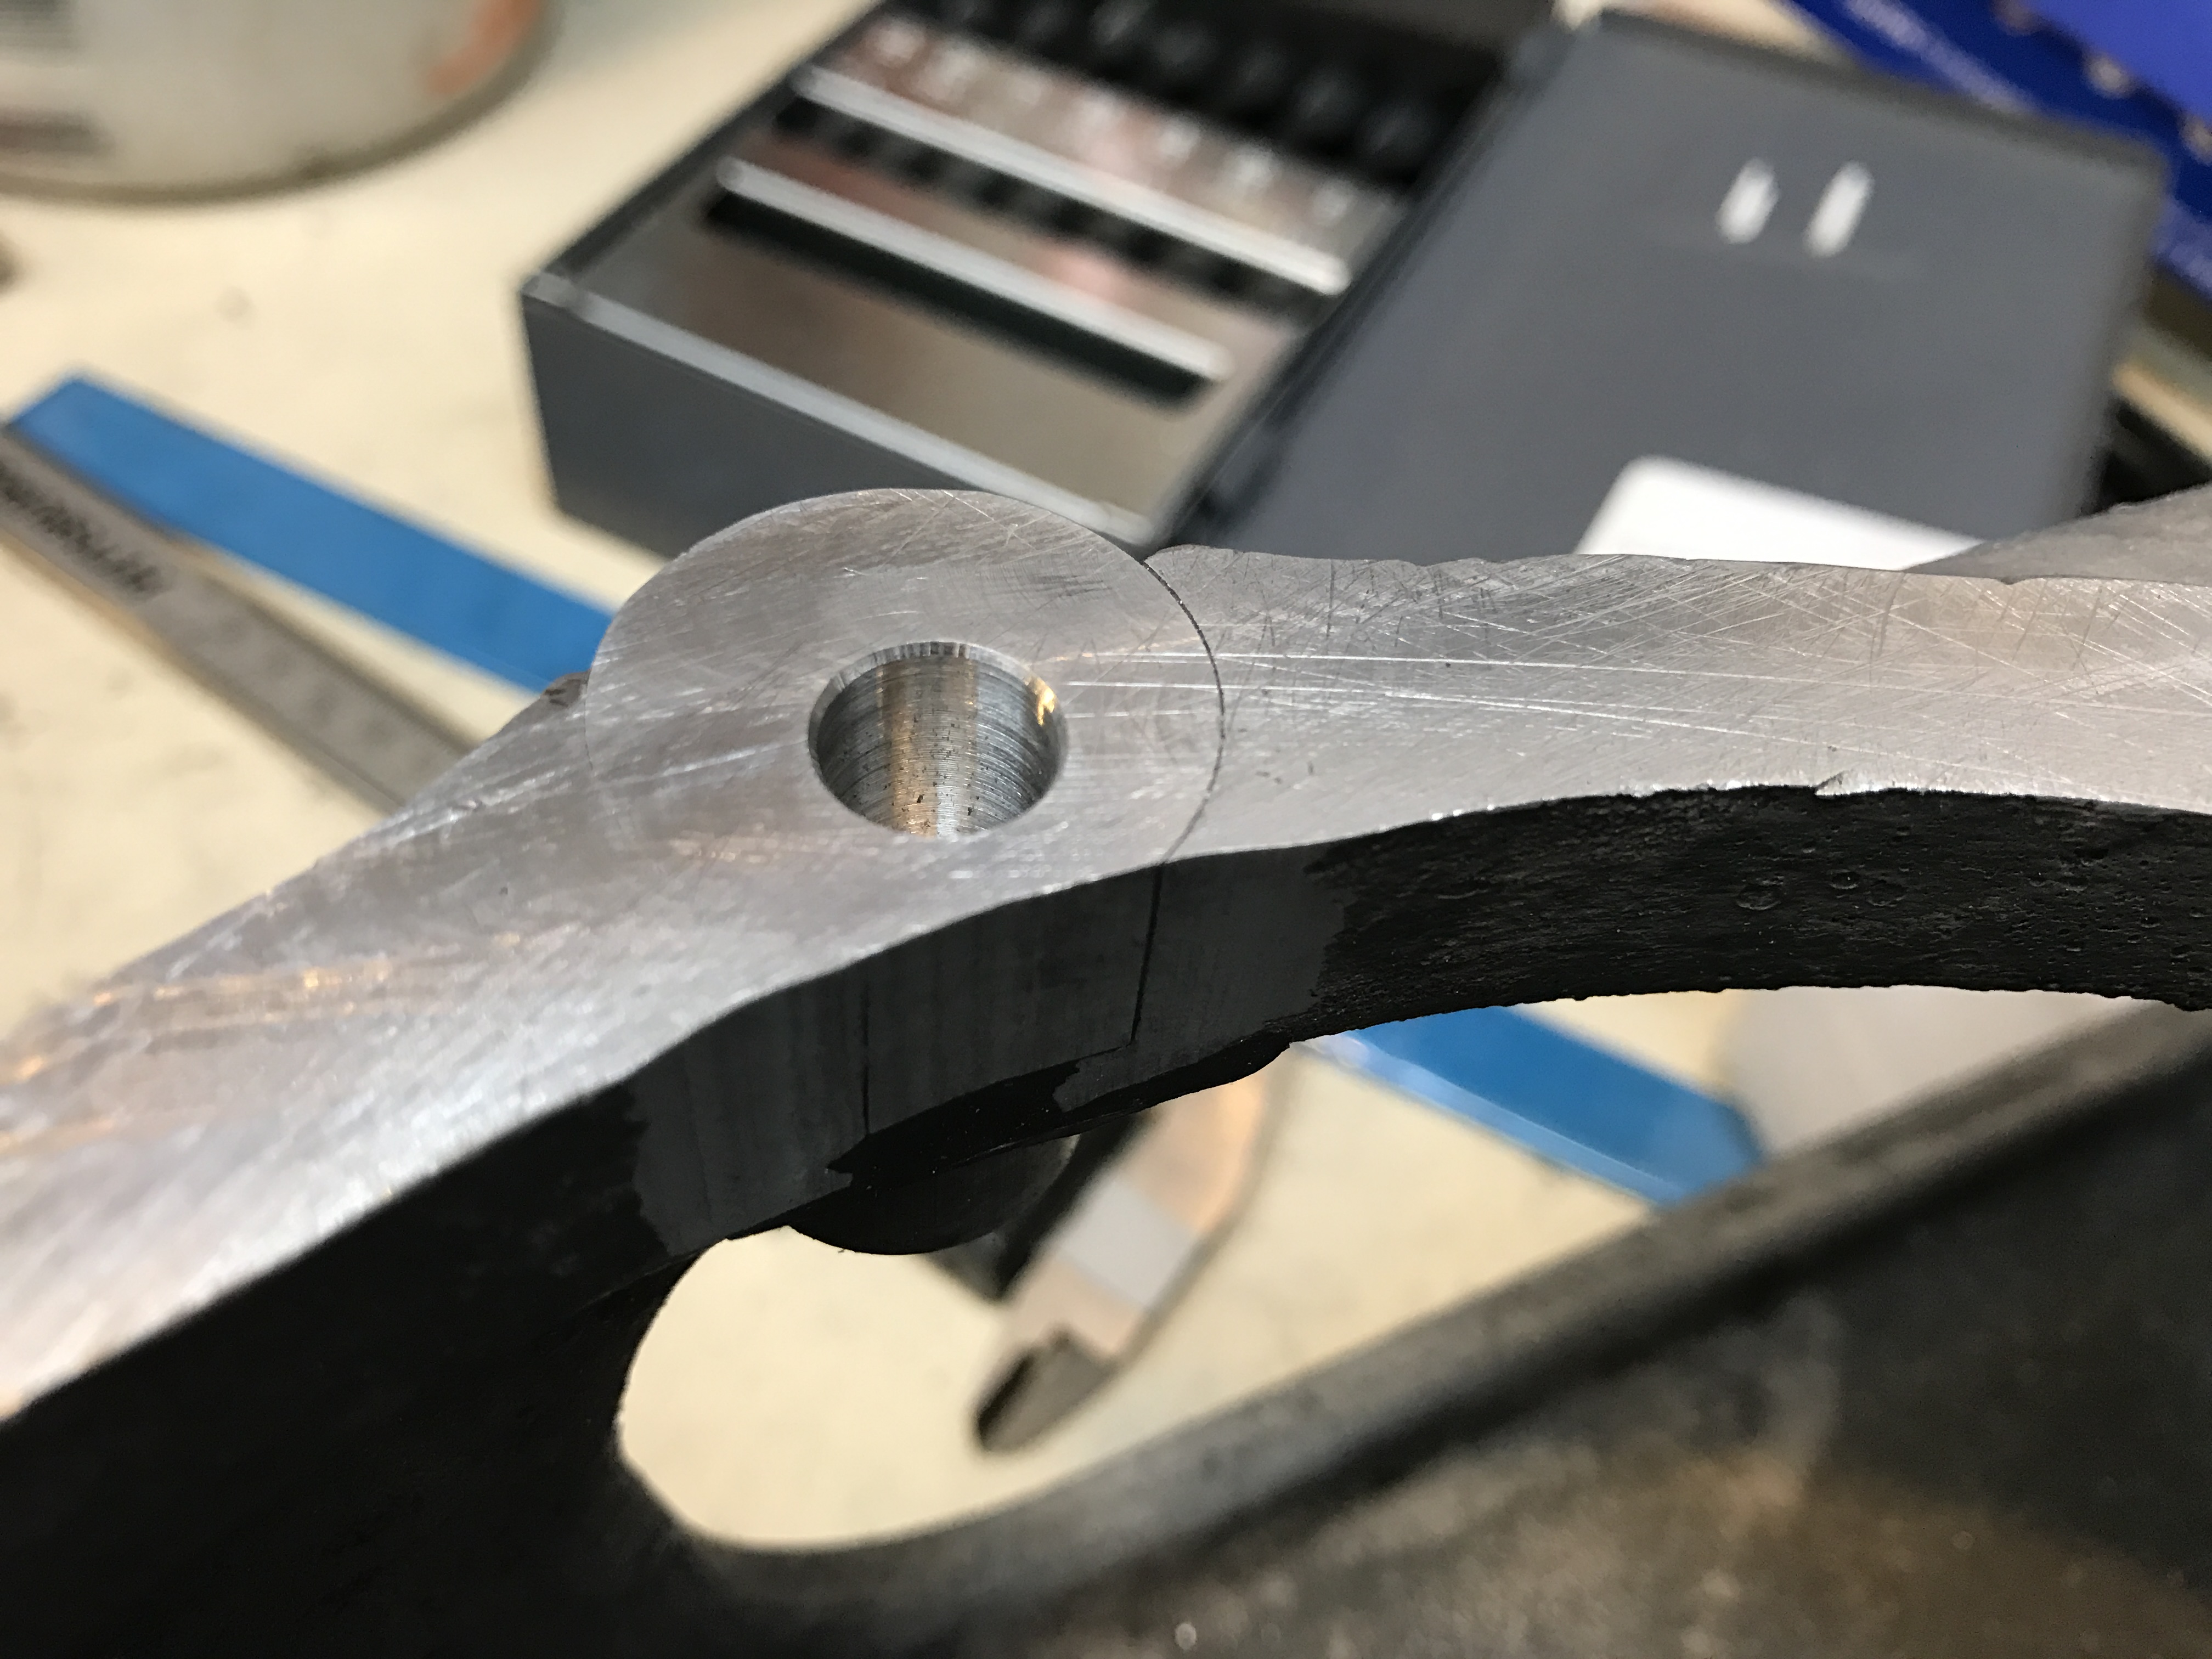
I had to be creative to fit such a large work piece on my BM’s table. I made some 5/16″ threaded rod into some 1/4″ threaded clamping bolts. (They thread into 5/16″ t-nuts in the table.) This was level enough to trust for drilling for the threaded studs.
New mounting holes and threads were put into the casting. I’m not sure what the original mounting bolt size was, but the ones it came with were not that. I put in 7/16-14 threads and will eventually thread in and Loctite some studs to mount the motor.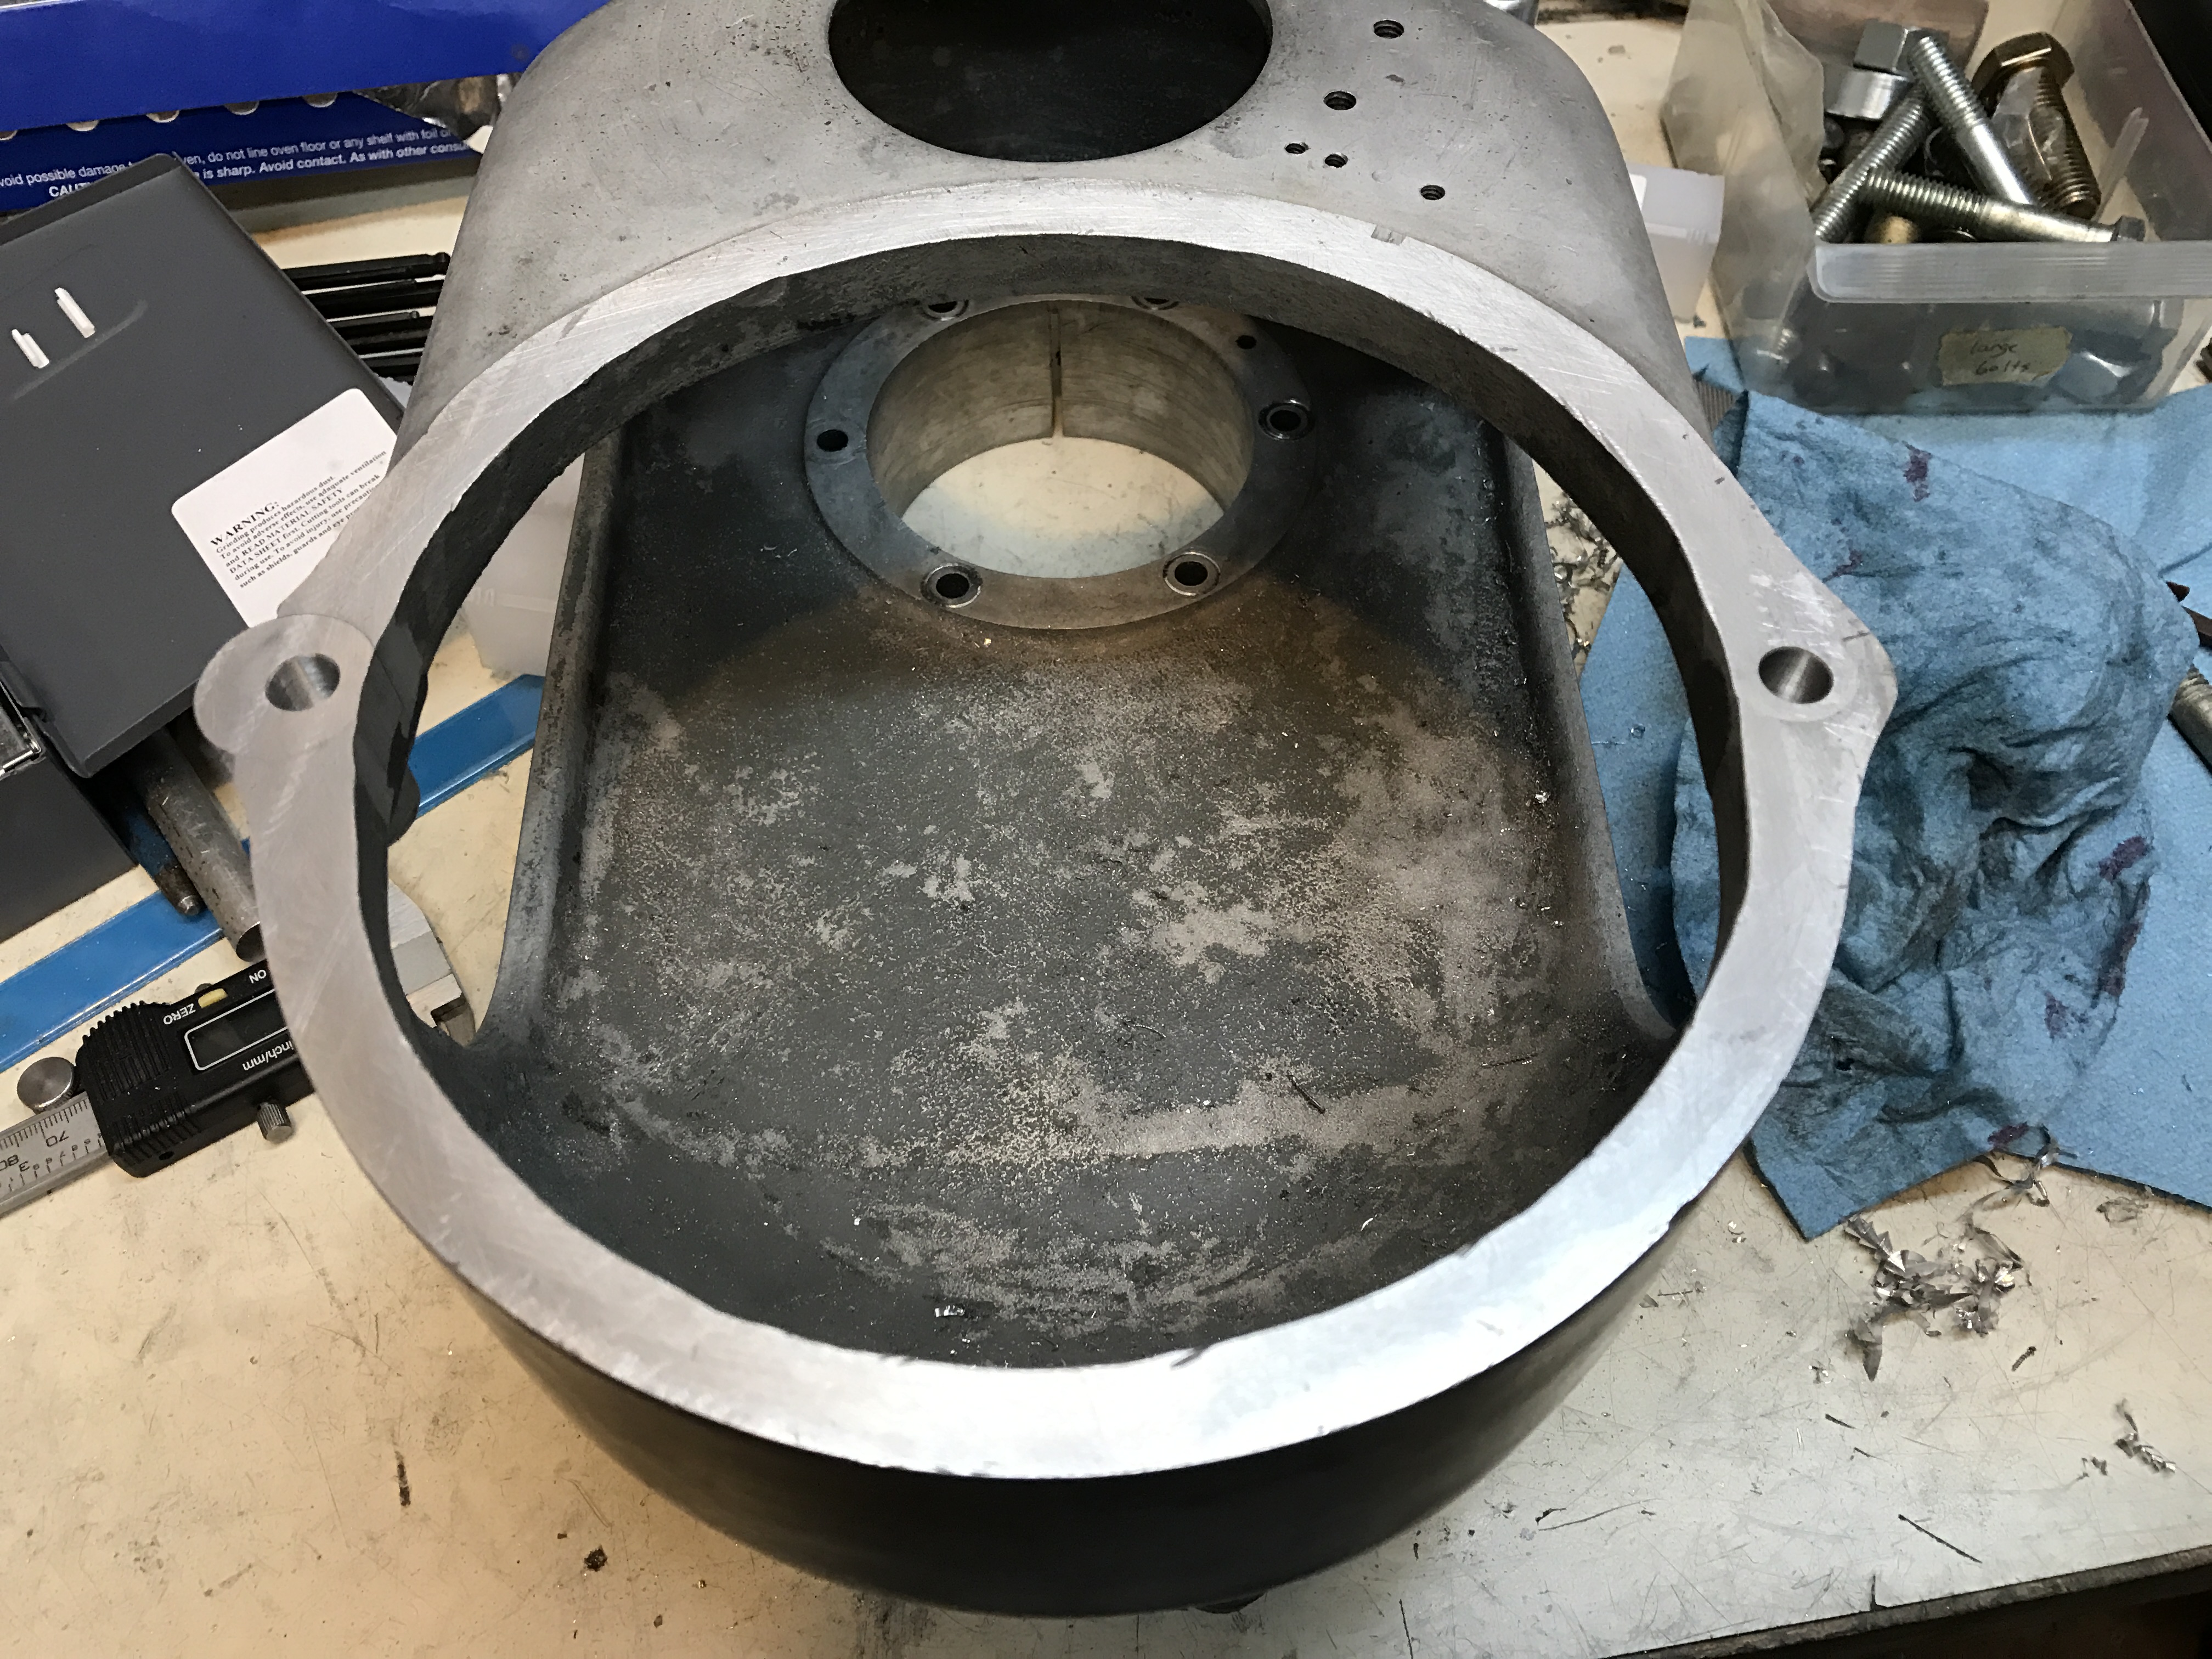
Next up will be to polish the aluminum head and paint were needed. I plan to paint the inside and lowered sections of the logo’s area, and polish the outside. More on that later. Also, next step will be stripping down the cast iron lower section and determining what work is needed there.
Leave a Reply